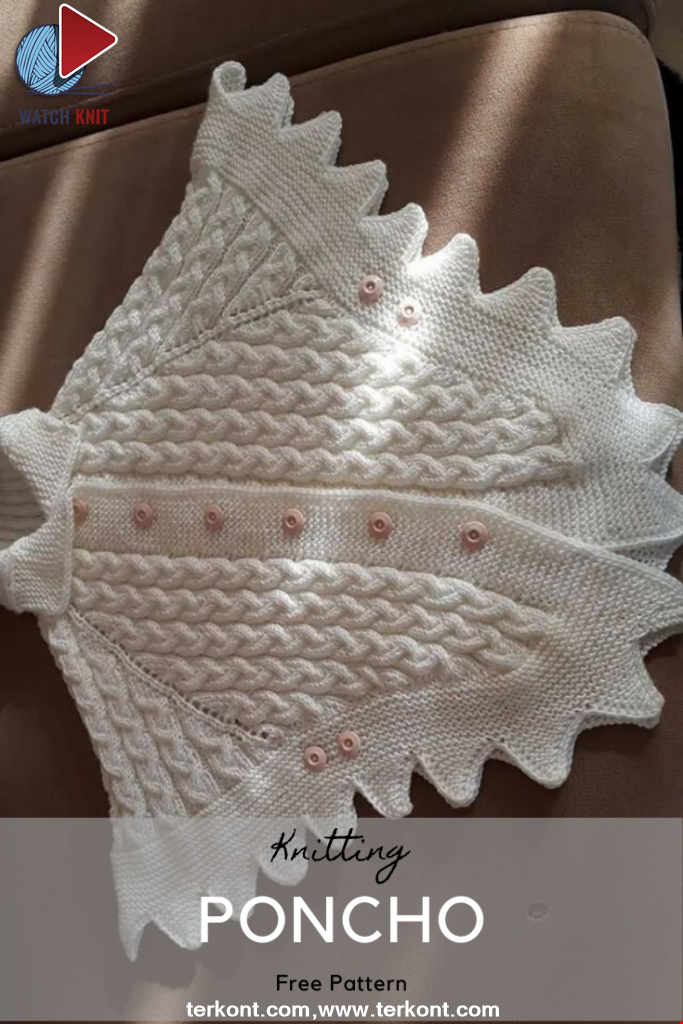
Colorblock Baby Cardigan
28 October 2020, 07:48 806
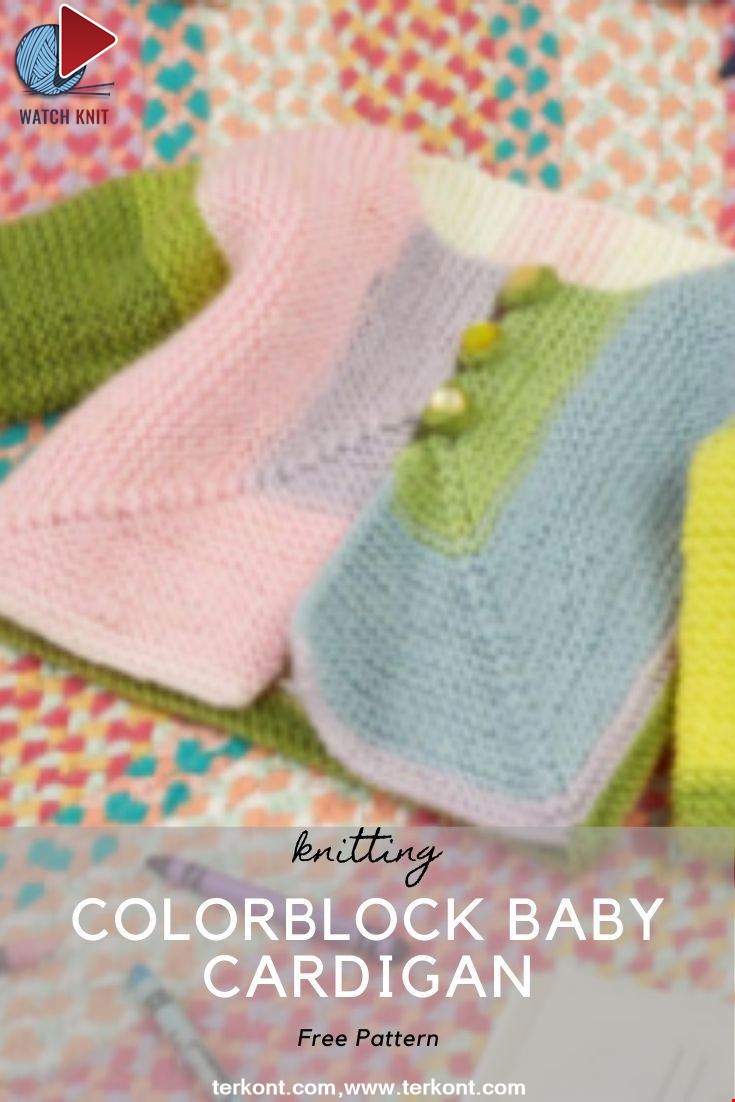
This sweet, cozy sweater features mitered front and back that are perfect for this yarn. Choose from contemporary striping effects with unexpected color combinations.
GAUGE: 20 sts = 4″ [10 cm]; 40 rows = 4″ [10 cm] in Garter stitch (knit every row). CHECK YOUR GAUGE. Use any size needles to obtain the gauge.
Directions are for size 6 months; changes for sizes 12 months, 18 months, and 24 months are in parentheses.
To Fit Chest: 17 (18, 19, 21)” [43 (45.5, 48.5, 53.5) cm]
Finished Chest: 18 (20, 22, 24)” [45.5 (51, 56, 61) cm]
Finished Length: 9 (9½, 10, 11)” [23 (24, 25.5, 28) cm]
Notes
1. Cardigan is worked in 5 pieces: Back, left front, right front, and two sleeves.
2. Removable stitch markers are used to mark decrease locations. Place each marker on the indicated stitch, not
on the needle. As work progresses, pause every few rows to move the marker up to closer to the needle so that it is easy to identify the decrease stitches to be marked.
3. Back and fronts are worked from the lower edge upwards. Decreases are used to shape the miter(s) and begin
at lower corner(s) of each piece.
Special Stitches
kfb (Knit into front and back) = Knitnext stitch but do not remove fromneedle, knit into back loop of same stitch and remove from needle – 1 st increased.
s2kp (slip 2, knit, pass 2 slipped stitches over) = Slip 2 stitches as if to k2tog, k1, pass the 2 slipped stitches over the knit stitch and off the needle –2 sts decreased.
ssk (slip, slip, knit) = Slip next 2 stitches, one at a time, as if to knit to right needle, insert point of left needle through front of stitches, knit these sts together through back loop – 1 st decreased.
Special Technique
3-needle bind off = Hold needles of stitches to be seamed parallel and with right sides together, with 3rd needle
knit together first stitch from each needle, *knit together next stitch from each needle, pass first stitch over 2nd
stitch and off right needle; repeat from * until all stitches have been knit from the 2 parallel needles and only one stitch remains on the right needle. Fasten off. BACK
Cast on 140 (148, 158, 174) sts. Set-Up Row (wrong side): K47 (49, 51, 57), place a removable marker on last stitch just knit, k47 (51, 57, 61), place a removable marker on last stitch just knit, knit to end of row—46 (50, 56, 60)
sts between marked sts and 46 (48, 50, 56) sts on each side of markers (not counting marked sts)..
Row 1 (right side – decrease row): [Knit to 1 st before next marked st, s2kp] twice, knit to end of row—136 (144, 154,
170) sts.
Row 2: Knit.
Row 3: [Knit to 1 st before next marked st, s2kp] twice, knit to end of row—132 (140, 150, 166) sts. Repeat Rows 2 and 3 for 21 (23, 26, 28) more times—a total of 48 (48, 46, 54) sts remain with no stitches between the marked stitches. Slip the first 24 (24, 23, 27) sts onto a spare needle. With wrong side facing, join center back seam using 3-needle bind off.
LEFT FRONT
Cast on 70 (74, 79, 87) sts.
Set-Up Row (wrong side): K24 (26, 29, 31), place marker on last stitch just knit, knit to end of row.
Row 1 (right side – decrease row): Knit to 1 st before marked st, s2kp knit to end of row—68 (72, 77, 85) sts.
Row 2: Knit.
Row 3 (decrease row): Knit to 1 st before marked st, s2kp knit to end of row—66 (70, 75, 83) sts. Repeat Rows 2 and 3 for 11 (11, 13, 13) more times—a total of 44 (48, 49, 57) sts remain with 10 (12, 13, 15) sts on one side of the marked stitch and 33 (35, 35, 41) stitches on the other side of the marked stitch (not counting marked st).
Next Row (wrong side): Knit.
Shape Front Neck
Row 1 (right side): Bind off 4 (4, 5, 5) sts, knit to 1 st before marked st, s2kp, knit to end of row—38 (42, 42, 50) sts.
Row 2: Knit.
Row 3: K1, ssk, knit to 1 st before marked st, s2kp, knit to end of row—35 (39, 39, 47) sts.
Repeat Rows 2 and 3 for 3 (4, 4, 5) more times—a total of 26 (27, 27, 32) sts remain with 5 (6, 7, 8) sts on one side of
the marked stitch and 20 (20, 19, 23) sts on the other side of the marked stitch.
Next Row (wrong side): Knit.
Next Row (right side): Knit to 1 st before marked st, s2kp, knit to end of row—24 (25, 25, 30) sts.
Next Row: Knit.
Repeat last 2 rows 3 (4, 5, 6) more times—a total of 18 (17, 15, 18) sts remain with 1 st on one side of the marked
stitch and 16 (15, 13, 16) sts on the other side of the marked stitch. Remove marker.
Bind off: Bind off to last 3 sts, s2kp, pass 2nd st on right needle over s2kp and off needle. Fasten off last st.
RIGHT FRONT
Cast on 70 (74, 79, 87) sts. Set-Up Row (wrong side): K47 (49, 51, 57), place marker on last stitch just knit,
knit to end of row.
Row 1 (right side – decrease row): Knit to 1 st before marked st, s2kp knit to end of row—68 (72, 77, 85) sts.
Row 2: Knit.
Row 3 (decrease row): Knit to 1 st before marked st, s2kp knit to end of row—66 (70, 75, 83) sts.
Repeat Rows 2 and 3 for 11 (11, 13, 13) more times—a total of 44 (48, 49, 57) sts remain with 10 (12, 13, 15) sts on one
side of the marked stitch and 33 (35, 35, 41) stitches on the other side of the marked stitch.
Shape Front Neck
Row 1 (wrong side): Bind off 4 (4, 5, 5) sts, knit to end of row—40 (44, 44, 52) sts.
Row 2: Knit to 1 st before marked st, s2kp, knit to last 3 sts, k2tog, k1—37 (41, 41, 49) sts.
Row 3: Knit.
Repeat Rows 2 and 3 for 3 (4, 4, 5) more times—a total of 28 (29, 29, 34) sts remain with 6 (7, 8, 9) sts on one
side of the marked stitch and 21 (21, 20, 24) sts on the other side of the marked stitch.
Next Row (right side): Knit to 1 st before marked st, s2kp, knit to end of row—26 (27, 27, 32) sts.
Next Row: Knit.
Repeat last 2 rows 4 (5, 6, 7) more times—a total of 18 (17, 15, 18) sts remain with 1 st on one side of the marked
stitch and 16 (15, 13, 16) sts on the other side of the marked stitch. Remove marker.
Bind off: S2kp (1 st decreased), k1, pass s2kp over knit st and off right needle (1 st bound off), bind off remaining sts.
SLEEVES (make 2)
Cast on 26 (28, 30, 32) sts. Work in Garter stitch (knit every row) for 2 (4, 6, 6) rows.
Increase Row (right side): K1, kfb, knit to last 2 sts, kfb, k1—28 (30, 32, 34) sts.
Work in Garter stitch for 11 (11, 13, 15)rows.
Repeat Increase Row—30 (32, 34, 36) sts.
Repeat last 12 (12, 14, 16) rows 3 more times—36 (38, 40, 42) sts.
Work even in Garter stitch until piece measures 6½ (7, 8, 9)” [16.5 (18, 20.5, 23) cm] from beginning, ending with a
wrong side row.
Bind off.
BUTTON LOOPS (make 3)
Leaving a 4″ [10 cm] beginning tail, cast on 3 sts.
Cord: K3, *slip the 3 knit sts back to the left needle, bring the yarn tightly behind the sts, k3; repeat from * until cord
measures 1″ [2.5 cm].
Cut yarn, leaving a 4″ [10 cm] tail. Thread ending tail through remaining 3 sts on needle and pull tight and knot to
secure end of cord.
FINISHING
Sew shoulder seams. Sew sleeves to sides, matching center of bound-off edge of sleeve to shoulder seam.
Sew side and sleeve seams. Fold button loop cords in half and position them evenly spaced along bound-off edge of right front. Using yarn tails, sew cords in place. Sew buttons to left front, opposite button loops.Weave in ends.
Category Popular Posts
Korean Girl in Traditional Dress (Hanbok)
22 September 2020, 11:11 4358
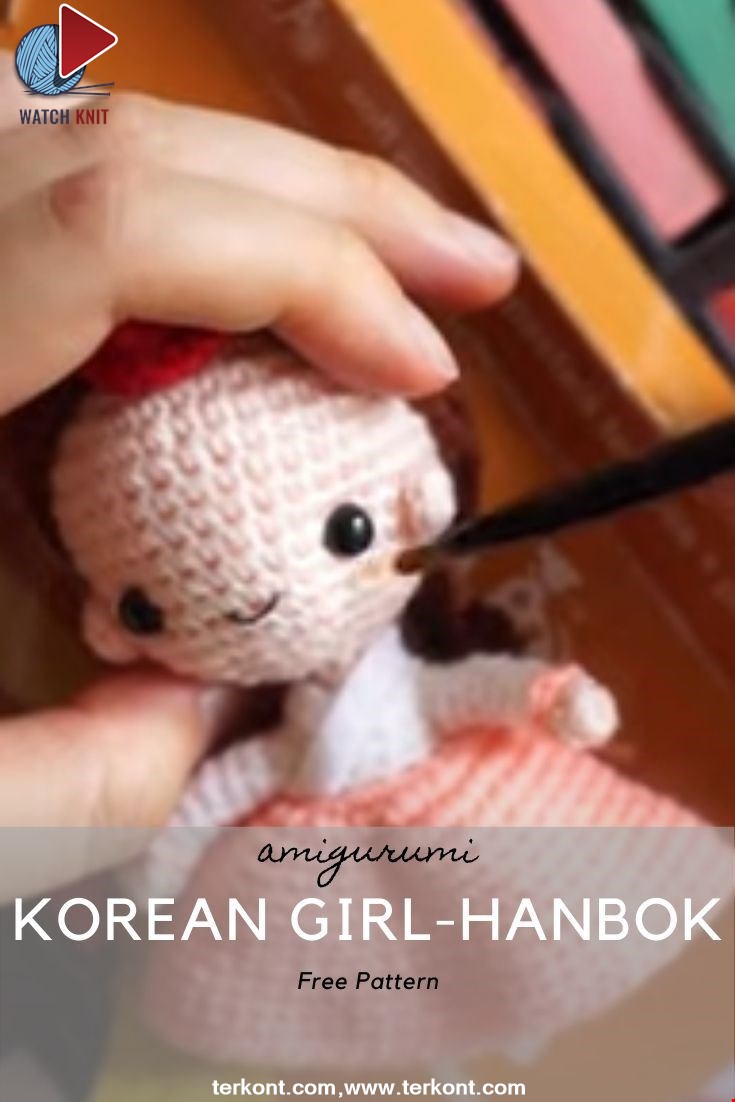
This is the process how I made the amigurumi of Korean Bride in traditional dress Hanbok. Lately I've been watching a lot of Korean dramas and got inspired to make one. I hope you can enjoy the video, and get inspired too!
Read MoreY Auger construction
27 January 2022, 21:16 1470
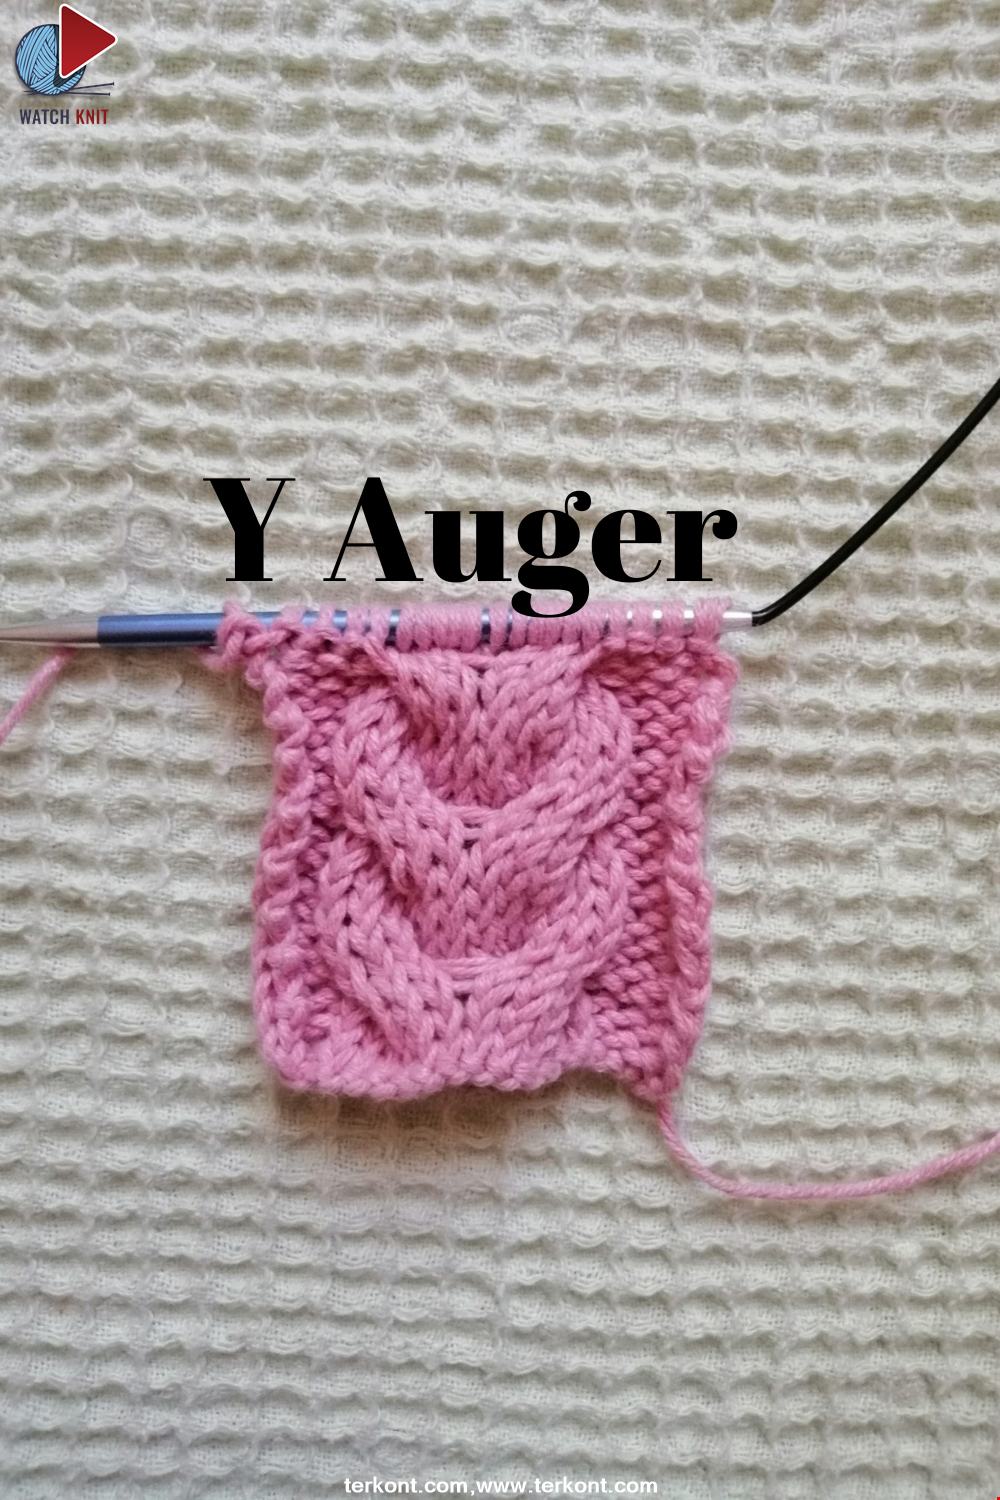
Hello everyone! We have prepared a Y twist model, which is very suitable for vests and cardigans, for you. This model is actually very easy to make! Let's start knitting this beautiful model right now!
Read MoreCat-Dog Sweater Making
18 January 2022, 21:05 1394
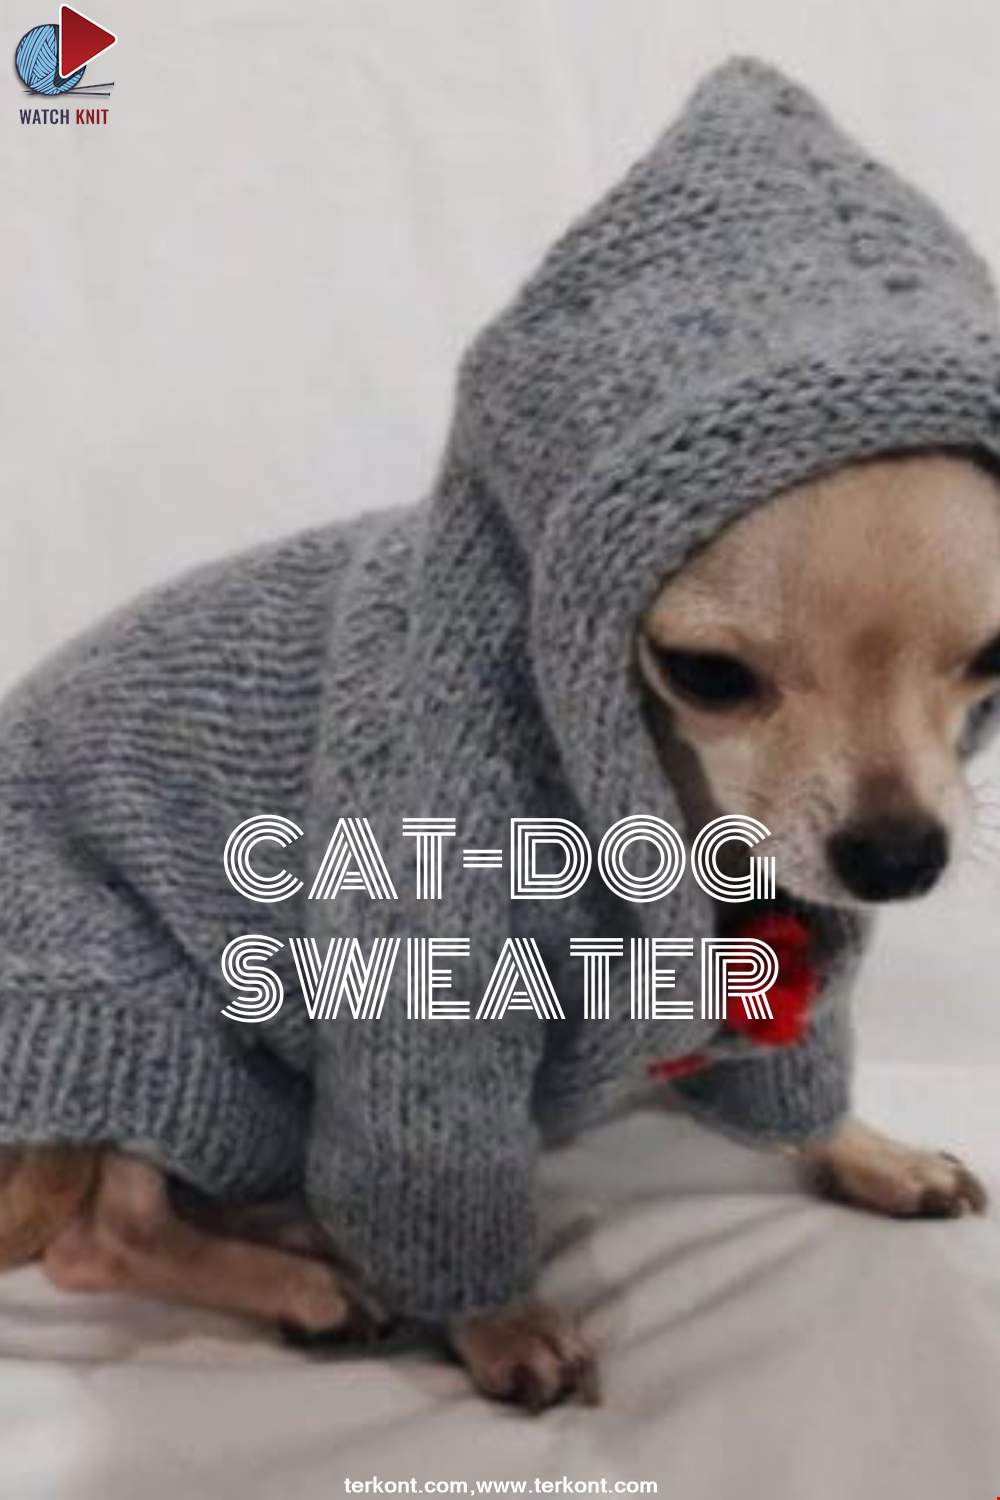
Hello, Shall we prepare our little friends for winter? Every living thing has times when it needs help. You can prevent our little friends from getting cold by knitting clothes that will keep them warm in cold weather. This will bring great happiness to you and the cute little ones. Let's get started right away!
Read More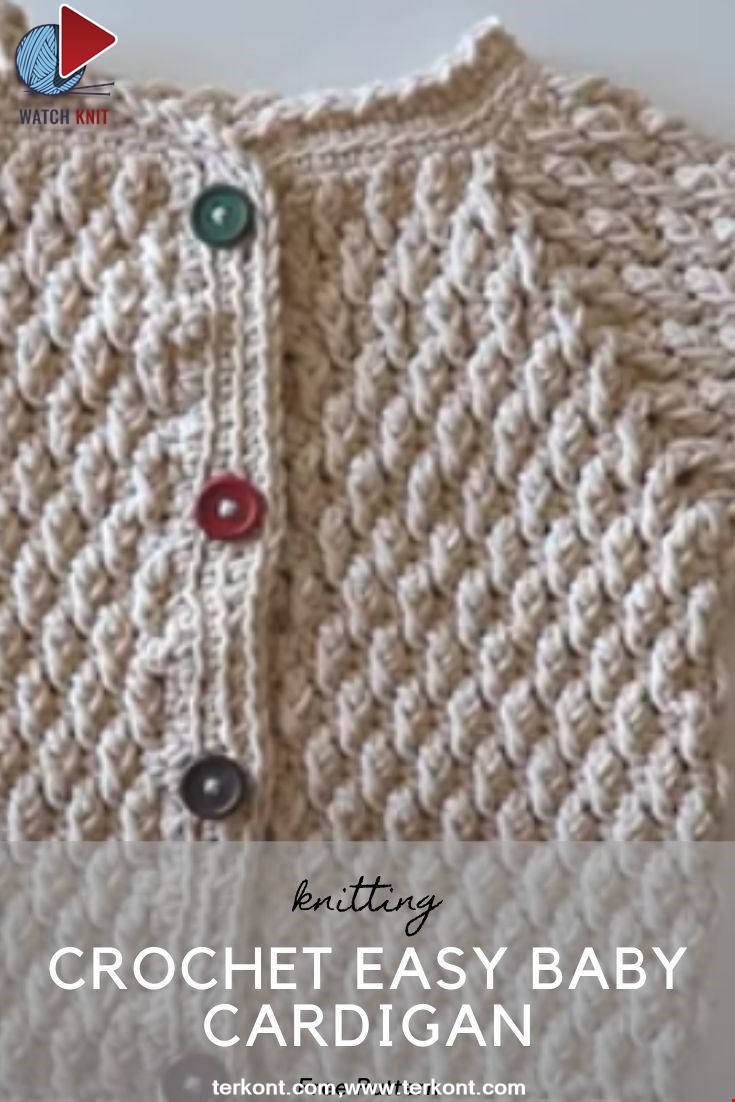
Openwork Baby Cardigan Making
22 January 2022, 11:53 1177
Hello! Today we came to you with the construction of openwork baby cardigan. If you're ready, let's start.
Read More
Making a Winter Dog Sweater
18 January 2022, 21:17 1109
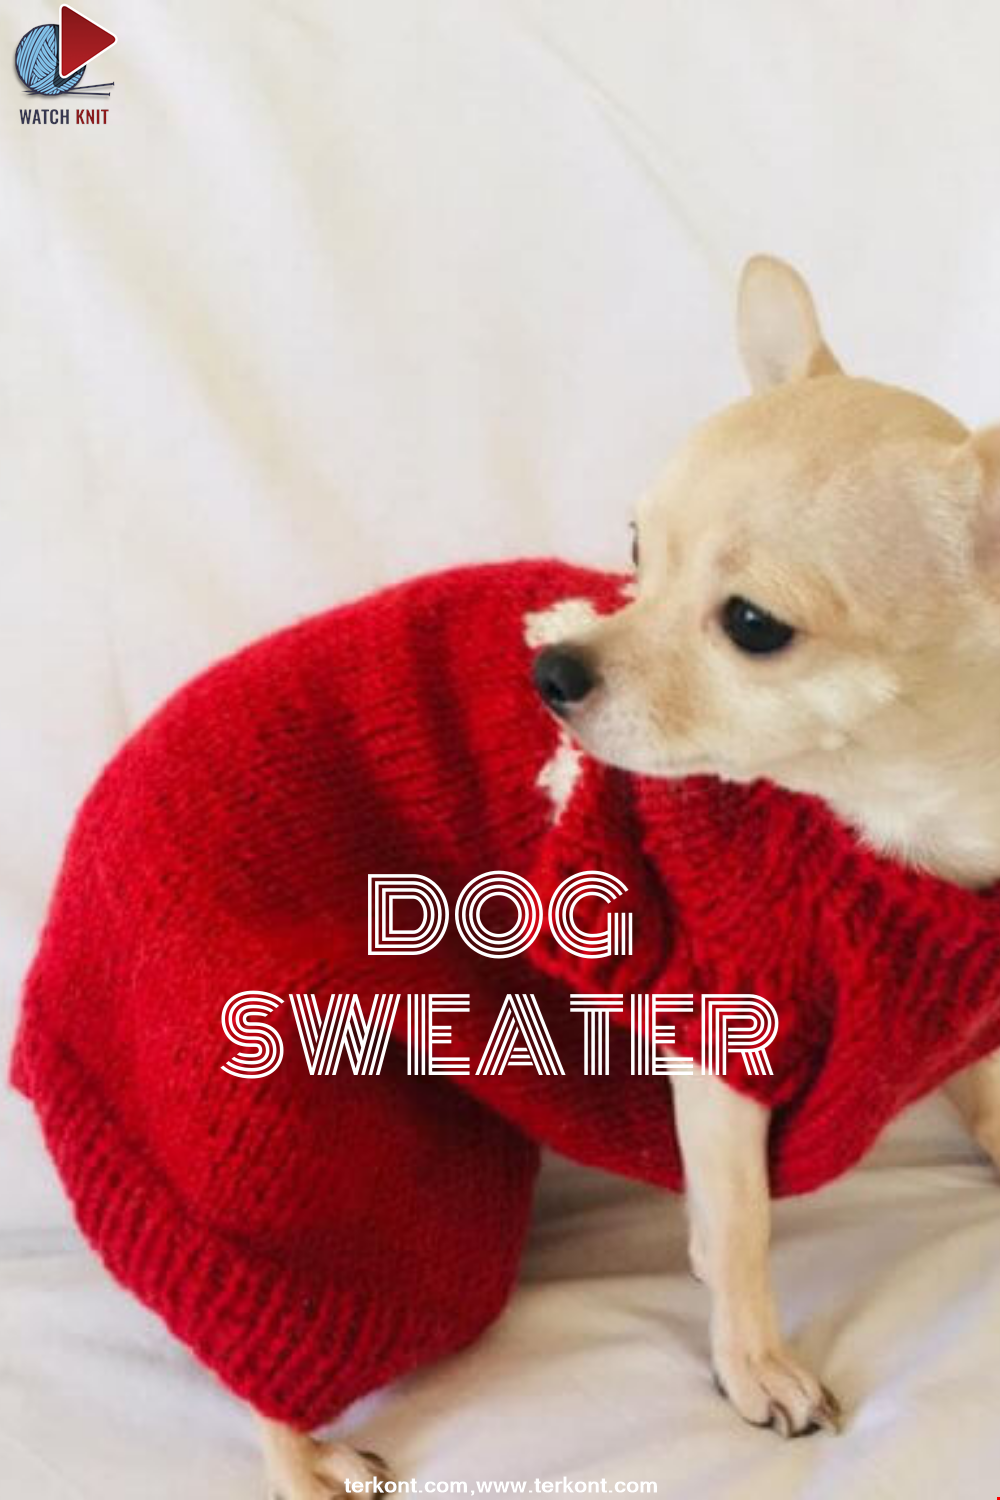
Are those who will enter the new year with their little friends ready? We have a very sweet knitting model for you. With its easy and fast preparation, it will be warm for your dog all winter!
Read More