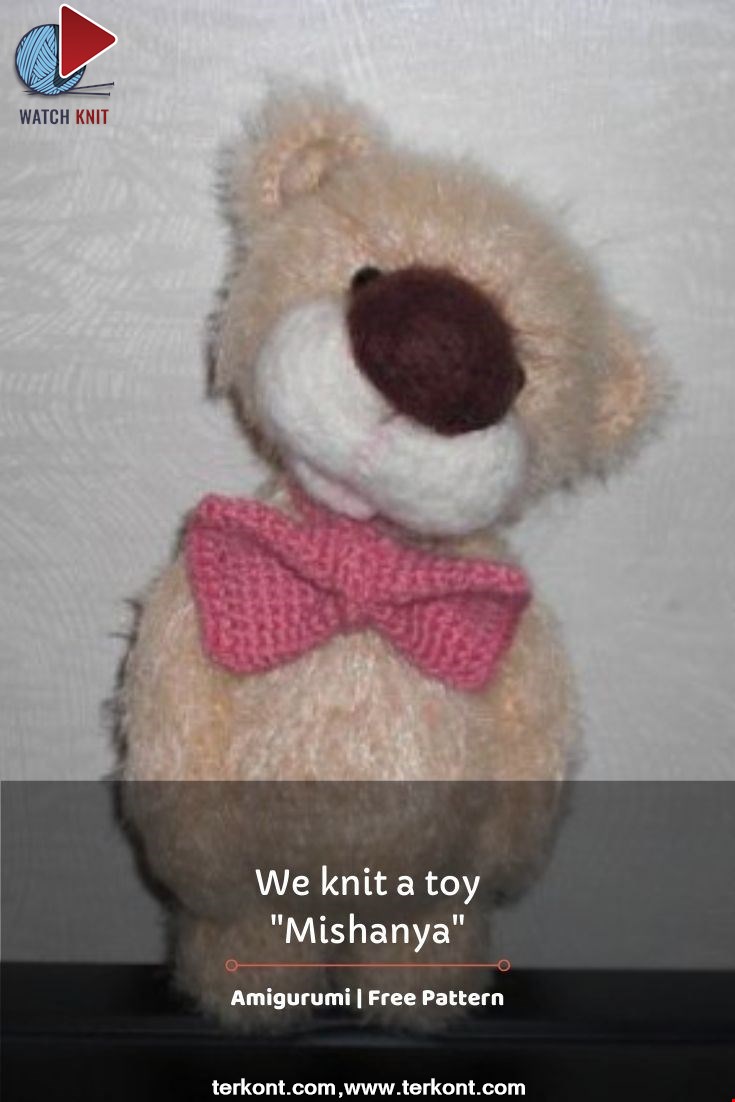
We knit a toy "Mishanya"
23 September 2020, 07:15 867
What do you need:
- Yarn Lotus Grass Stretch, HT or any that can be combed, you can use whatever you like;
- If you knit from acrylic, then you do not need to turn the part out and knit on the wrong side;
- Crochet hook suitable for yarn;
- Filler;
- Eyes;
- Cilia;
- Felting yarn;
- Felting needles (I have # 38, 36);
- A small piece of wire, depending on who knits, may not be needed.
Legend:
- VP - air loop;
- sbn - single crochet;
- ub - 2 loops together;
- pr - knit from one loop 2.
Stage 1: Head
- 1p - 6 loops in a ring;
- 2p - pr in each loop - 6p (12);
- 3p - 1 sbn, pr - 6p (18);
- 4p - 2sbn, pr - 6p (24);
- 5p - 3sbn, pr - 6p (30);
- 6p - 4sbn, pr - 6p (36);
- 7p - 5sbn, pr - 6p (42);
- 8p - 6sbn, pr - 6p (48);
- 9p - 7sbn, pr - 6p (54);
- 10 - 18r - 54sc; (Who wants a rounder head, you can stop at 7 rows, slightly elongated at 9 rows).
- 19p - 7sbn, ub - 6p (48);
- 20p - 6sbn, ub - 6p (42), turn out the part, stuff it and then knit on the wrong side;
- 21p - 5sbn, ub - 6p (36);
- 22p - 4sbn, ub - 6p (30);
- 23r - 3sbn, ub - 6r (24);
- 24p - 2sbn, ub - 6p (18);
- 25p - 1sbn, ub - 6p (12);
- 26r - close by deductions
I got such a head, knitted grass from cotton.

Stage 2: Legs
- 1p - 7 air loops;
- 2p - 1sc in 2 loop from the hook (I don't count the loop on the hook), 3sc, 2pr, 3sc, 1pr (14);
- 2p - 2pr, 4sbn, 4pr, 4sbn, 2pr (20);
- 3 - 4p - sc in each loop of the previous row (20);
- 5p - sc in each loop behind the front wall (20);
- 6 - 7p - sc in each loop of the previous row (20);
- 8p - 5sbn, ub, 2sbn, ub, 2sbn, ub, 5sbn (17);
- 9p - 6sbn, ub, 1sbn, ub, 6sbn (15);
- Turn the part inside out and knit from the inside, stuff it;
- 10 - 14p - sc in each loop of the previous row;
- The legs can be made higher, if you want, then add a couple more rows at your discretion, we stuff;
- 15 - 16p - decreases until complete closure.

Stage 3: Torso
- 1p - 6 loops in a ring;
- 2p - pr in each loop - 6p (12);
- 3p - 1sbn, pr - 6p (18);
- 4p - 2sbn, pr - 6p (24);
- 5p - 3sbn, pr - 6p (30);
- 6p - 4 sbn, pr - 6p (36);
- 7p - 5sbn, pr - 6p (42);
- 8p - 6sbn, pr - 6p (48);
- 9p - 7sbn, pr - 6p (54);
- 10 - 16p at 54sbn;
- 17p - 7sbn, ub - 6p (48);
- 18p - 6sbn, ub - 6p (42);
- 19p - 5sbn, ub - 6p (36);
- 20 - 24p at 36sbn;
- 25p - 4sbn, ub - 6p (30);
- 26r - 3sbn, ub - 6r (24);
- 27r - 2sbn, ub - 6r (18);
- Unscrew the part, fill and knit on the wrong side;
- 28 - 32p at 18sbn;
- Then close with decreases.
I got this "pear"

Stage 4: Handles
- 1p - 6sc in the ring;
- 2p - pr - 6p (12);
- 3p - (1sbn, pr) 6p (18);
- 4p - 10th row each - by 18sbn, turn out, knit on the wrong side;
- 11r - 17 row of 18 sbn;
- 18p - ub, 7sbn, ub, 7sbn (16);
- 19p - 24p - 16sbn;
- 25p - (2sbn, ub) 4 times (12);
- 26p - (1sbn, ub) 4p (8);
- 27p - kill - 4p;
- On the 5th row from the beginning of knitting with threads, I make tightenings and just squeeze with my hand to make a bend;

Stage 5: Ears
- 1p - 6sc in the ring;
- 2p - pr - 6 times (12);
- 3p - (1sbn, pr) 6 times (18);
- 4p - (2sbn, pr) 6 times (24);
- 5p - 24sc, 2ub, fix the thread, leave the thread for sewing.

Stage 6: Ponytail
- 1p - 6sc in the ring;
- 2p - pr - 6p (12) 3, 4p - 12sc, fill, tighten;
- Stage 5.
Rolling up the muzzle
We tear off a small piece of wool for felting, I used Kamtex firms and fluffed it up a little with my hands, stretched it in different directions. I like big faces, so there should be enough wool.

Then I roll the fluffed lump with my hands into a ball and put it on a sponge and go through the office with a needle # 36.

Then we put it on our face to the head and again we go through the office.

And we begin to play, that is, to poke the needle carefully, the needles are very fragile, if the needle does not "stick", then "poke" in another place.
Girls, remember how we sculpted from plasticine to make some kind of shape, we pressed with our fingers from all sides to deepen the pressure more, and here, only instead of fingers we use needles, take your time, everything will work out, only this process is not quick.
So, we form the muzzle - we poke with a needle like this:

and like this:

and like this:


It should turn out something like this:


To get a nose, I go along the contour of the nose with a needle, in the middle of the muzzle I also make a depression with a needle, we also continue to poke all over the muzzle, so that the plump muzzle turned out.
Next, we take a small piece of wool and make a small cake on a sponge.


And we roll it to the bottom of the muzzle along the office from the bottom, leaving one side (so that the mouth is open).

Then we take a needle of a larger number and go through the entire muzzle, mouth, i.e. we grind so that the muzzle is dense.
Now it's time for the spout.
We take a small amount of wool of a different color, make a cake and roll it on the nose.


We also work around the office, poke with a needle from all sides, turn the head, try to be symmetrical on all sides.
At the base of the nose, I made eye tightening.

So all the parts are ready, now we comb and sew with threads.
To keep my head better, I inserted a piece of wire into my head and neck, as if I put it on "like a fork" and sewed it, head to the body.
Here's a simple aluminum wire.

Stage 7: Scarf
The scarf is knitted on two needles with an elastic band of the required length.
And I crocheted the navels:
- 1p - 6sc in the ring;
- 2p - pr - 6p (12);
- 3p - 1sbn, pr - 6p (18);
- 4p - 7p for 18sbn;
- 8p - (1sbn, ub) - 6p (12);
- 9p - kill - 6p;
- 10p - decreases to the end;
- Tie 6 air loops, fasten the thread, cut and sew to the scarf.
All our Mishan is ready!
Category Popular Posts
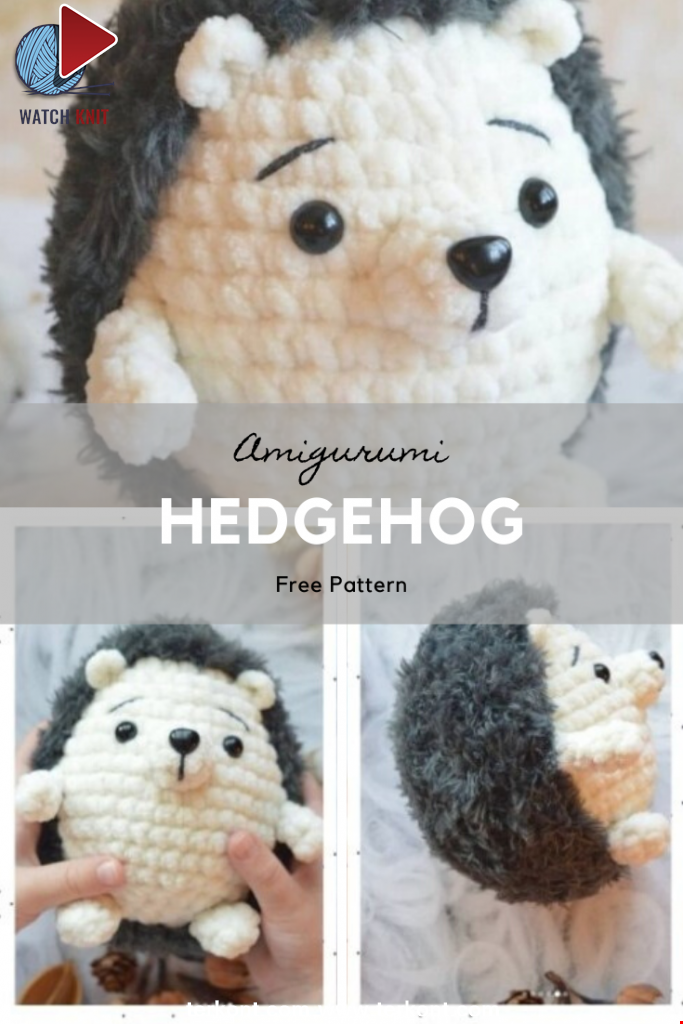
Amigurumi Hedgehog Free Pattern
12 October 2020, 09:52 21155
Making Amigurumi Spiderman
27 January 2022, 20:58 23861

Hello, Are you ready to knit Spiderman, Spider-Man, the children's favorite cartoon character? You will be able to knit easily with detailed explanation. Let's start!
Read More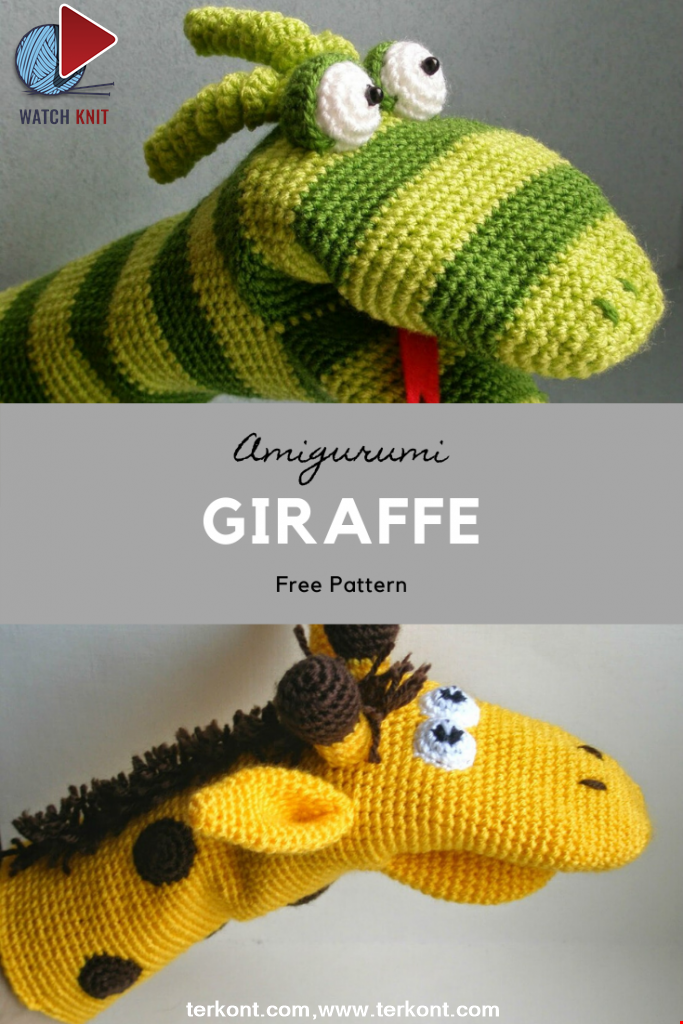
Amigurumi Princess Mononoke Crochet Pattern
12 December 2020, 21:20 12944
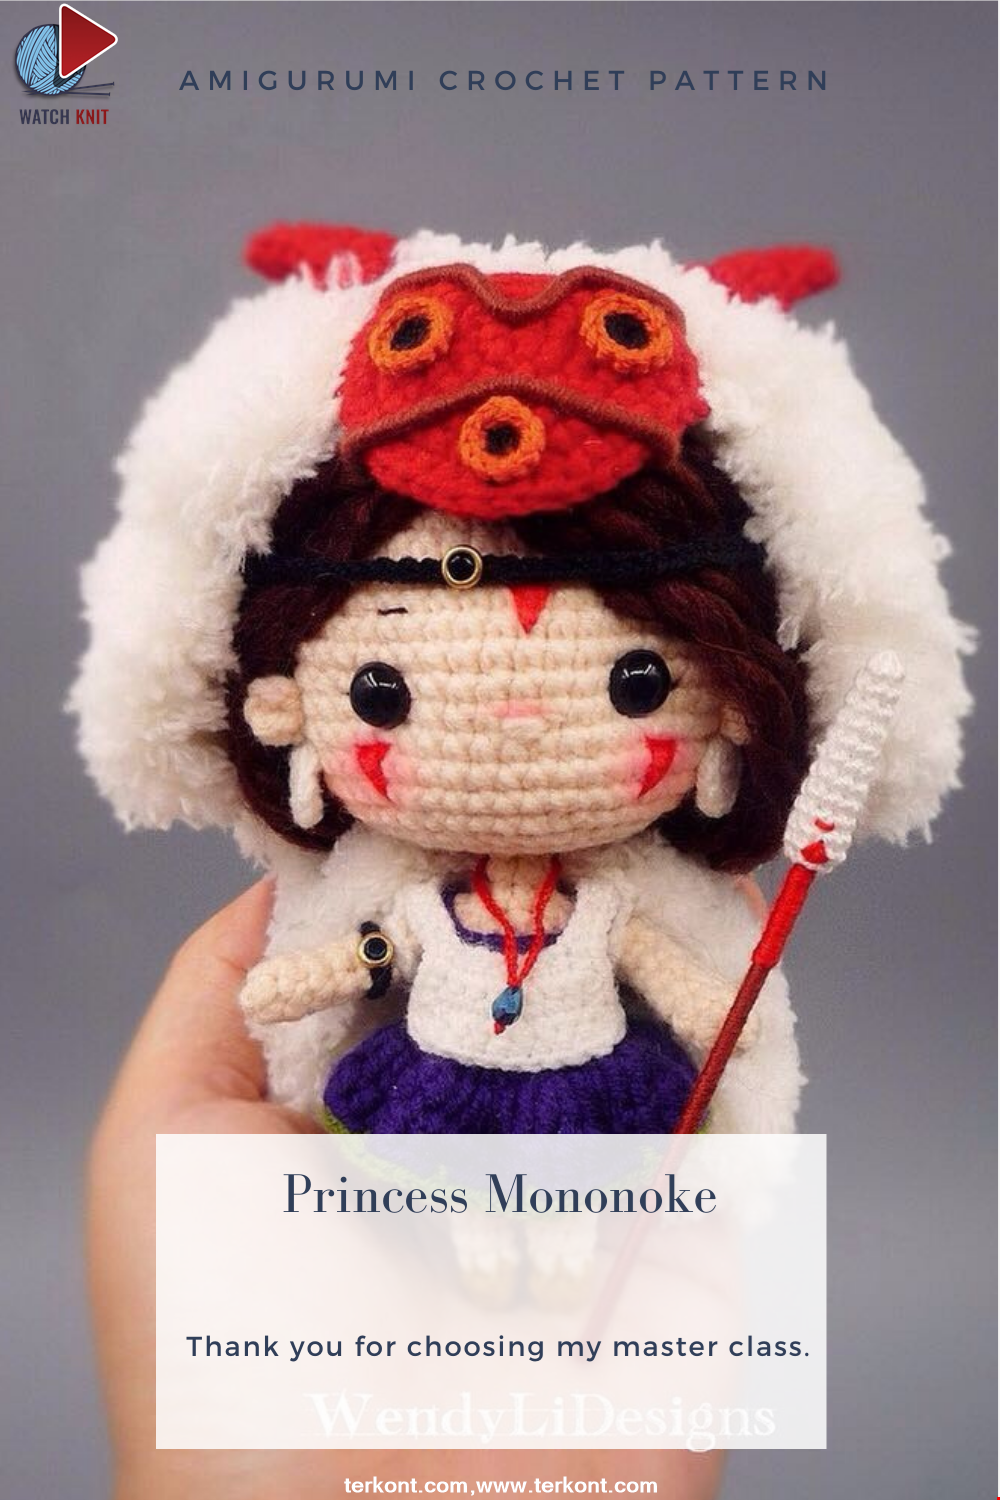
Free Crochet Princess Mononoke workshop by Wendy Li. The knitted girl is the hero of the cartoon by Hayao Miazaki. From the description of the diagram, you will also learn how to knit: a cape, a cloak, a dress and a mask for a doll.
Read More
Princess Disney Amigurumi Pattern
8 October 2020, 14:51 6265
Korean Girl in Traditional Dress (Hanbok)
22 September 2020, 11:11 4391
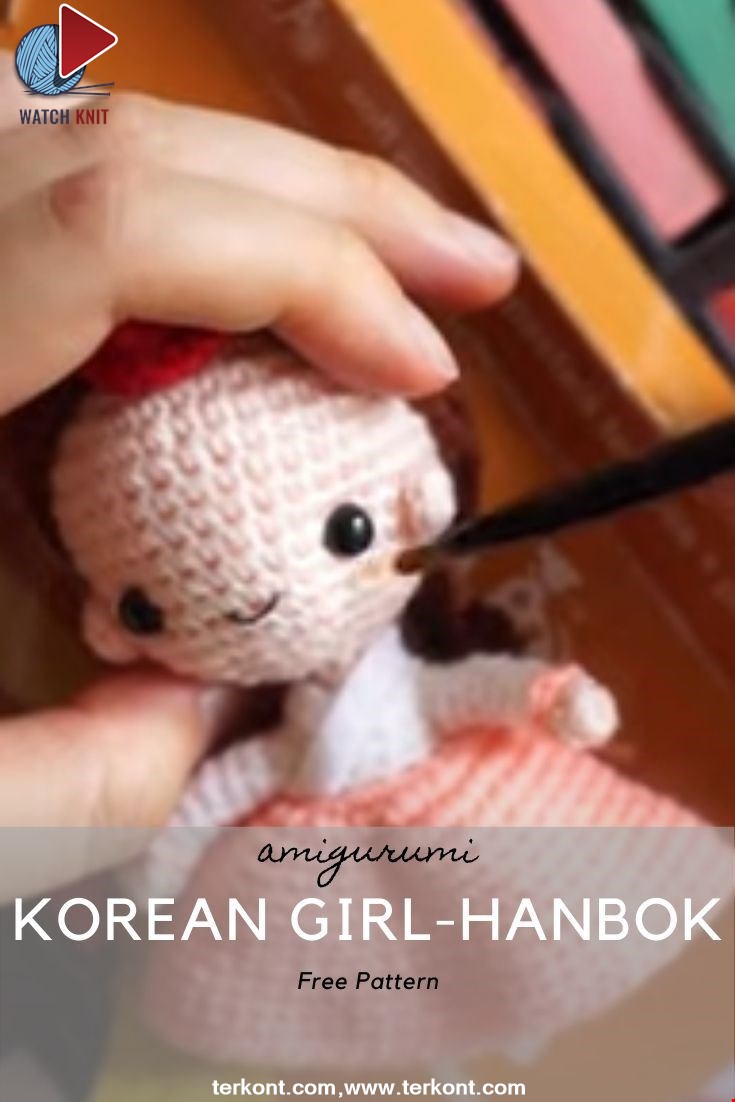
This is the process how I made the amigurumi of Korean Bride in traditional dress Hanbok. Lately I've been watching a lot of Korean dramas and got inspired to make one. I hope you can enjoy the video, and get inspired too!
Read More
Amigurumi Sweet Giraffe Recipe and Preparation
5 January 2022, 14:55 3930
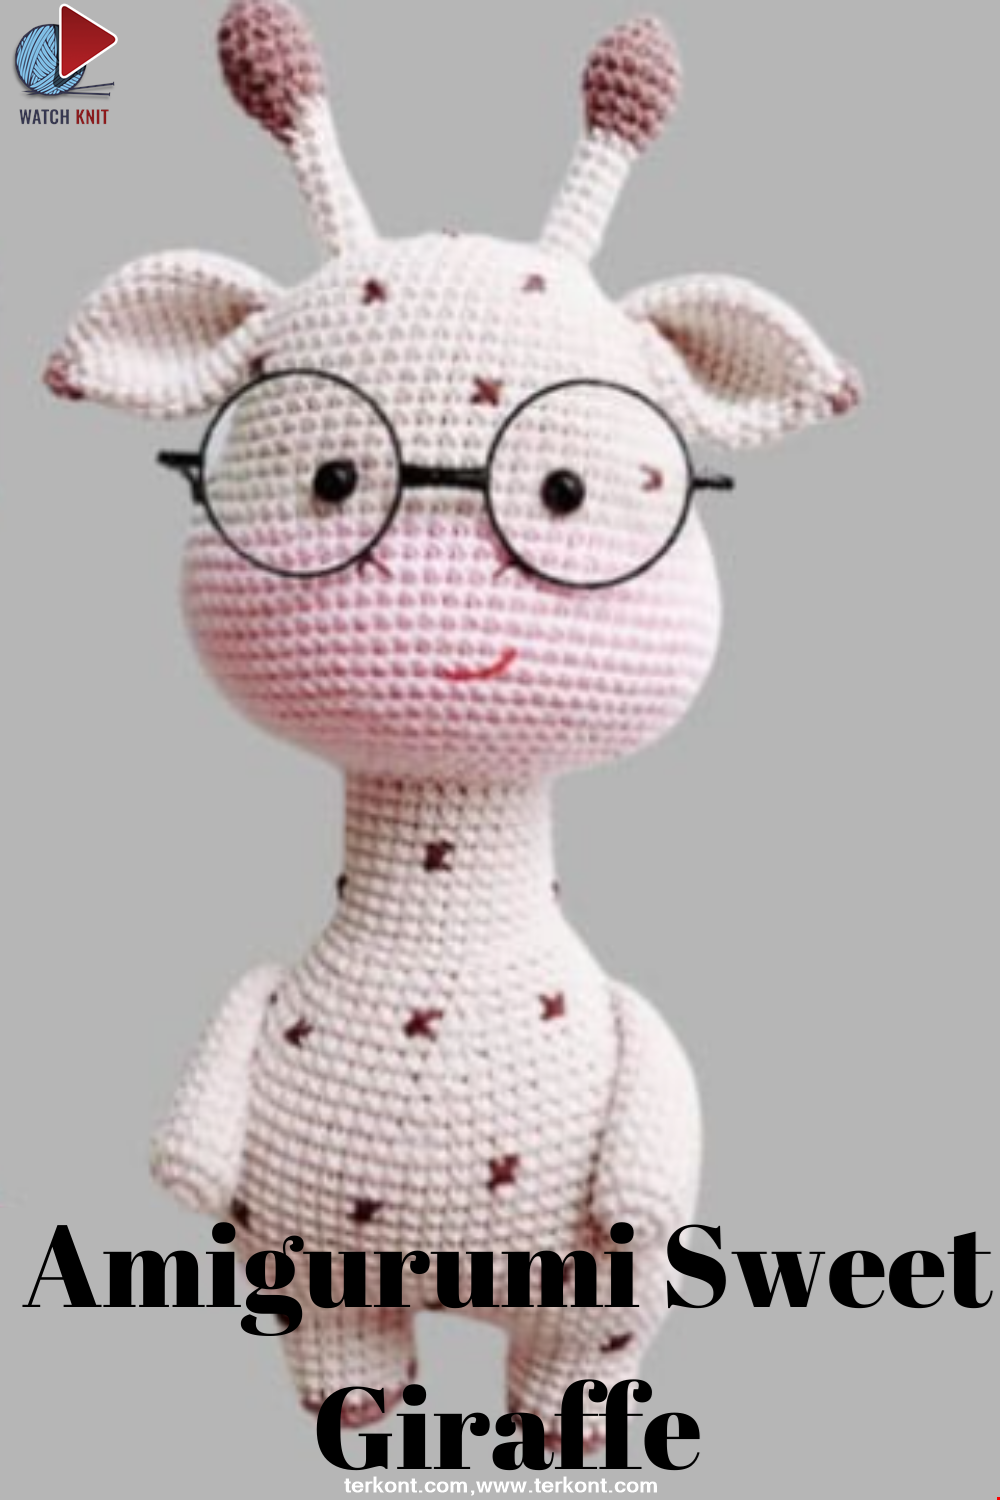
We have come to share with you the most popular model of recent times with the Amigurumi sweet giraffe recipe. I hope it will be an amigurumi animal figure that you like very much and knit with love.
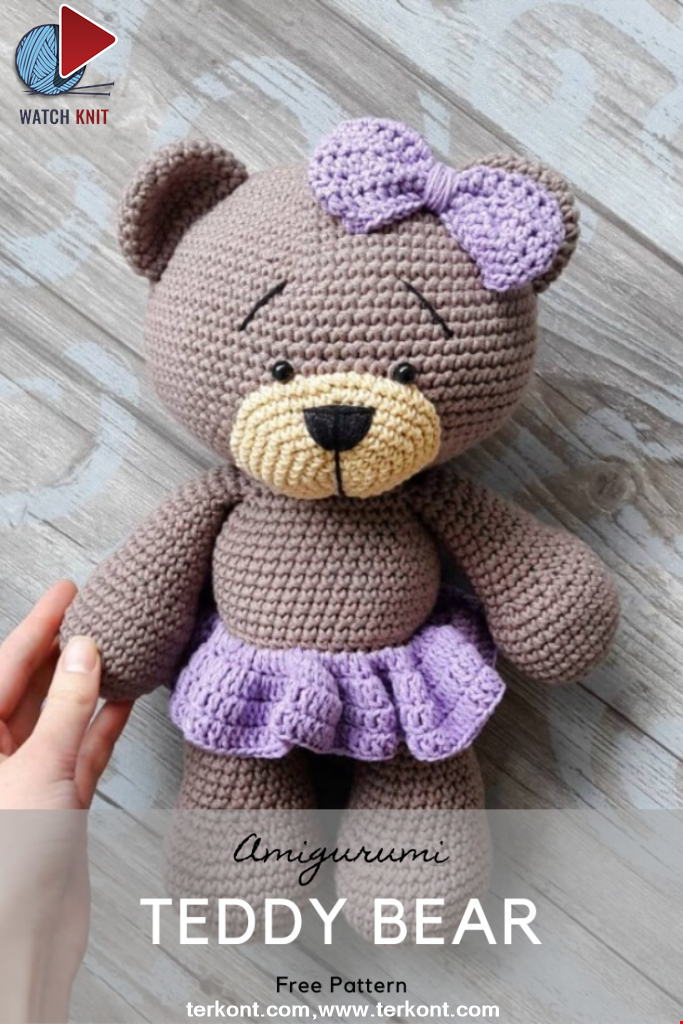
Read MoreLovely Teddy Bear Amigurumi Tutorial
12 October 2020, 10:05 1534