New Year’s Elk
9 October 2020, 08:22 526
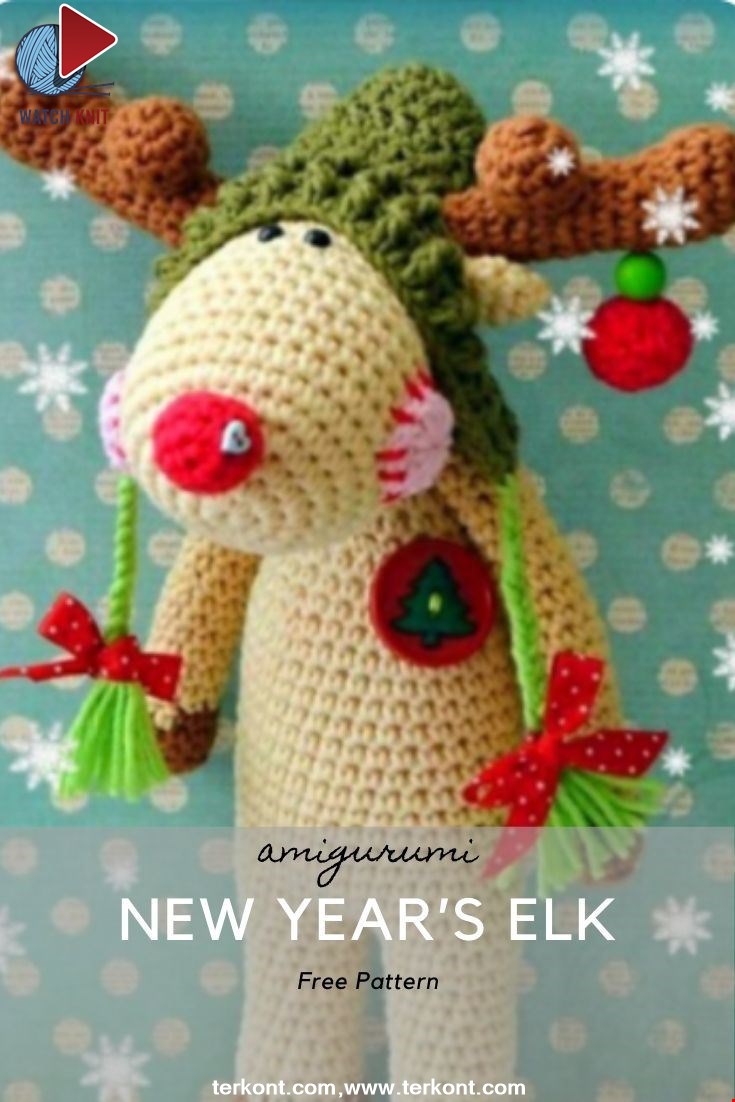
Legs
Hoof color yarn.
1) In the ring of amigurumi 8 sc.
2) 8 app. = 16 RLS
3) 16 RLS
4) 16 RLS – for the rear wall.
5) 16 sc.
6) (dec., 3 sc) 3 times, 1 sc = 13 sc
7) 13 sc.
The main color of the yarn.
8) -16) 13 RLS
17) (approx. 3 RLS) 3 times, 1 RLS = 16 RLS
18) 16 RLS
Tie the legs.
Cut the thread on the first leg, do not cut on the second leg.
Stuff the legs.
Body
19) Connect the legs together: 16 + 16 = 32 СБН
20) -34) 32 СБН
35) (kill, 3 СБН) 6 times, 2 СБН = 26 СБН
36) -37) 26 СБН
38) (kill, 2 СБН ) 6 times, 2 RLS = 20 RLS
39-40) 20 RLS
41) (kill, 1 RLS) 6 times. 2 RLS = 14 RLS
42) -45) 14 RLS To
fill the body.
Head
The main color of the yarn.
1) In the ring of amigurumi 7 sc.
2) 7 app. = 14 RLS
3) (1 RLS, approx.) 7 times = 21 RLS
4) (2 RLS, approx.) 7 times = 28 RLS
5) (3 RLS, approx. 7 times = 35 RLS
6) -11) 35 RLS
12) (3 RLS, ass.) 7 times = 28 RLS
13) 28 RLS
14) (2 RLS, ass.) 7 times = 21 RLS
15) -16) 21 RLS
17) (1 RLS decrease) 7 times = 14 sc To
fill your head.
18) 7 kill = 7 sc.
Hole to tighten.
My comment: Having tied her head in the original, she seemed to me a little small.
Vendulka began to count the ranks and it turned out that there are more of them than in the description.
I tied my head, adding 5 rows of 35 sc. In my opinion, it turned out what is needed.
You can leave as in the original or add rows as you wish.
Pens
Hoof color yarn.
1) In the ring of amigurumi 5 sc
2) 5 prib. = 10 PRS
3) 10 PRS – behind the back wall.
4) -5) 10 RLS
The main color of the yarn.
6) -13) 10 RLS
14) 8 RLS, ub. = 9 СБН
15) -20) 9 СБН
Fill the handles.
Fold the top edges and knit 4 sc
Ears
The main color of the yarn.
1) In the ring of amigurumi 4 sc.
2) 4 sc.
3) 4 app. = 8 sc.
4) -5) 8 sc.
6) dec., 1 sc., Dec., 1 sc., Dec. = 5 sc.
Do not stuff.
Fold the top edges and knit 2 sc.
Nose
Red yarn.
1) In the ring of amigurumi 7 sc.
2) 7 app. = 14 RLS
3) -4) 14 RLS
5) (dec., 1 RLS) 4 times, 2 RLS = 10 RLS
Horns
Hoof color yarn.
Big horn.
1) In the ring of amigurumi 6 sc.
2) 6 prib. = 12 RLS
3) -5) 12 RLS
6) 3 decrease, 6 RLS = 9 RLS
7) -10) 9 RLS
11) 4 RLS, decrease, 3 RLS = 8 RLS
12) -14) 8 RLS
Type.
Little horn.
1) In the ring of amigurumi 5 sc.
2) 5 prib. = 10 RLS
3) -5) 10 RLS
6) (dec., 2 RLS) 2 times, dec. = 7
sc. Fill.
Cheeks
Pink yarn.
5 vp, close in the ring, 3 vp, 10 ccn, s.p.
My comment: I knitted 2 vp, 11 СССН in the amigurumi ring.
It’s easier to tighten the center so that there is no hole.
Ball
Red yarn.
1) In the ring of amigurumi 7 sc.
2) 7 app. = 14 RLS
3) -4) 14 RLS
5) (kill, 1 RLS) 4 times = 10 RLS
My comment: In the last row, I knitted 7 ub., Filled the ball and pulled the hole.
Beanie
Green yarn.
We knit in rotary rows.
1) Dial 37 vp, knit 35 CCH from the third loop.
2) 2 vp, 35 convex SSN.
3) 2 VP, 8 SSN, 5 VP, 5 loops to skip, with the sixth loop 9 SSN, 5 VP, 5 loops to
skip. from the sixth loop 8 CCH.
4) 2 vp, 8 CCH, 5 CCH for 5 vp, 9 CCH, 5 CCH for 5 vp, 8 CCH = 35 CCH
5) -6) 2 cp, 35 CCH
Fold the cap in half and connect the back edge of the sc (inside out).
Turn cap on face.
And also my comment: Losik Vendula did not see a ponytail (although maybe it is).
I made a tail for my Elk (what a moose without a tail!).
For the tail, I usually do this – sewing on details (pens, ears, etc.), I put the yarn in the place of the future tail, and then either weave a pigtail or knot knots.
Assembly and design
1) Sew the head to the body.
2) Sew hands, nose.
3) Sew a small horn to a large one between 4 and 6 rows.
4) Sew horns to the head between 3 and 6 rows.
5) Sew near the horns ears.
6) Sew or glue the eyes on the 12-13th row.
7) Sew the cheeks with red yarn with a seam over the edge.
8) Put on a hat. Attach 6 strands of light green yarn to the edges of the cap (3 pieces of 30 cm each), braid the braids.
9) On the bottom of the braids, tie red bows from a satin ribbon.
My comment. I did not have a narrow satin ribbon, so I knitted the bows with red yarn – in the amigurumi ring 2 vp, 2 C2H. 2 vp, s.s., 2 vp, 2 С2Н. 2 VP, SS, tighten the ring, wrap 2-3 times in the middle of the bow and sew to the pigtail.
10) Sew a piece of jewelry to the horn: put a green bead on a thread that tightens the hole, attach everything to the left horn.
11) On the body in the area of the chest on the left, sew a red (green) button or other decoration.
Category Popular Posts
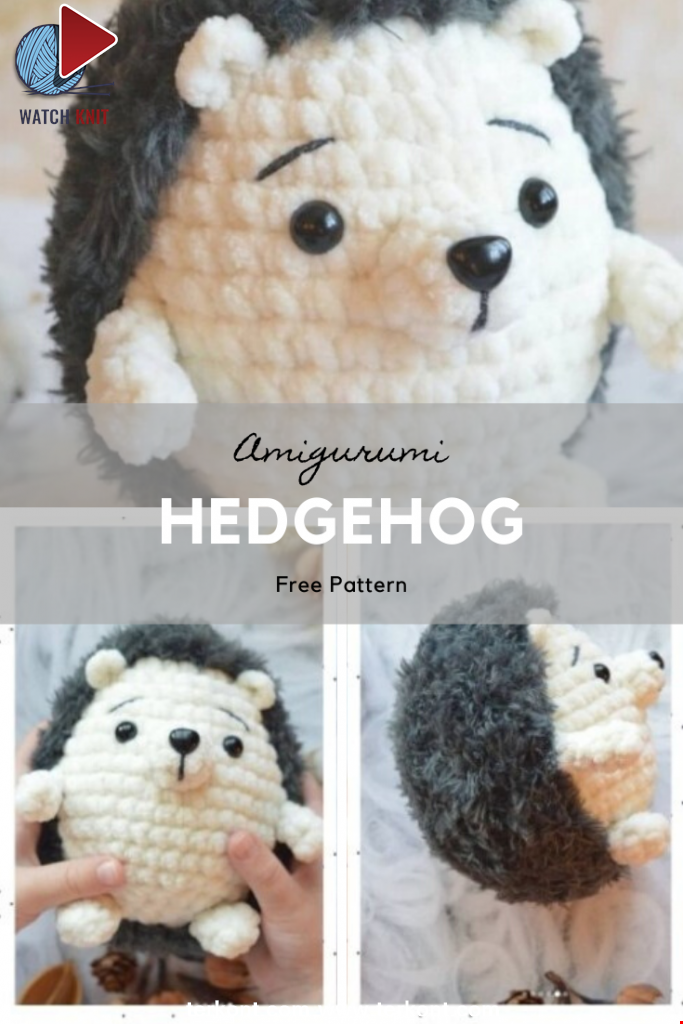
Amigurumi Hedgehog Free Pattern
12 October 2020, 09:52 20985
Making Amigurumi Spiderman
27 January 2022, 20:58 23094

Hello, Are you ready to knit Spiderman, Spider-Man, the children's favorite cartoon character? You will be able to knit easily with detailed explanation. Let's start!
Read More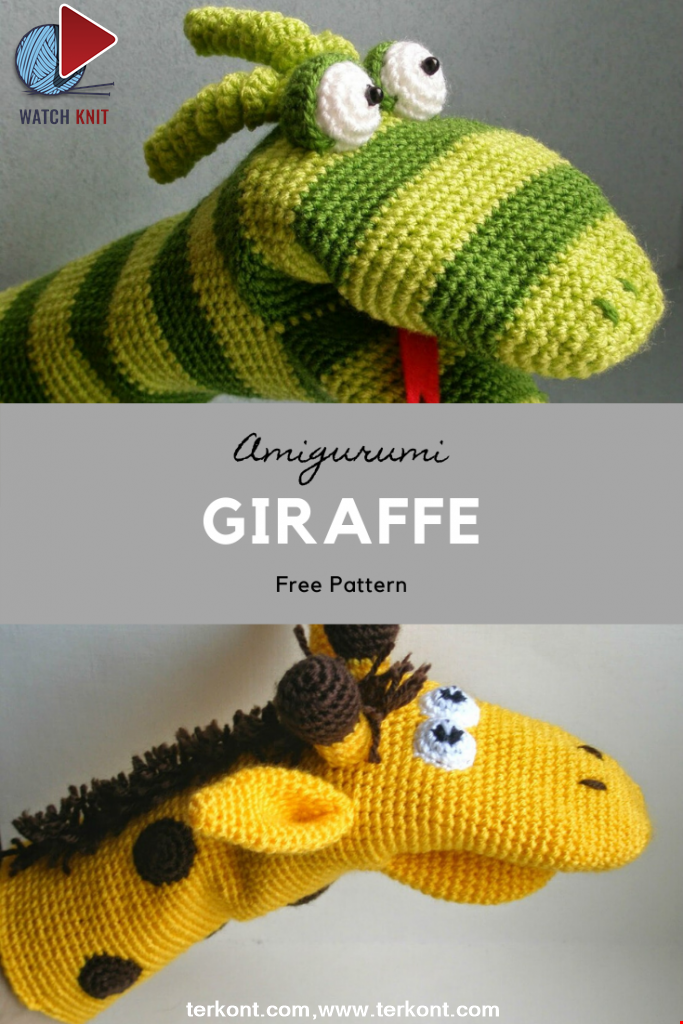
Amigurumi Princess Mononoke Crochet Pattern
12 December 2020, 21:20 12780
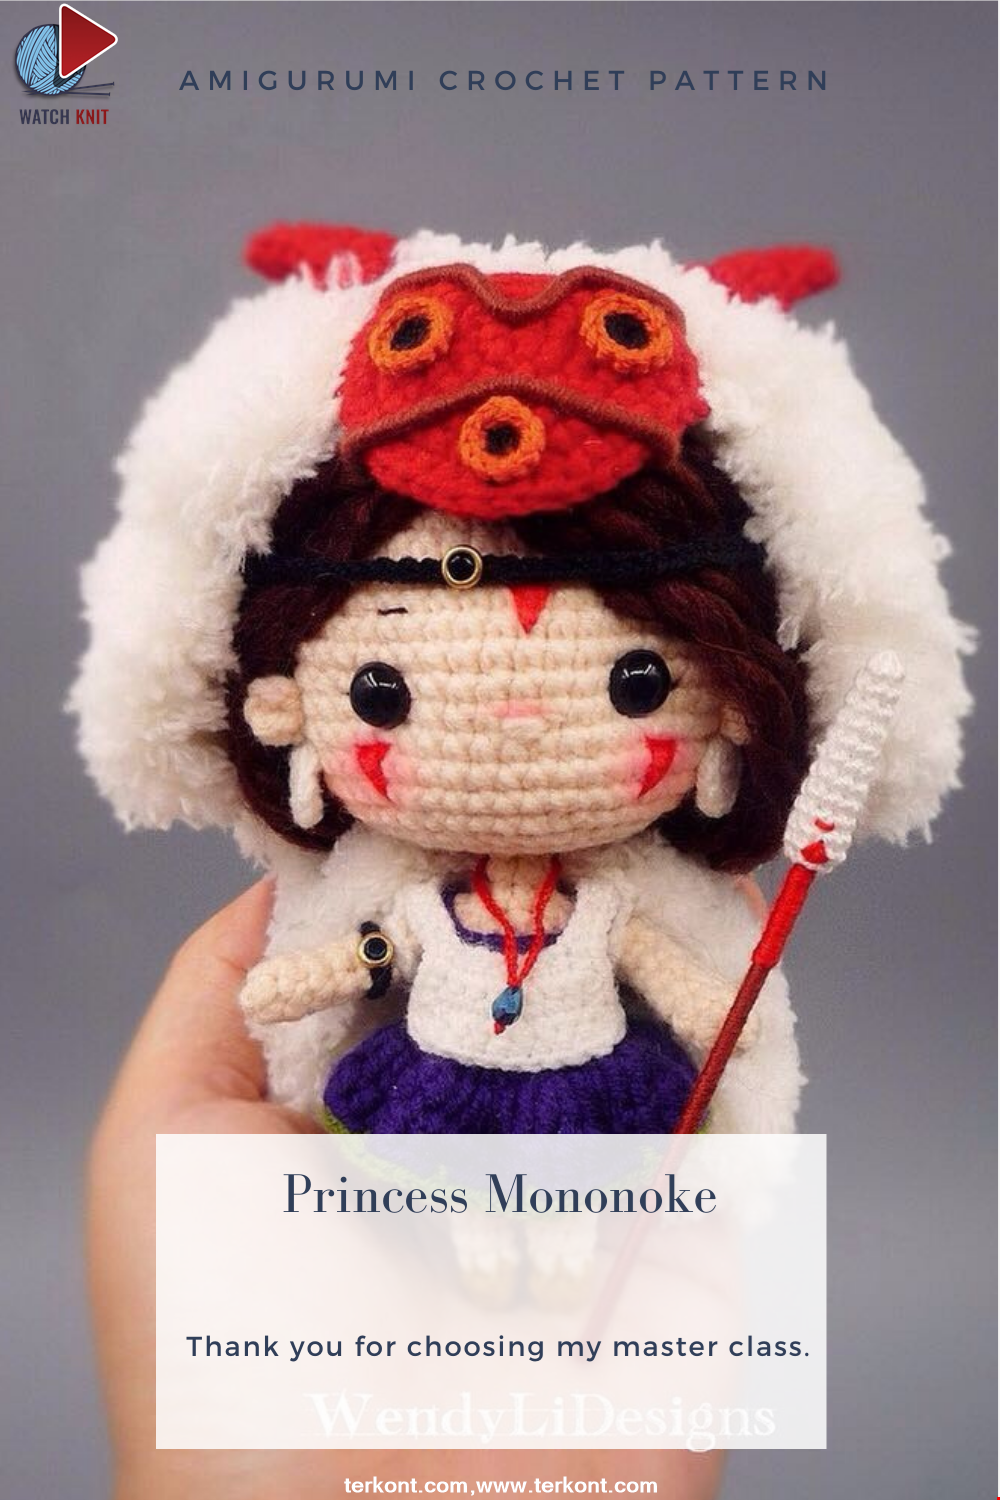
Free Crochet Princess Mononoke workshop by Wendy Li. The knitted girl is the hero of the cartoon by Hayao Miazaki. From the description of the diagram, you will also learn how to knit: a cape, a cloak, a dress and a mask for a doll.
Read More
Princess Disney Amigurumi Pattern
8 October 2020, 14:51 6225
Korean Girl in Traditional Dress (Hanbok)
22 September 2020, 11:11 4358
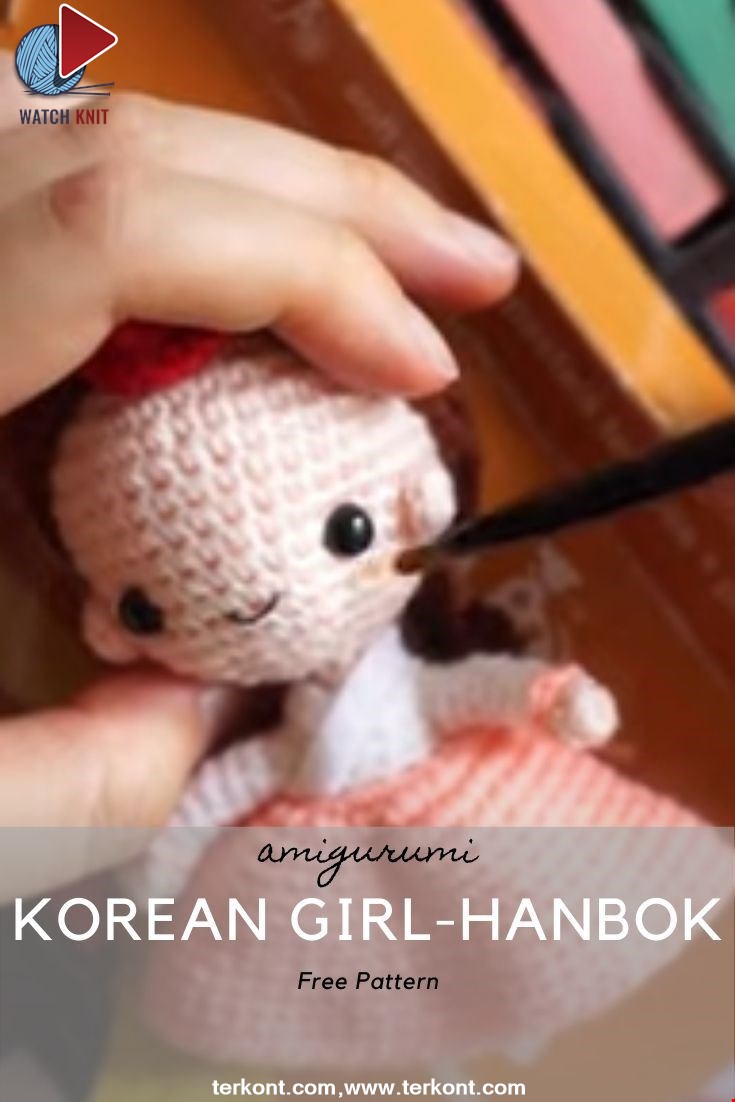
This is the process how I made the amigurumi of Korean Bride in traditional dress Hanbok. Lately I've been watching a lot of Korean dramas and got inspired to make one. I hope you can enjoy the video, and get inspired too!
Read More
Amigurumi Sweet Giraffe Recipe and Preparation
5 January 2022, 14:55 3859
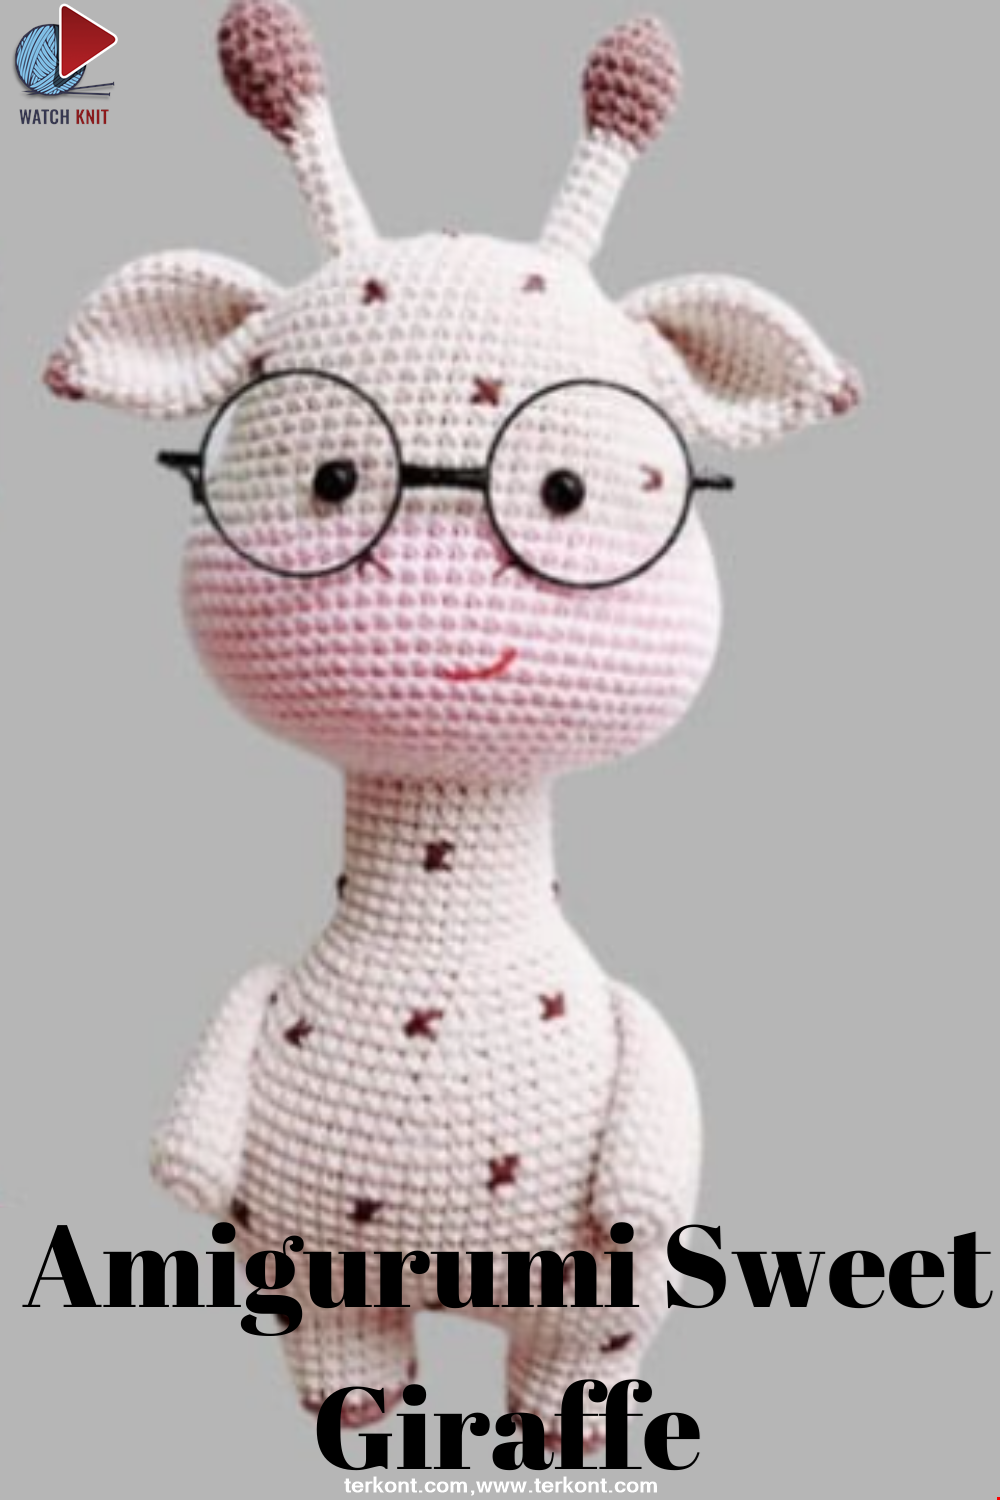
We have come to share with you the most popular model of recent times with the Amigurumi sweet giraffe recipe. I hope it will be an amigurumi animal figure that you like very much and knit with love.
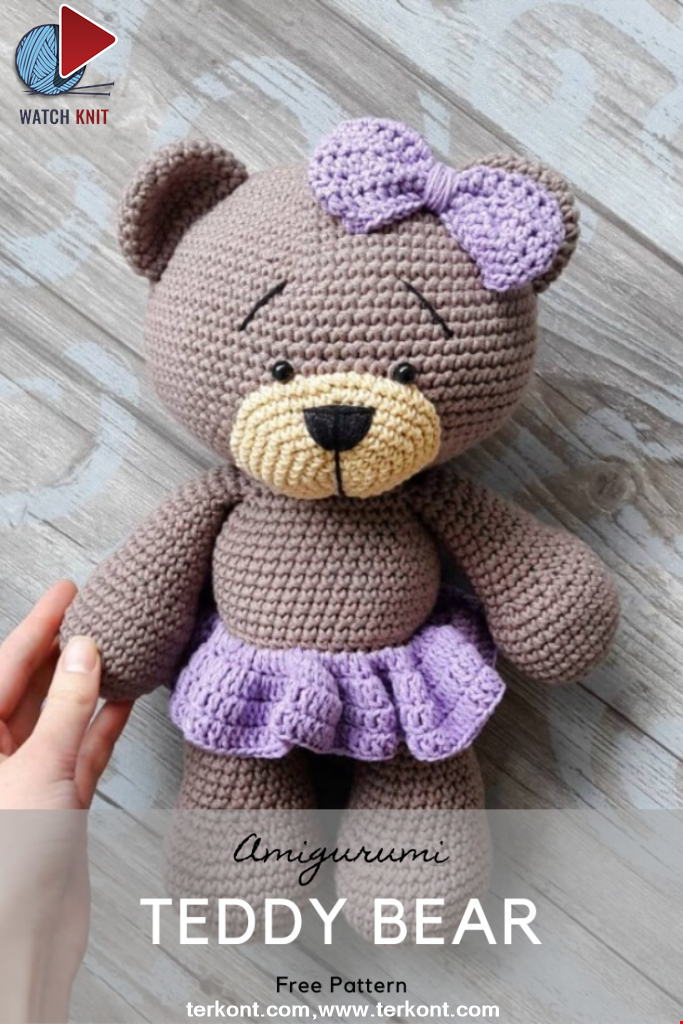
Read MoreLovely Teddy Bear Amigurumi Tutorial
12 October 2020, 10:05 1511