Interesting Posts
12 October 2020, 08:43 544
Torso
With yarn, dial 10 loops. Knit 2 rows of facial stitch.
Track. row: increase in each loop = 20 pet.
Track. row: purl loops.
Track. row: (increase, 1 person.) to the end of the row = 30 loops.
3 rows of front stitch.
Track. row: (1 person, increase, 1 person) to the end of the row = 40 loops.
3 rows of front stitch.
Track. row: (1 person, increase, 2 persons) to the end of the row = 50 loops.
9 rows of front stitch (mark the last row – the front legs will be attached to it).
Track. row: 3 persons, (increase, 5 persons) 2 times, (decrease, 4 persons) 4 times, increase, 5 persons, increase, 4 persons. = 50 loops.
Track. row: purl loops.
Track. row: 3 persons (approx, 5 persons) 2 times, (decrease, 4 persons) 4 times, increase, 5 persons, increase, 4 persons, = 50 loops.
11 rows of front stitch. (mark the last row – the hind legs will be attached to it).
Track. row: (2 persons, decrease, 1 persons) to the end of the row = 40 loops.
3 rows of front stitch.
Track. row: (1 person, decrease, 1 person.) to the end of the row = 30 loops.
3 rows of front stitch.
Track. row: (1 person, decrease) to the end of the row = 20 loops.
Track. number: wrong side.
Track. row: (decrease) to the end of the row = 10 loops.
Tear off the thread, leaving a long end. Tighten the thread and fasten.
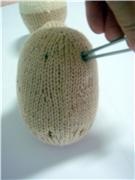
Assembly: Starting with the rear edge selected, make a trunk seam, ending 5 cm from the front edge. Tightly fill, finish the longitudinal seam. Then pick up all the loops of the leading edge on the thread, tighten and fasten. The longitudinal seam will go along the bottom of the body.
Head
We start from the back of the head. With yarn, dial 11 loops.
2 rows of LG
Next row: increase in each loop = 22 loops.
7 rows of LG.
Track. row: (approx, 1 person) to the end of the row = 33 loops.
7 rows of LG.
Track. row: (1 person, arr., 1 person.) to the end of the row = 44 loops.
5 rows of LG.
Switch to oat color for the muzzle of
10 rows of LH.
Track. row: (1 person, decrease, 1 person) to the end of the row = 33 loops.
3 rows of LG.
Track. row: (1 person, decrease) to the end of the row = 22 loops.
Track. row: purl loops.
Track. row: (decrease) to the end of the row = 11 pet.
Tear off the thread, leaving a long end, stretch through the remaining loops, tighten and fasten.
Assembly: Starting with the rear edge selected, make a trunk seam, ending 5 cm from the front edge. Tightly fill, finish the longitudinal seam. Then pick up all the loops of the leading edge on the thread, tighten and fasten. The longitudinal seam will go along the bottom of the head.
Neck
We start from the bottom edge in front. With walnut yarn, dial 8 loops.
2 rows of LG.
Track. row: increase, 6 persons, increase = 10 pet.
Track. number: wrong side.
Track. row: increase, 8 persons, increase = 12 pet.
Track. number: wrong side.
Track. row: increase, 10 persons, increase = 14 pet.
Track. number: wrong side.
Track. row: increase, 12 persons, increase = 16 pet.
Track. number: wrong side.
Dial 4 loops at the beginning of the next 2 rows = 24 loops.
4 rows of LG.
Track. row (2 persons, decrease, 2 persons) 4 times = 20 loops.
7 rows of LG.
Track. row: (2 faces, decrease, 1 faces) 4 times = 16 loops.
5 rows of LG.
Track. row: 6 persons, turn and work only on these loops.
Track. row: 6 wrong
footprint row: 4 persons, decrease = 5 loops.
Track. number: wrong side.
Track. row: 3 persons, decrease = 4 pet.
Track. row: purl
Close loops.
Attach the thread to the remaining 10 loops. Close the first 4 stitches, knit 6 stitches with facial = 6 stitches.
Track. number: wrong side.
Track. row: left decrease, 4 persons. = 5 loops.
Track. number: wrong side.
Track. row: left decrease, 3 persons. = 4 loops.
Track. number: wrong side.
Close the loop.
Assembly: Make a longitudinal seam. Cut off 15 cm of drinking straw (for the neck frame), then bend one of the senile wires in half and insert into the drinking straw to give rigidity. (I did not use senile wire, more about this below). Wrap the frame around the filler, holding it in place with a drop of glue, then insert the frame into the neck and finish stuffing with tweezers. Take a large needle (or knitting needle), insert into the head through the lower longitudinal seam at the level of 11 rows (second row of additions), carefully expand the hole in the neck. Put a little glue on the straw sticking out of the upper edge of the neck, carefully insert the straw into the hole to a depth of about 2.5 cm.Turning the neck so that the seam is back in the center, sew the upper edge of the neck to the bottom of the head.
Find the center line of the back on the body, then use a needle to make a hole for the tube at the intersection of this line with the last row of applications on the front of the body. Insert a straw from the lower edge of the neck. Sew the lower edge of the neck to the body, combining the front edge of the neck with the point of attachment in front of the body.
Girls, the assembly description seems tricky in appearance. Nothing really complicated. I didn’t count the rows, I tried on the position of the neck on the carcass (do not forget that the seam is below the carcass). I strengthened straws not with chenille wire. For this, I used additional straws. Spread along 3 straws. Slightly twisted one open straw and inserted it inside a whole straw. I also inserted another 2. It is easier to show than to describe!

Legs
We start from the top edge. With walnut yarn, dial 24 loops.
8 rows of LG.
Track. row: (2 persons, decrease, 2 persons) 4 times = 20 loops.
7 rows of LG.
Track. row: (2 faces, decrease, 1 faces) 4 times = 16 loops.
7 rows of LG.
Track. row: (1 person, decrease, 1 person) 4 times = 12 loops.
7 rows of LG.
Go for chocolate hoof yarn.
2 rows of LG.
Track. row: (1 person, increase, 2 persons) 3 times = 15 loops.
3 rows of LG.
Track. row: (2 persons, increase, 2 persons) 3 times = 18 loops.
3 rows purl to get a fold.
Track. row: (decrease) 9 times = 9 loops.
Tear off the thread, leaving a long end, stretch through the remaining loops, tighten and fasten.
Assembly: use a compass to draw 4 circles with a diameter of 2 cm on a piece of cardboard and cut them out (I used plastic and a ruble coin for the template). This will be the hoof tab.
Prepare 4 tubes for the skeleton of the legs (as for the neck).
We take every detail of the legs and begin to sew from the hoof. We paste a cardboard (or plastic) circle into the hoof immediately after stitching the hoof itself. Then, on the prepared straws, we glue one edge with glue, glue a little filler.
Then we put glue on top of the glued filler and glue the straw to the liner in the hoof. We do this so that our straw then does not ride on cardboard or plastic, but holds our deer firmly.
Next, we sew the rest of the leg seam, filling the leg with filler as it is stitched. Make sure that the frame is always in the center. So prepare all 4 legs. The straw should protrude 2-2.5 cm. (In the photo I have not cut too much).

Using pins, mark the place where the legs are attached to the body in marked places at a distance of 4 loops on either side of the longitudinal seam of the body. Using a thick knitting needle, make holes for introducing straws (carefully push the strings out so as not to break them). Then sew on the legs, making sure that the longitudinal seam of the leg is back in the center. I first outlined the legroom, prepared the holes. I tried all 4 legs. You may need to adjust the legroom a bit. Then I sewed the legs in turn, while removing the rest. And so that the marked holes are not lost, I marked them with pins.


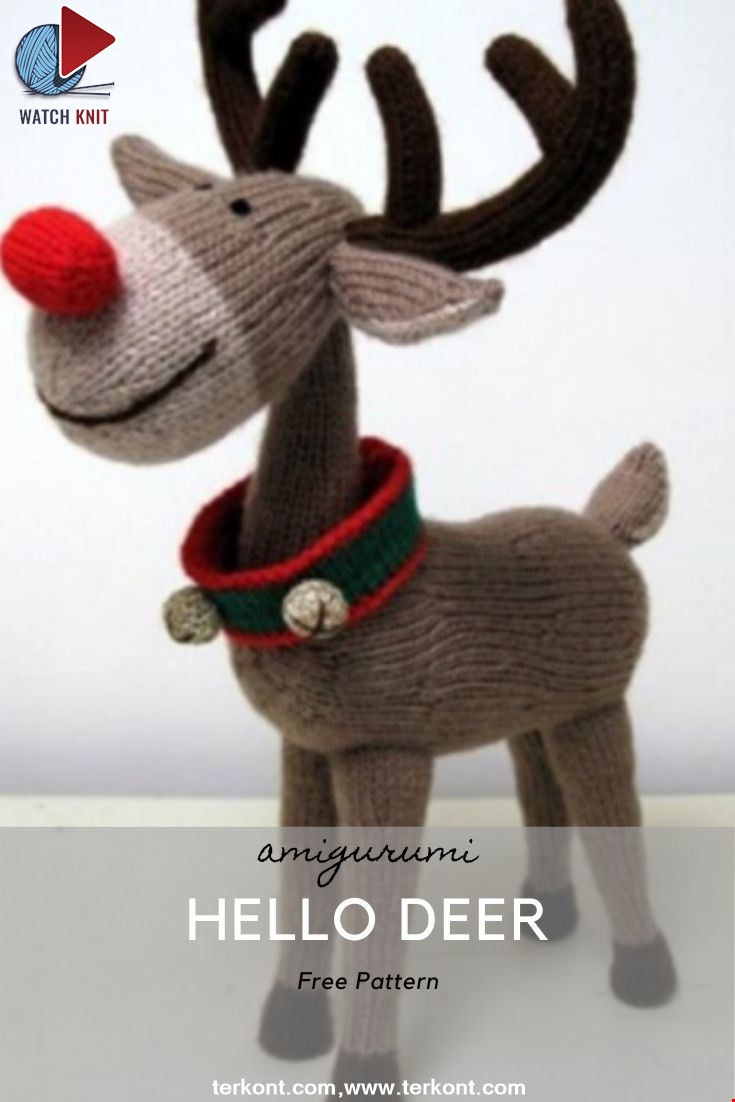
Main horns (2 parts)
Start from the bottom. Chocolate yarn dial 10 loops. Knit 41 rows of LH. Tear off the thread, leaving a long end, stretch through the remaining loops, tighten and fasten.
Large side horns (2 parts)
Start from the bottom. Chocolate yarn dial 10 loops. Knit 15 rows of LH. Tear off the thread, leaving a long end, stretch through the remaining loops, tighten and fasten.
Small side horns. (2 parts).
Start from the bottom. Chocolate yarn dial 10 loops. Knit 9 rows of LH. Tear off the thread, leaving a long end, stretch through the remaining loops, tighten and fasten.

Assembly. Starting from the upper edge, connect the side edges of each part of the main horns, tightening the stitching thread to slightly round the horn L (fill the horns as they are stapled). Next, starting from the assembled upper edge, sew and fill large and small side horns (do not pull the thread). Further – we outline a place for horns. The author has between the first and second rows of applications at a distance of 7 loops from each other. Focusing on the photo, we find the best position for the lateral horns (the author has a small lateral horn 24 rows from the base, a large lateral horn – 4 rows from the base). And yet, I forgot to note, we stuff the horns very tightly. And the author has the original – he advises after the horns are assembled, the parts are sewn together (but not to the head), coat the horns with hairspray, leave to dry on a flat surface, when dry – sew to the head. I didn’t do it, but maybe someone wants to try to do it.

Ears (2 parts)
We start from the bottom edge. With a nut yarn, dial 7 loops.
2 rows of LG.
Track. row: increase, 5 persons, increase = 9 loops.
Track. number: wrong side.
Track, row: increase, 7 persons, increase = 11 loops.
7 rows of LG.
Track. row: decrease, 7 facial, decrease = 9 loops.
Track. number: wrong side.
Track. row: decrease, 5 persons, decrease = 7 loops.
Track. number: wrong side.
Track. row: decrease, 3 persons, decrease = 5 loops.
Track. number: wrong side.
Track. row: decrease, 1 person, decrease = 3 loops.
Track. number: wrong side.
Track, row: remove 1 loop, 2 together front, put on the removed loop on the knitted. Break the thread and stretch through the loop.
The inner part of the ear (2 parts)
Knit like an ear, but with oat yarn.
Assembly: stitch the outer and inner parts together, leaving the base open. Stitch on top both sides of the bottom edge, then fold the bottom edge in half and also stitch on top. Sew ears to the head, fold up, directly in front of the horns.
Tail top
We start from the bottom edge. With walnut yarn, dial 8 loops.
2 rows of LG.
Track. row: increase, 6 persons, increase = 10 loops.
7 rows of LG.
Track. row: decrease, 6 persons, decrease = 8 loops.
Track. number: wrong side.
Track, row: decrease, 4 persons, decrease = 6 loops.
Track. number: wrong side.
Track. row: decrease, 2 persons, decrease = 4 loops.
Track, row: wrong side.
Close the loop.
Bottom of the tail.
Knit like the top of the tail, but with oat yarn.
Assembly: sew the upper and lower parts of the tail, leaving the base open. Lightly fill and sew back to the body at the level of the second row of decays. Sew tight so that the tail can hold upright.
Nose
Red yarn dial 8 loops (side edge).
2 rows of LG.
Track, row: increase in each loop = 16 loops.
9 rows of LG.
Track, row: (decrease) 8 times = 8 loops.
Tear off the thread, leaving the long end, stretch through the remaining loops, tighten and fasten.
Assembly: starting from the selected edge, perform a longitudinal seam, stopping 12 mm from the opposite, stacked edge. Using tweezers, fill the part, finish the seam. Then pick up the set edge on the thread, tighten and fasten. Sew the nose in the center of the head for 5 rows from the beginning of the light part, placing the longitudinal seam of the nose horizontally.
Mouth:
Pull one of the 3 components from a piece of chocolate string, and with the remaining 2 stitches embroider a rounded mouth with a tambour seam, starting and ending 2 rows from the beginning of the light part and passing through the gathered point in front to get a beautiful smooth mouth shape, first outline it with pins .
Collar
Start at the center of the lining. Red yarn dial 48 loops.
3 rows of LG, (starting from the front row).
Track. a row – facial for a fold.
Go to the green thread.
6 rows of PH (starting from the front row).
Go to the red thread. Knit 2 rows of facial (for folding).
3 rows of LH, starting from the front row.
Close the hinges (again the middle line of the lining).
Bells – 3 parts.
Start at the center of the lining. Golden yarn dial 13 loops.
3 rows of LH, (starting from the front).
A row of facial loops for folding.
3 rows of LH (starting from the front).
Tear off the thread, leaving a long end, stretch through the remaining loops, tighten and fasten.
Assembly: bend the part along both knitted fold lines and sew on top the set edge with the closed. Starting from the selected edge, perform a longitudinal seam on the bells, stuff with tweezers. Then pick up the upper edge on the thread, tighten and fasten. Pull one of the 3 components from a piece of chocolate string, and with this thread embroider a cross on the bottom of each bell. Sew one bell in the center of the collar, and one more bell at a distance of 8 loops on each side of the center. Wrap the collar around the neck and sew the edges together. Attach the collar to the deer behind the neck with a few stitches.
Eyes
Mark the position of the eyes with pins, placing them on the third row of applications from the posterior edge of the head and at a distance of 3 loops from each other.
You can embroider the eyes with black thread (a circle of 5 stitches for the chain stitch for each eye), you can sew on beads or use ready-made eyes.
Category Popular Posts
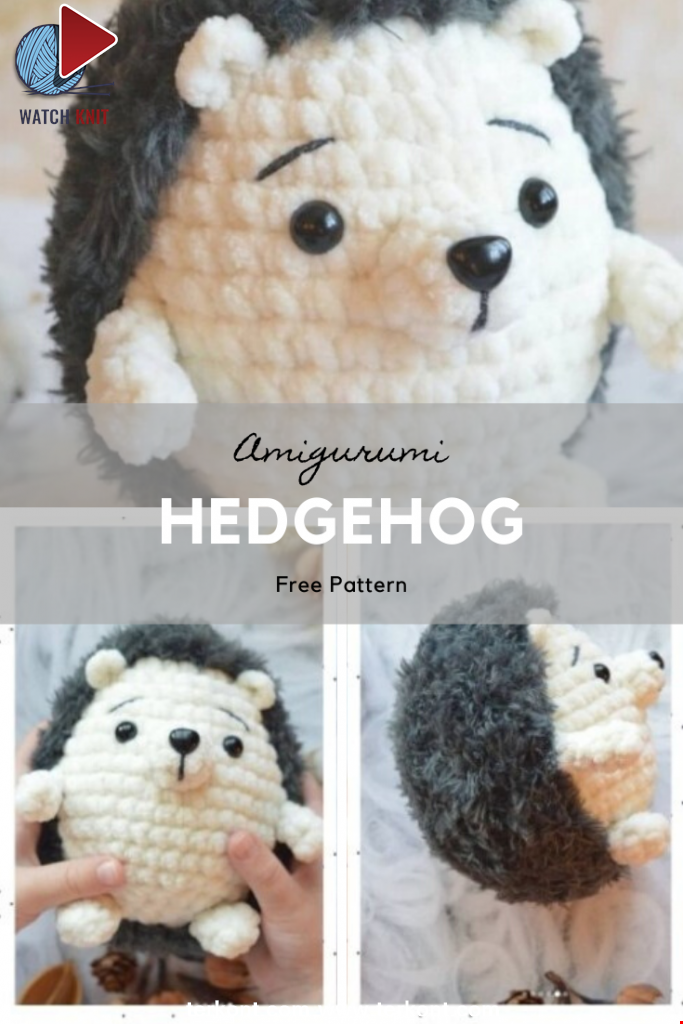
Amigurumi Hedgehog Free Pattern
12 October 2020, 09:52 20971
Making Amigurumi Spiderman
27 January 2022, 20:58 23019

Hello, Are you ready to knit Spiderman, Spider-Man, the children's favorite cartoon character? You will be able to knit easily with detailed explanation. Let's start!
Read More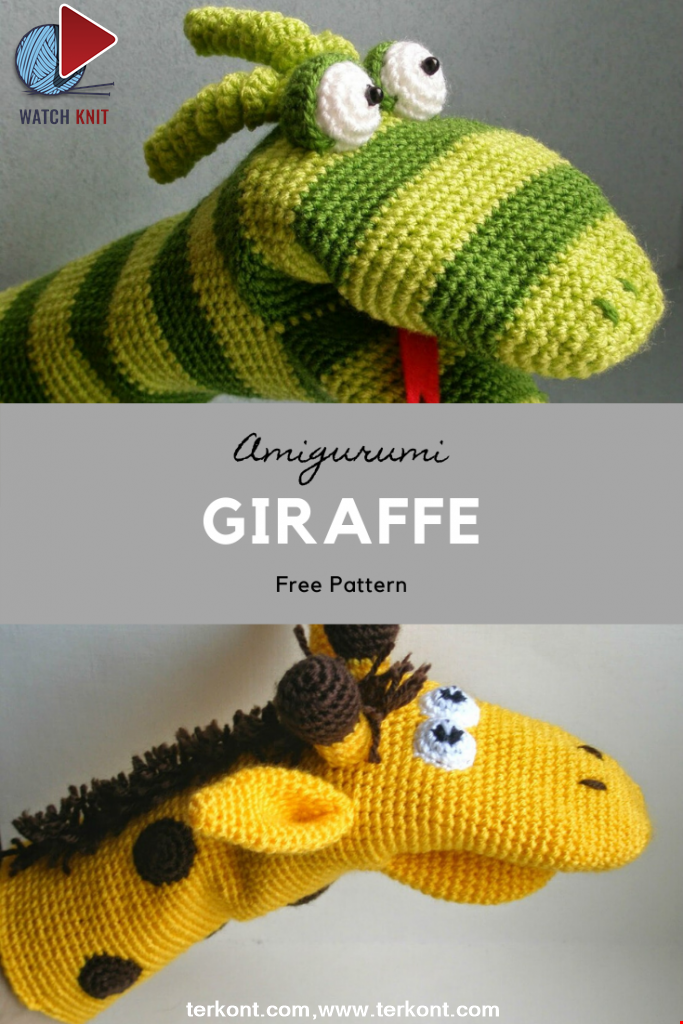
Amigurumi Princess Mononoke Crochet Pattern
12 December 2020, 21:20 12742
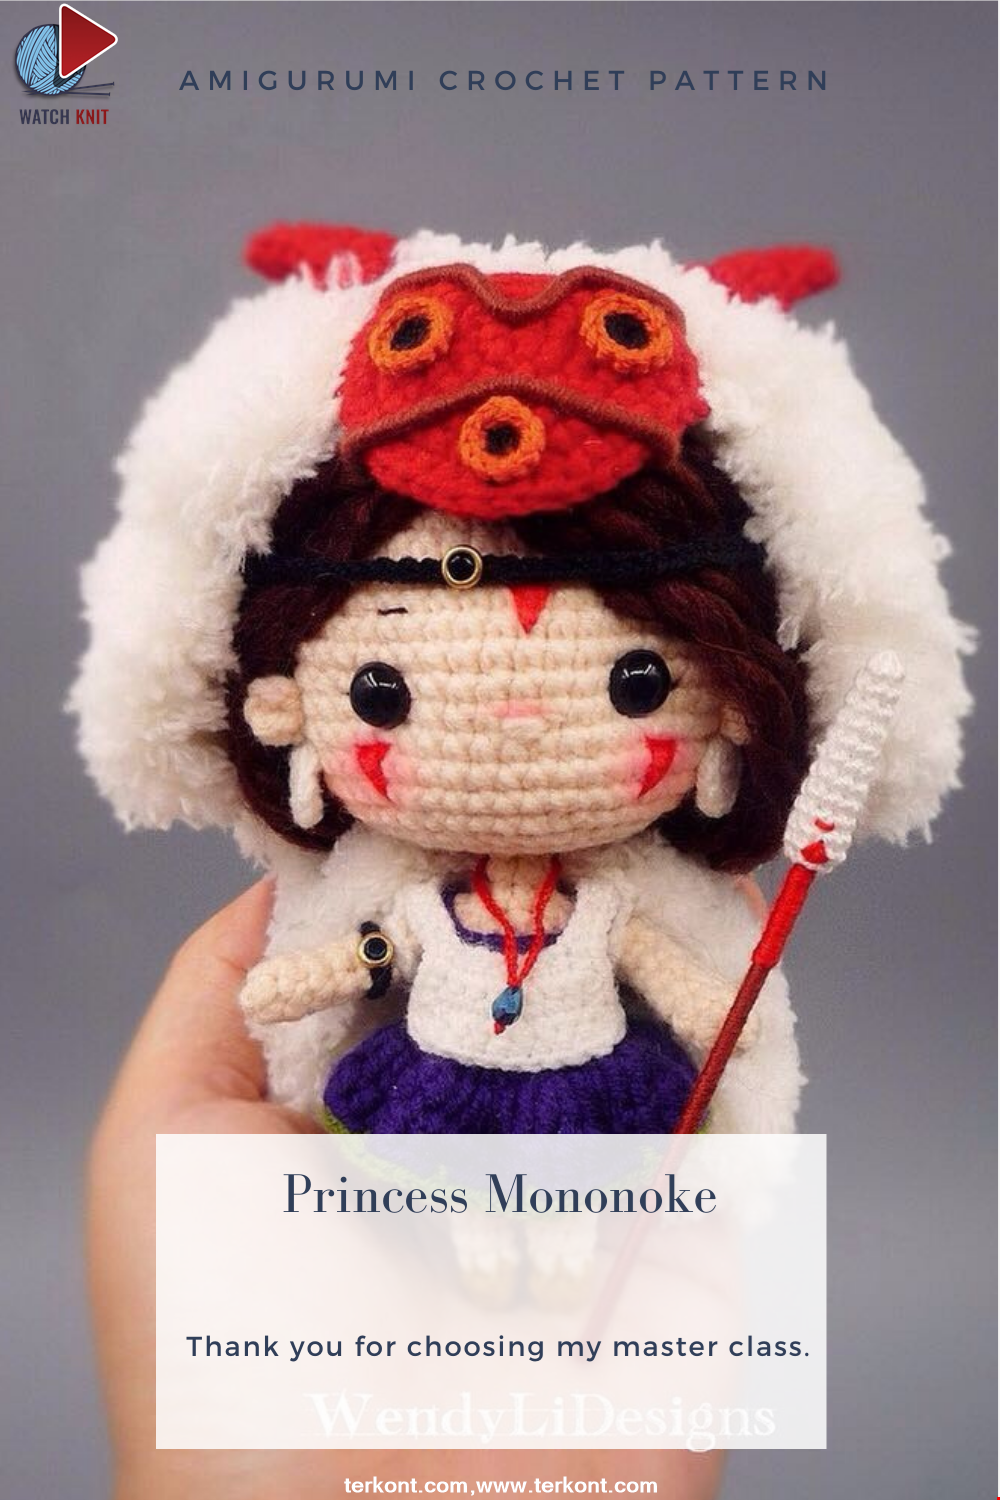
Free Crochet Princess Mononoke workshop by Wendy Li. The knitted girl is the hero of the cartoon by Hayao Miazaki. From the description of the diagram, you will also learn how to knit: a cape, a cloak, a dress and a mask for a doll.
Read More
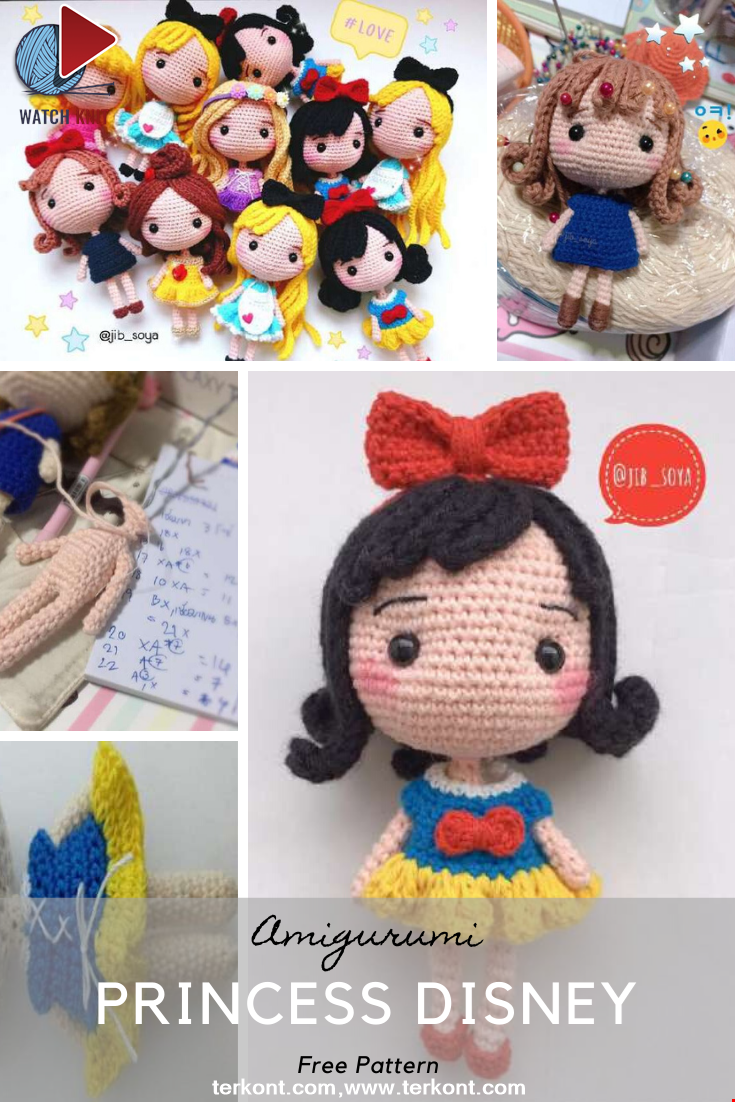
Princess Disney Amigurumi Pattern
8 October 2020, 14:51 6222
Korean Girl in Traditional Dress (Hanbok)
22 September 2020, 11:11 4356
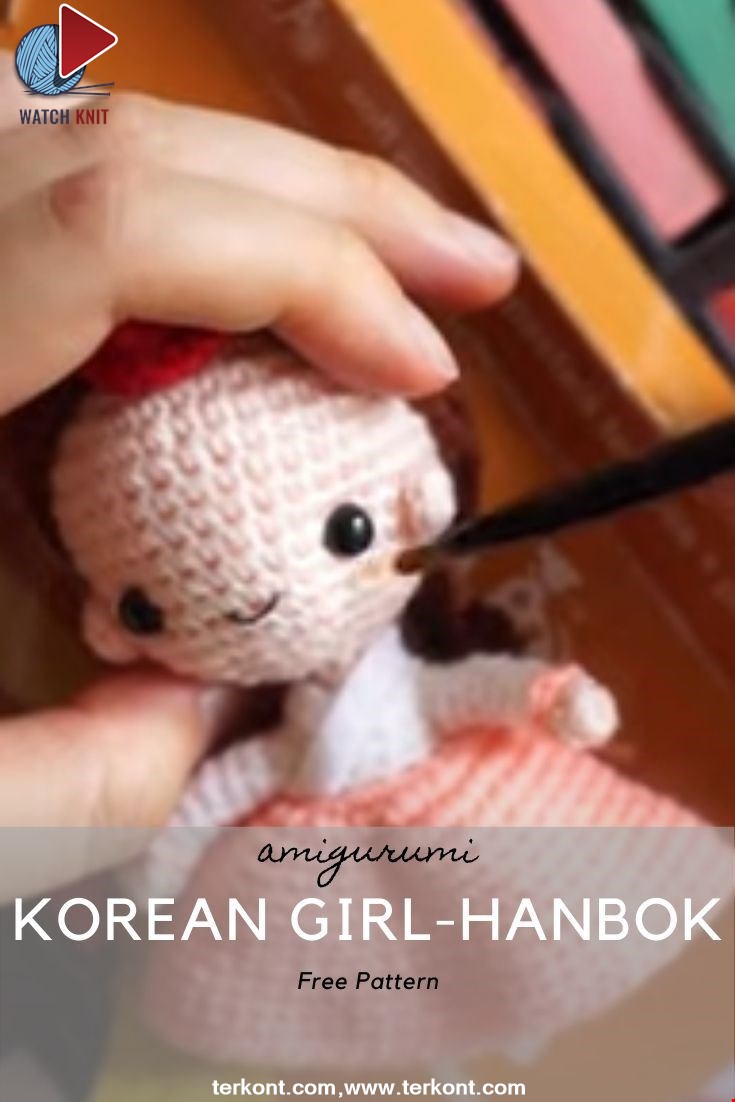
This is the process how I made the amigurumi of Korean Bride in traditional dress Hanbok. Lately I've been watching a lot of Korean dramas and got inspired to make one. I hope you can enjoy the video, and get inspired too!
Read More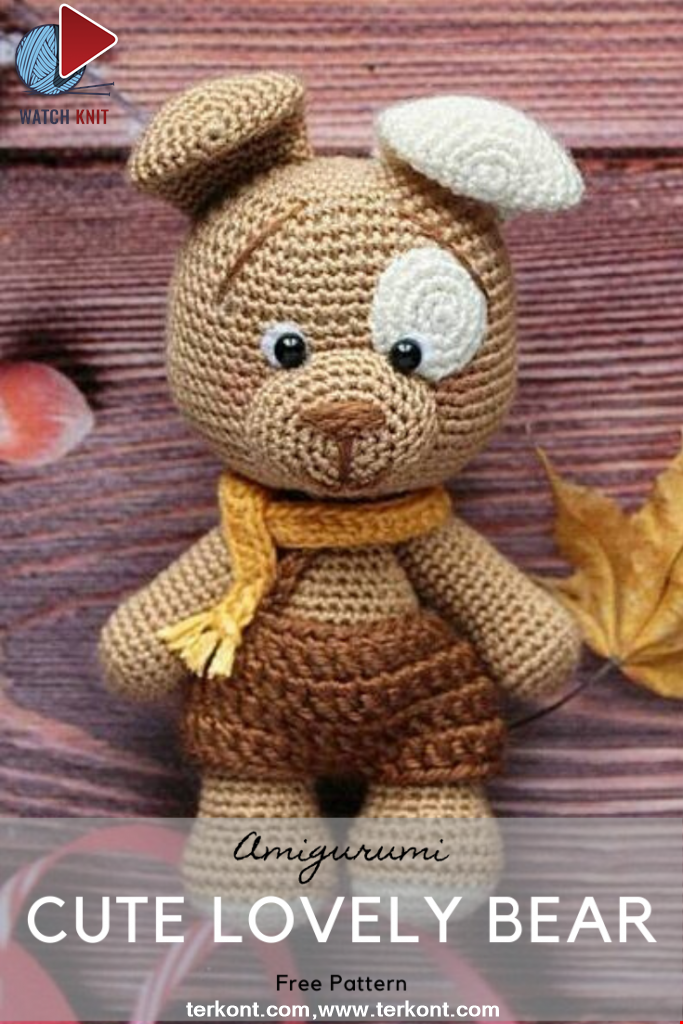
Amigurumi Sweet Giraffe Recipe and Preparation
5 January 2022, 14:55 3856
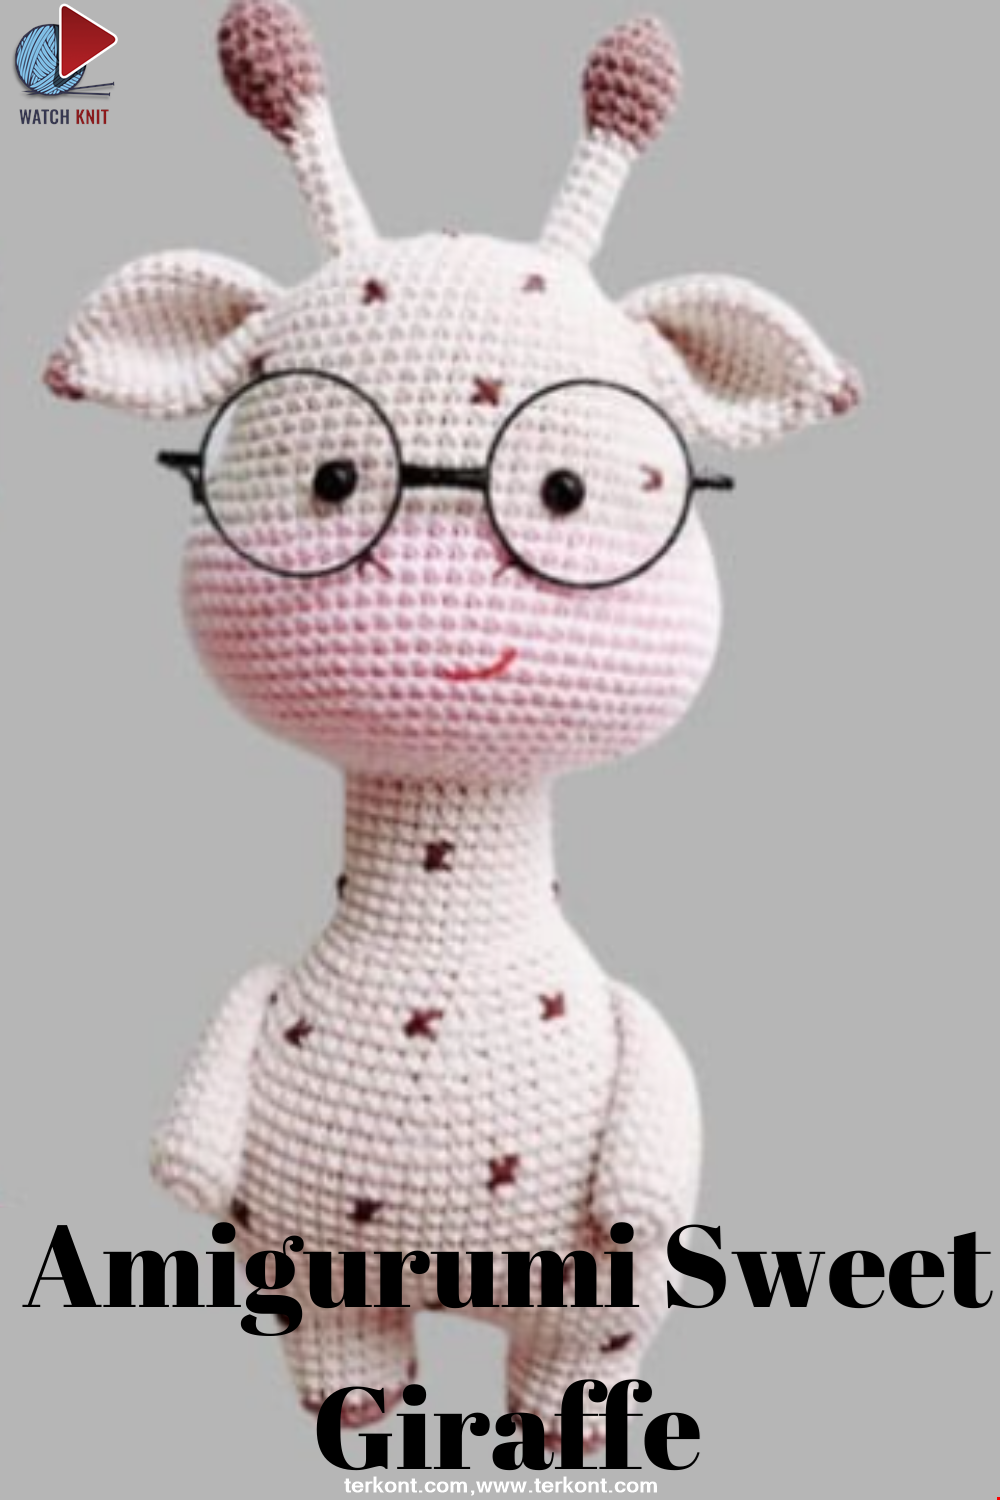
We have come to share with you the most popular model of recent times with the Amigurumi sweet giraffe recipe. I hope it will be an amigurumi animal figure that you like very much and knit with love.
Read MoreLovely Teddy Bear Amigurumi Tutorial
12 October 2020, 10:05 1508