Halloween Basket
27 October 2020, 11:36 546
Featuring Coats Dual Duty XP®
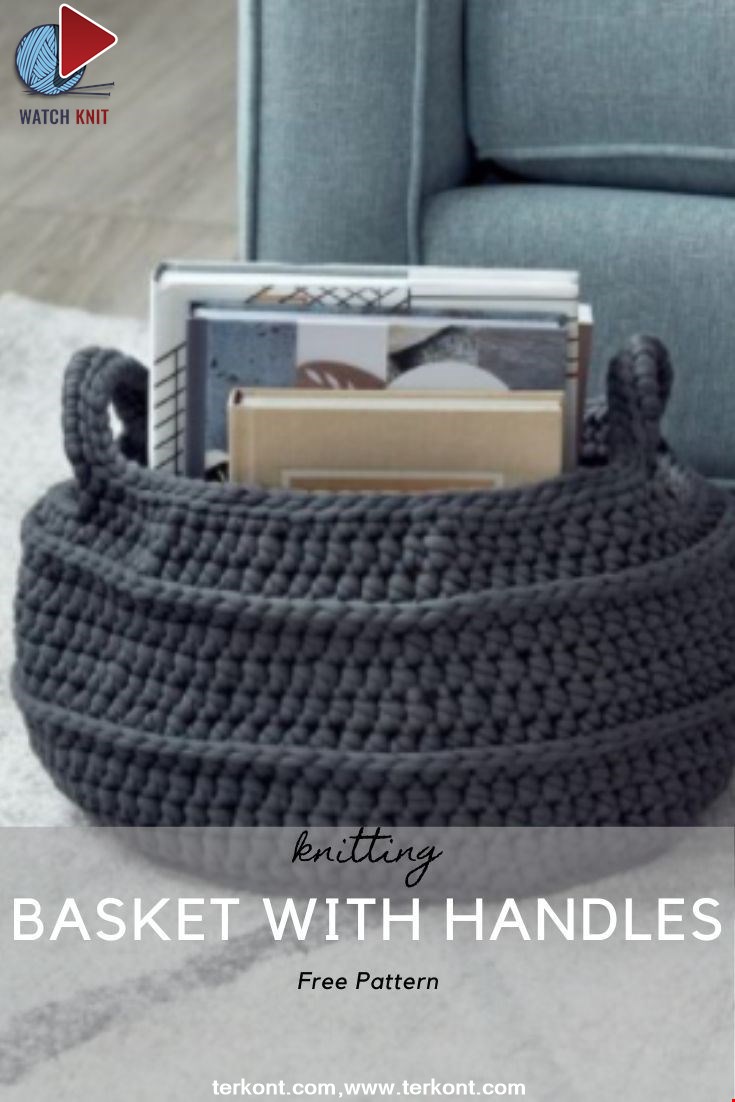
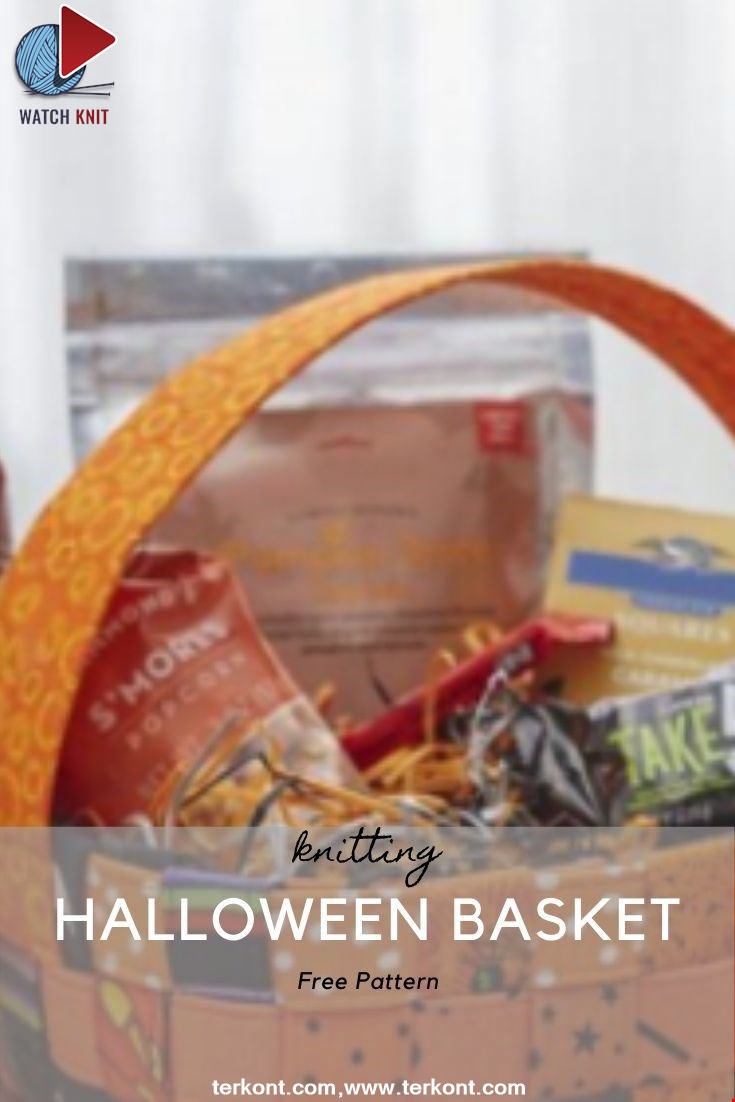
This woven basket is a perfect container for treats—whether you decorate a party table or take it to the door to meet all the goblins and ghouls trick-or-treating for Halloween candy.
Supplies
• Coats Dual Duty XP® All-Purpose thread in coordinat-ing colors
• (12) assorted cotton print strips, 21⁄2″ x 20″ (6.35cm x 50.80cm)
• (4) assorted cotton print strips, 21⁄2″ x 30″ (6.35cm x 76.20cm)
• (1) cotton print strip, 41⁄4″ x 191⁄2″ (10.80cm x 49.53cm)
• (1) yd (.91m) double-sided fusible craft interfacing, such as Peltex
• (2) large plastic spiders
• Craft glue
Cutting
From the fusible craft interfacing, cut:(12) strips, 1″ x 20″ (2.54cm x 50.80cm)(3) strips, 1″ x 30″ (3.54cm x 76.20cm)(1) strip, 13⁄4″ x 181⁄2″ (4.45cm x 46.99cm)
 Preparing the Strips
1. Tightly wrap the respective fabric strips around the (15) 1″ (2.54cm) interfacing strips and fuse in place, noting that there will be a slight overlap of the fabric edges. Encase and fuse all the edges of the 13⁄4″
(4.45cm) strip, folding the fabric raw edges to the inside; this will be the handle.
2. Topstitch all the fabric covered strips close to the long edges. On the 13⁄4″ (4.45cm) strip, sew across the ends to secure and zigzag down the center.
Assembling the Basket
1. With the wrong sides up, lay out six fabric covered 20″ (50.80cm) strips vertically. Mark the horizontal center of the grouping.
2. Using the remaining six fabric covered strips and centering, weave them over one and under one to form a woven basket base.
3. Securely pin the woven strips together, keeping them square and pushing the strips together as tightly as possible in both directions. Stitch around the woven square to secure the shape.
4. Bend up the strip extensions and weave a 30″
(76.20cm) strip over one and under one alternately around the basket sides. Tightly push the strip against the base. Pin in place and trim off the any excess strip length. Whipstitch the ends together and hide the strip ends under a vertical strip. Pin the overlapping sections securely to hold the basket shape for the subsequent rows.
5. Repeat the side weaving process with two more 30” (76.20cm) fabric covered strips.
6. Stitch around the upper basket edge 1⁄4″ (.64cm) above the upper strip folded edge. Trim the excess length of the vertical strips 1⁄4″ (.64cm) beyond the stitching line.
7. Using the remaining unfused 1″ x 30″ (3.54cm x 76.20cm) fabric strip, press it wrong sides together to form the upper basket facing. Working from
the basket right side and matching the facing raw edges to the previous stitching line, sew the strip to the basket upper edge using a 1⁄4″ (.64cm) seam allowance, trimming excess length and tucking the finishing end into the starting end.
8. Fold the facing to the basket inside and hand-stitch in place.
Finishing the Basket
1. Position the 13⁄4″ (4.45cm) covered strip midway on each side of the basket to form the handle; overlapping the first horizontal weaving row.
2. Stitch the handle ends in place forming a box to secure.
3. Glue the spiders in place near each end of the handle.
Category Popular Posts
Korean Girl in Traditional Dress (Hanbok)
22 September 2020, 11:11 4358
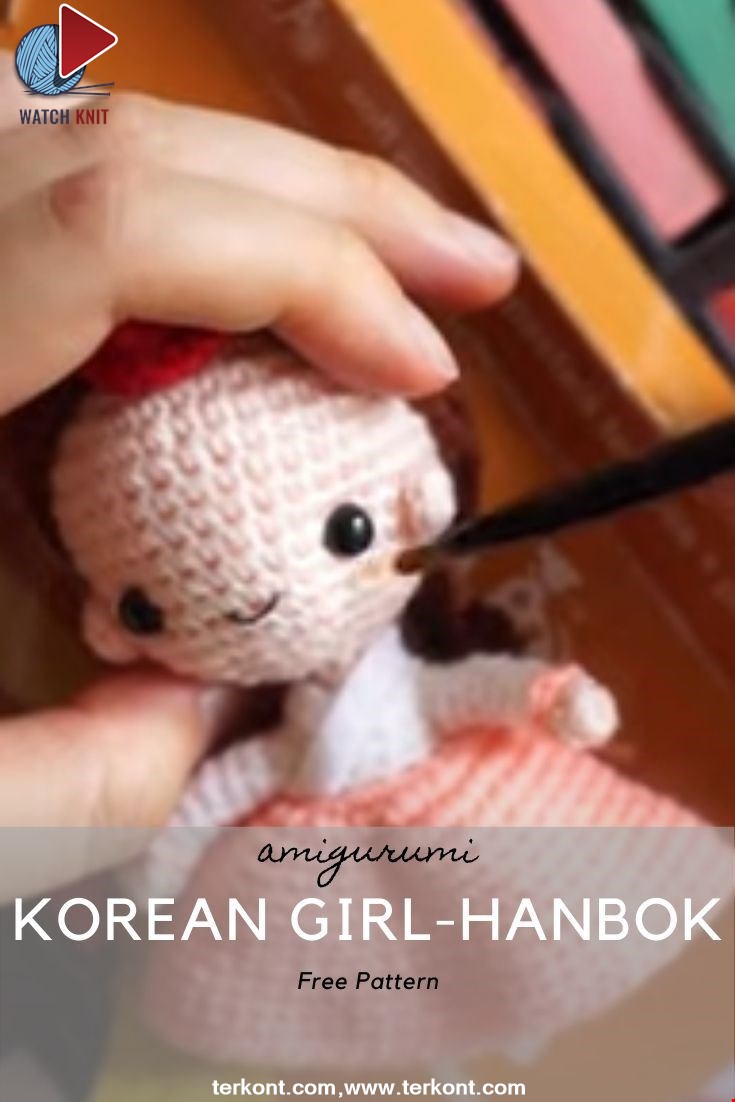
This is the process how I made the amigurumi of Korean Bride in traditional dress Hanbok. Lately I've been watching a lot of Korean dramas and got inspired to make one. I hope you can enjoy the video, and get inspired too!
Read MoreY Auger construction
27 January 2022, 21:16 1469
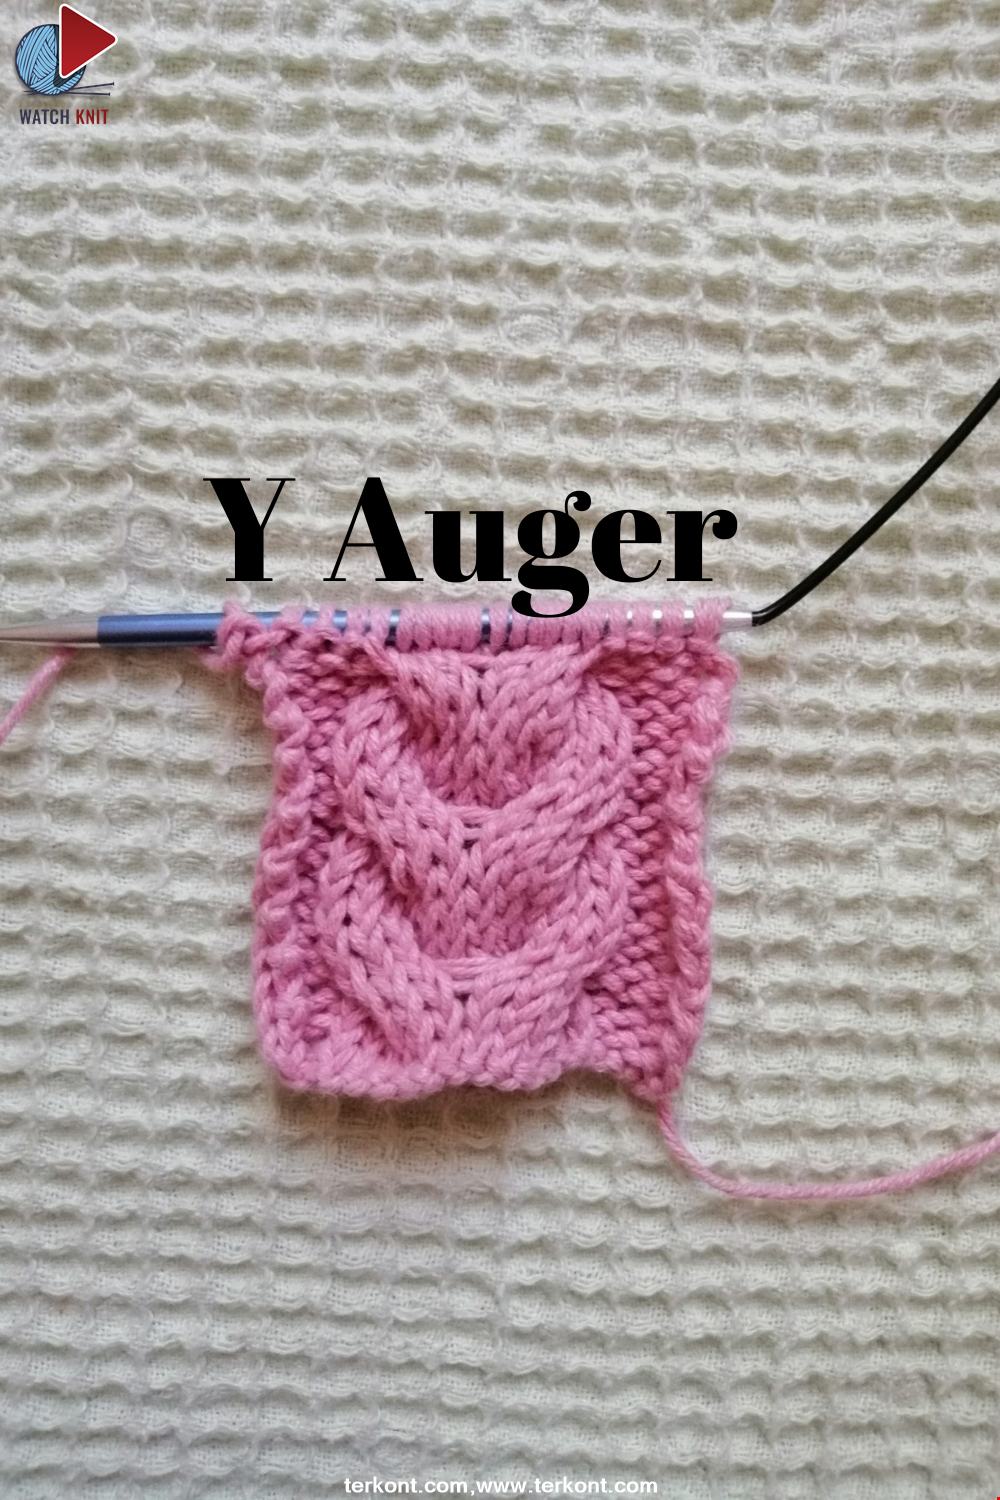
Hello everyone! We have prepared a Y twist model, which is very suitable for vests and cardigans, for you. This model is actually very easy to make! Let's start knitting this beautiful model right now!
Read More
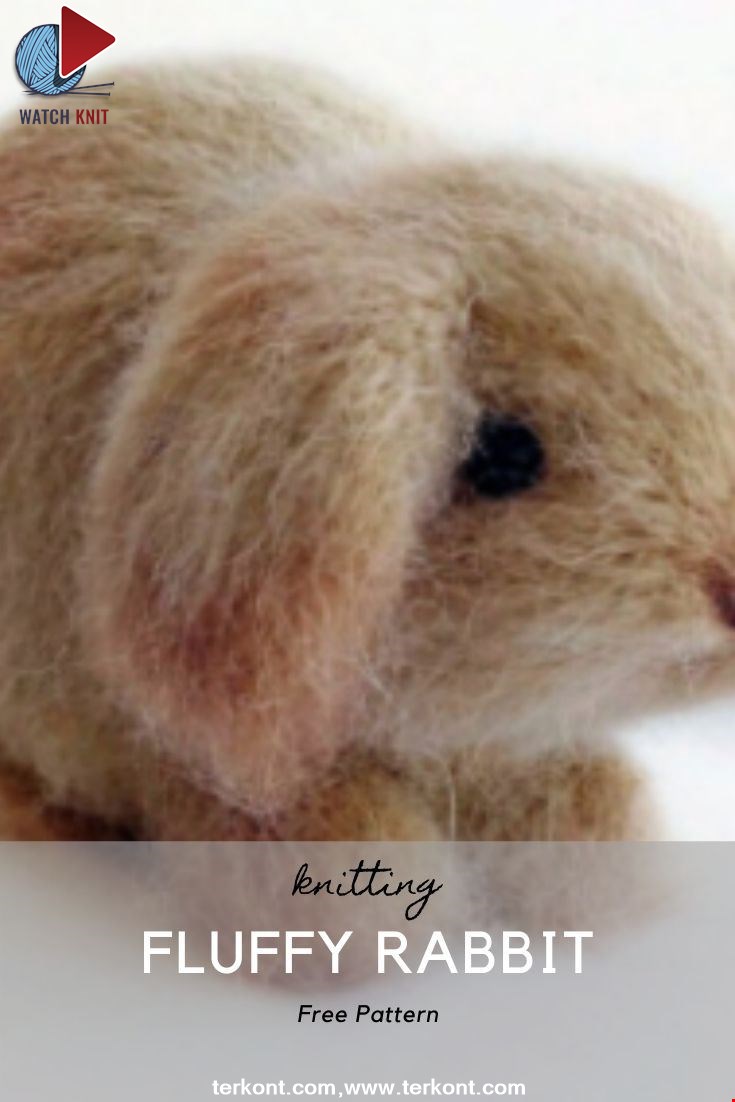
Dear Little Bear Making
31 January 2022, 22:56 1328
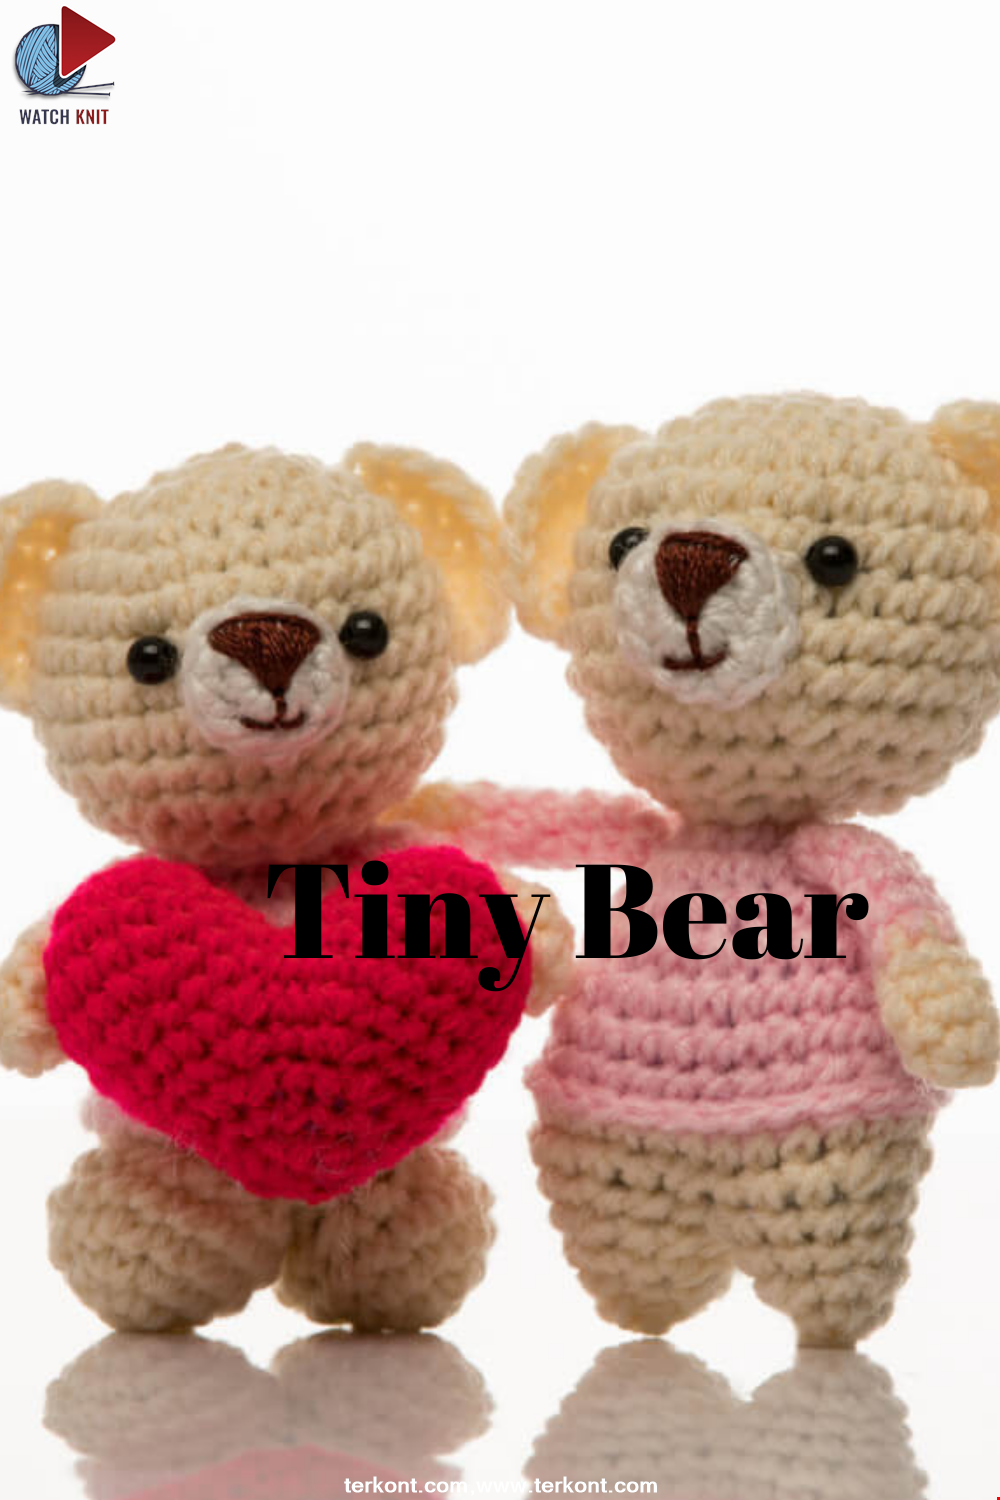
In these days when Valentine's Day is approaching, we have brought you a hearty double amigurumi teddy bear recipe. You will knit it with love and give it as a gift.
Read MoreFox Figured Motif Making
22 January 2022, 22:18 1256
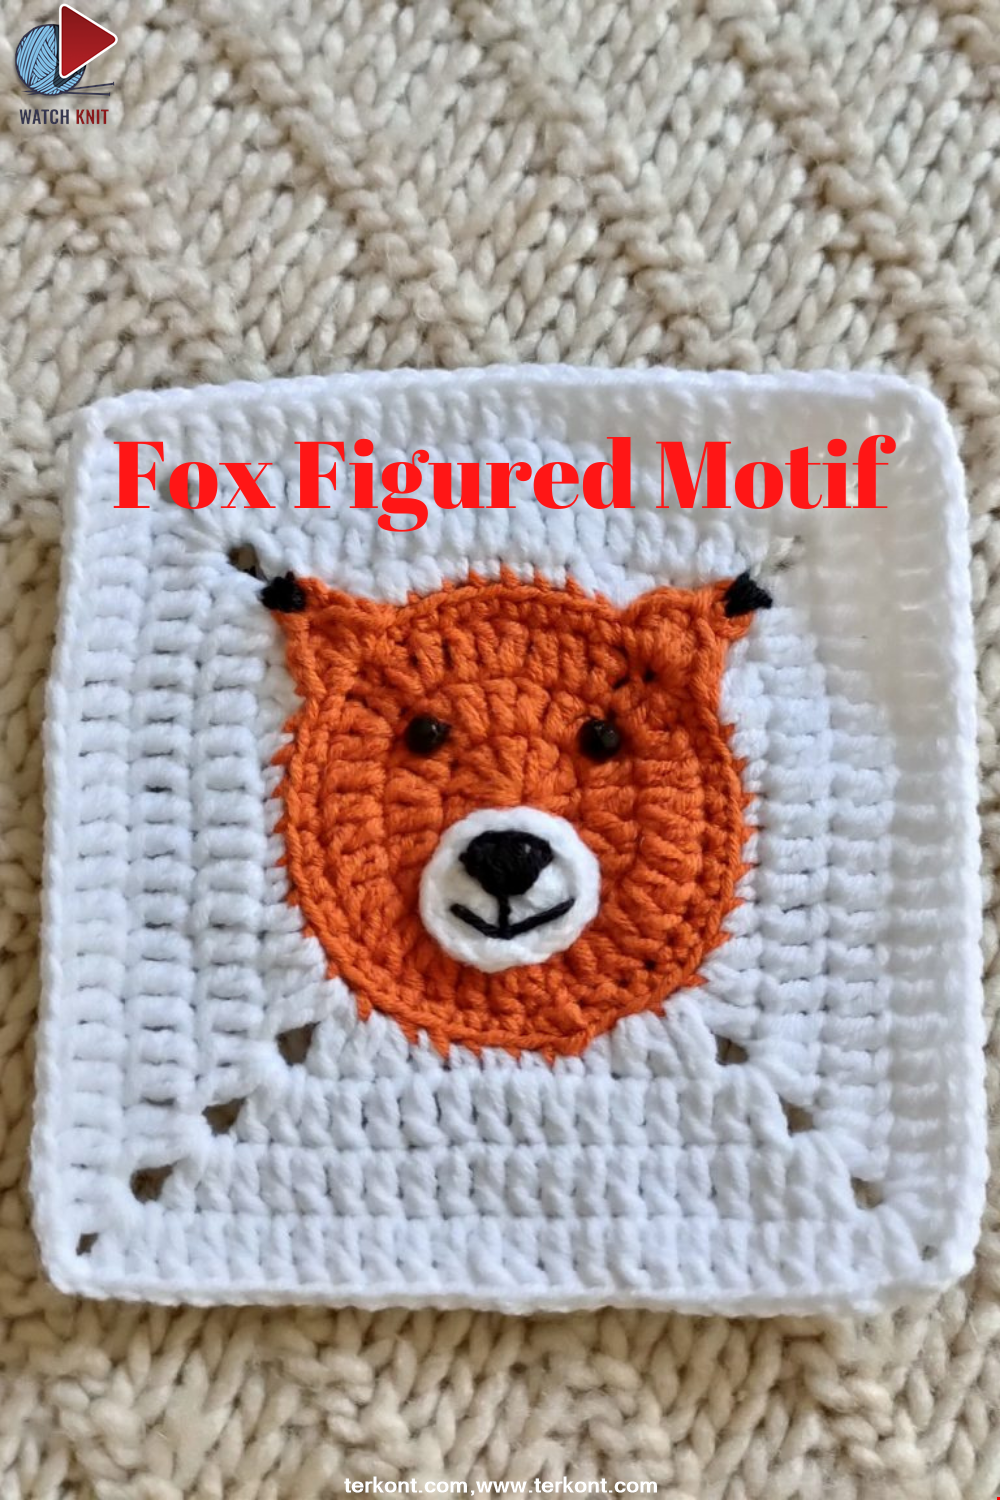
Hello everyone! Today, we have prepared a fox-figure motif that will suit your blankets very well. If you're ready, let's get started!
Read More
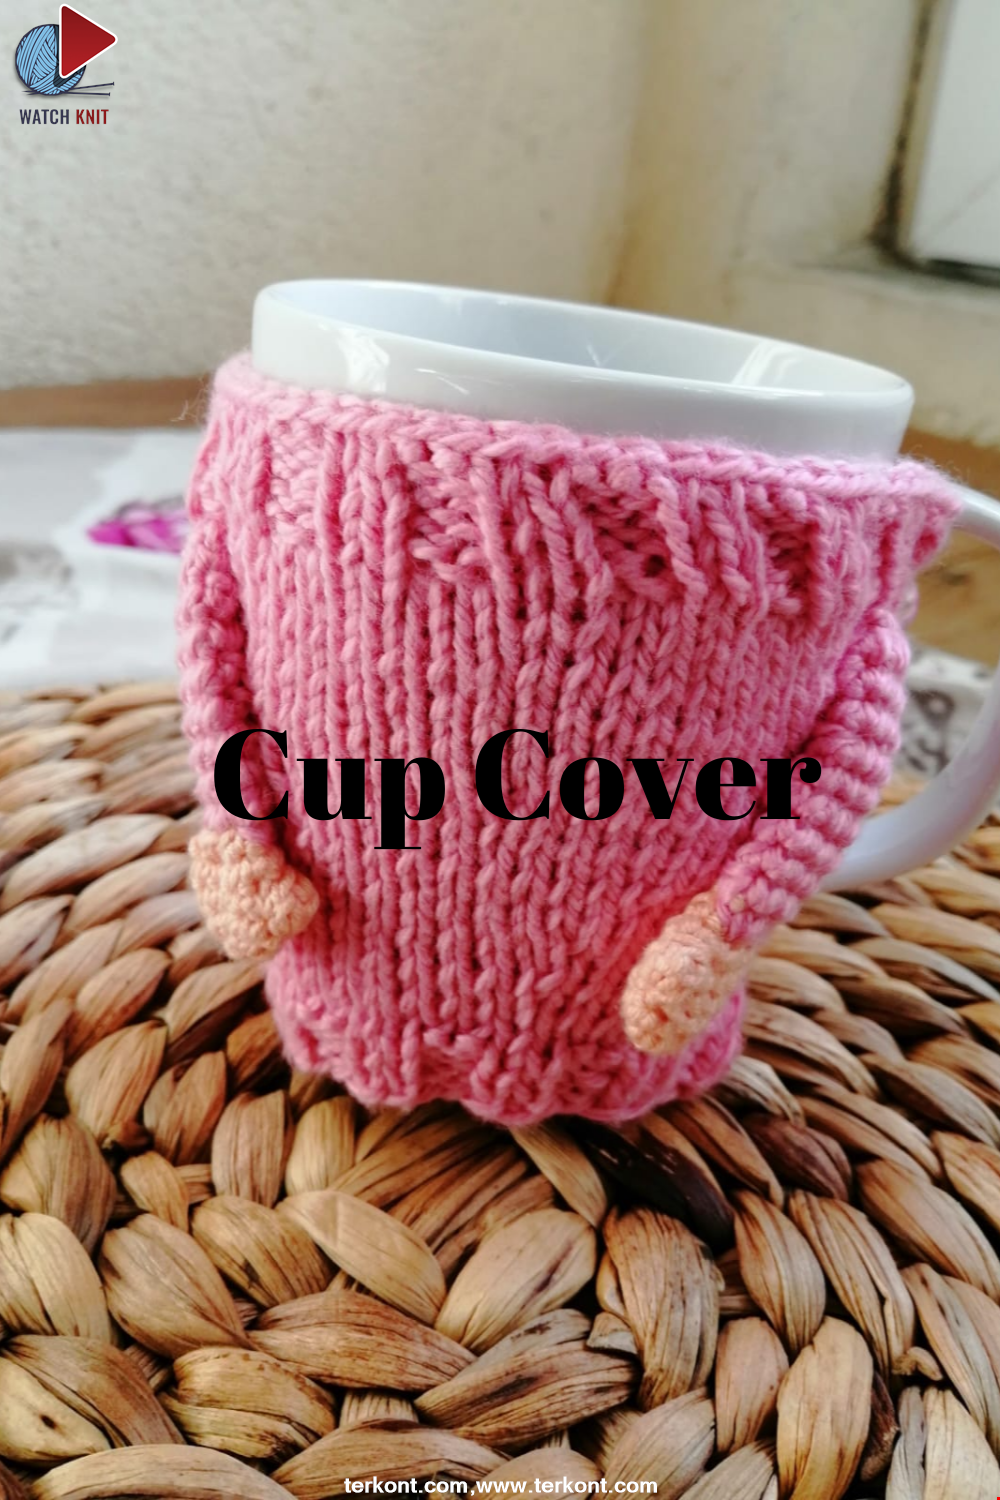
Making the Cup Cover pink
18 January 2022, 20:56 1048
Crochet Mesh and Bobble Stitch
18 September 2020, 13:28 1137
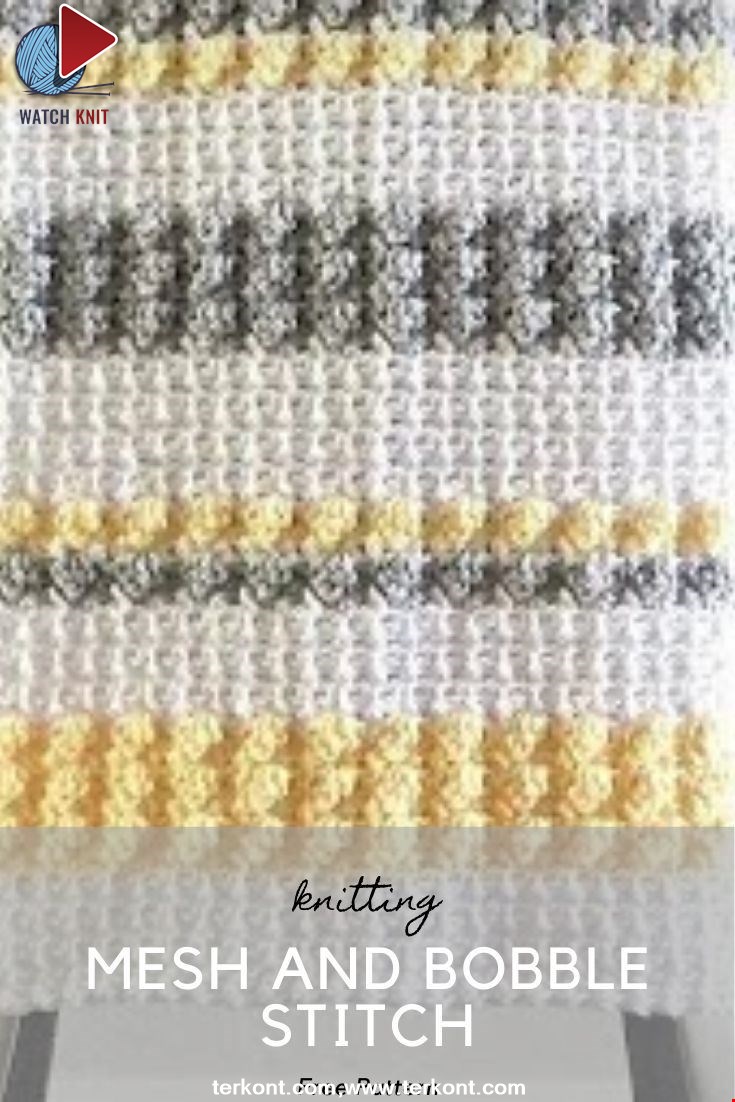
This video shows you how to work the mesh stitch and a bobble stitch, which we have used in two blanket patterns
Read More