Funky Doll
3 November 2020, 09:39 608
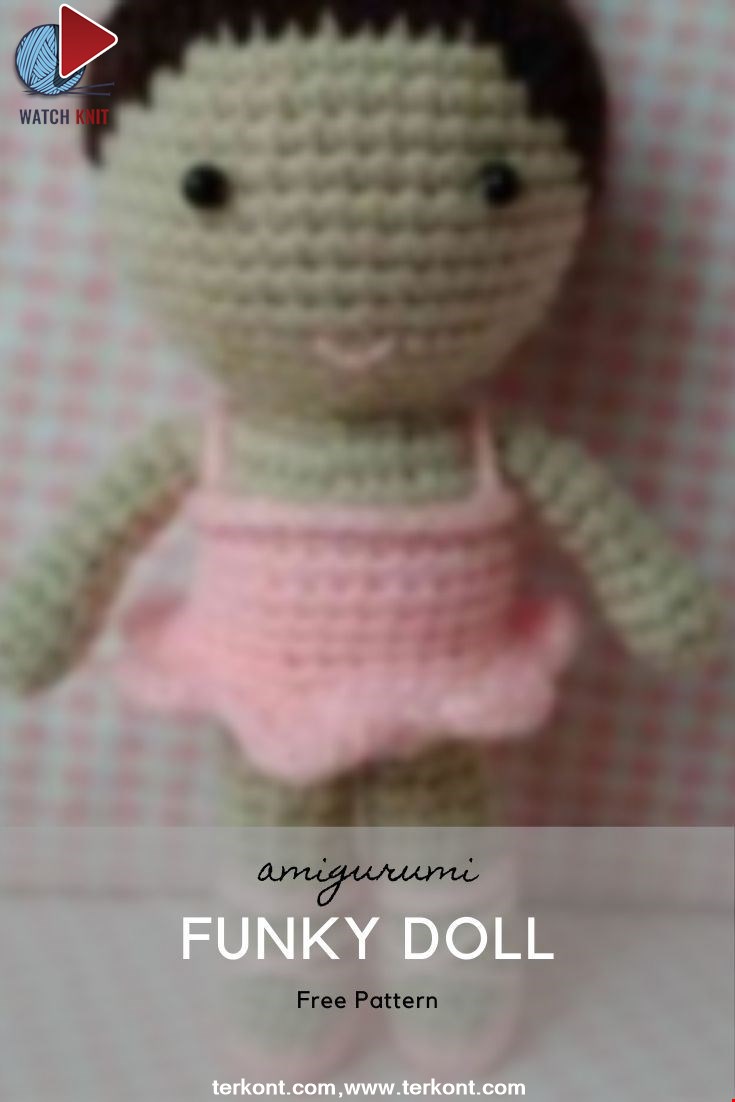
It has long been in my head to spin a neat little ballerina — with miniature pointe shoes, a tiny bundle and always a big bunch :)) At first, the idea was figurative, not shaped into concrete figures. Then I began to experiment, tied up the n-th number of pairs of legs (it was the most difficult with them) and in the end I got exactly the ballerina I imagined.
The height of the finished dancer (from the tips of the pointe shoes to the top of the beam – 14 cm). To create it, I used three types of different yarns (I chose first of all in color, then in density). For the body she used Troitsky yarn “Baby” (20% wool, 80% acrylic), “Sandy” color, less than half of the skein was used; for the tutu and pointe shoes, she used the “Baby novelty” yarn (it is a bit thinner than the “Crumbs”, but it was just such a pink shade that was needed), it took quite a bit; chose “Bambino” yarn for hair, chocolate shade (it doesn’t matter what kind of yarn to take, you can take any shade you like, as long as the density is not more dense than the other two). In addition to the yarn, I needed a hook (I took my standard No. 1.4), a synthetic winterizer for filling and beads for the eyes.
Ballerina connected on the basis of my imagination 🙂
Description of the toy:
Let’s start with the head. The head goes into the body, they are cohesive, knit in a circle (the tutu is not removed, it is part of the body, in the area of the body there will be a change of yarn from solid to pink). Thus, knit head, flesh tint yarn:
1 row 6 sc in ring amigurumi (knit two air loop, then 6 sc in the first loop, we obtain a circle of 6 sc)
2 row 6 of increases (12)
3 range: * 1 sc pr * 6 times (18)
4 row: * 2 sbn pr * 6 times (24)
5 row: * 3 sbn pr * 6 times (30)
6 row: * 4 sbn pr * 6 times (36)
7 row: * 5 sat pr * 6 times (42)
8-15 rows: 42 sat in each row
16 row: * 5 sat u * 6 times (36)
17 row: * 4 sat Ub * 6 times (30)
18 row: * 3 Wed Ub * 6 times (24)
19 row: * 2 Ub Ub * 6 times (18) – fill the head with
20 row: * 1 Ub ub * 6 times (12)
21 row: 12 gains (24)
22 row: * 3 ubc pr * 6 times (30)
23 row: 30 sbn
We change the yarn to pink :
24 row: we make a scar – we knit with pink thread 30 sbn for the front walls of the loops of the previous row
25 row: we knit with pink thread for the back walls of the loops 23 rows 30 sbn
26-30 rows: 30 sbn in each row
31 row (begins skirt): knit * 4 knit pr * 6 times (36) for the front walls of the loops of the previous row
32 row: * 5 knob pr * 6 times (42)
33 row: knit rapport * skip two loops, 3- y loop 7 double crochet, skip two loops, with edinitelny column * 7 times
34 row: returning to the body, to the 30th row, through the connecting posts on the skirt, we knit 30 sbn for the back walls of the loops of the 30th row
35-36 rows: 30 sbn in each row
37 row: * 3 sbn kills * 6 times (24 )
38 row: * 2 Ub ub * 6 times (18) – fill the body with
39 row: * ub ub * 6 times (12)
40 row: 6 lower, close knitting.
Go to the legs. Legs fit together with pointe shoes, they are not removed. There will be a constant change of pink and flesh yarn, the transition takes place as follows: when there is one single crochet before the transition, we begin to knit this extreme post as usual – we seize the working thread, we have two loops of the same color on the hook. To make a smooth color transition, we take the yarn of a different color, pick up the crochet hook (on which there are now two working loops) and stretch the loop with the new color through two working loops. When this is necessary to try to make the cones of different colors inside the legs not too stretched, if this is allowed, then when knitting this will not be visible, and when filled with padding polyester, tension will be observed and the foot cannot be filled to the end.
Getting to the feet, they knit in a circle, take the pink yarn:
1 row: 6 sbn in the ring amigurumi
2 row: 6 gains (12)
3 row: 12 sbn
4 row: pink thread: 1 sbn; solid thread: 4 sat; pink thread: 2 sbn, increase, 1 sbn, increase, 2 sbn (total we get 14 sbn in a row) row
5: bodily thread: 6 sbn; pink thread: 7 cl; solid thread: 1 UBN (14)
6 row: bodily thread: 7 UBN; pink thread: 1 sbn, 2 decreases; solid thread: 2 sbn (12)
7 row: bodily thread: 8 sbn, 1 increase, 2 sbn (11)
8 row: bodily thread: 8 sbn, 1 decrease, 1 sbn (10) – cut the pink thread, fasten it, we will continue to knit only with solid color, we fill the foot, we pay special attention to the heel
9-14 rows: 10 sbn, cut the thread, fasten, leave the tip for sewing, stuff the leg to the end. We knit two legs 🙂
Proceed to the handles, knit in a circle:
1 row: 4 sbn in the ring amigurumi (circle the amigurumi you need to try to “turn out” to tie the next row)
2 row: 4 gains (8)
3-4 rows: 8 sbn in each row there are
5 rows: * 2 sbn ub * 2 times (6) – fill your palm
6-10 rows: 6 sbn, cut the thread, fasten it, leave the tip for sewing, fill the handle. Knit two parts.
Knit bun for the ballerina. A bundle is, in essence, a donut wrapped in a thread of the same color as himself. It knits like a normal ball, but without both poles. When the poles connect, you get a flat ball, after stuffing you get a donut
1 row: 12 air loops closes in a circle, then we knit in a circle
2 row: * 1 straight av * 6 times (18)
3rd row: * 2 ver ple 6 * times (24)
4 row: * 3 sbn pr * 6 times (30)
5-8 rows: 30 sbn in each row
9 row: * 3 sbn slab * 6 times (24)
10 row: * 2 sbn slab * 6 times (18)
11th row: * 1 UBN ub * 6 times (12), cut the thread, leave a long tip for stitching donut “poles”
We sew several columns, fill the stitched section with padding polyester, repeat until the circle ends, then begin to twist / wind our donut with a thread of the same color (if the thread is out, don’t worry, fasten the new one and hide the knot under the threads). We will tie the bow for the beam (the element is optional, but beautiful 🙂
1 row: 20 air loops are closed in a circle, then we knit in a circle in
2-6 rows: 20 sbn in each row
We wind the resulting cylinder in the middle and get a bow. The thread is fastened.
Go directly to the ballerina’s hair. Let’s make her hair 🙂
We take the same color as for the beam, cut into segments of approximately 20 cm (I will not say the exact number).
We determine the front part of the head (along the seam on the body, where there was a transition from the bodily thread to pink – this is the back part of the figure, respectively, the opposite side will be in front). We find the 7th row, fix the first “strand” of hair in the center of the front (using a hook, stretch the prepared section by the center, then stretch the two ends of the section into the resulting loop). For the front of the head we fix in this way 9 strands.
We determine the back of the head and fasten 7 strands around the 16th row.Next, we fasten the strands in a smooth arc from the front of the head to the back (for convenience, you can periodically place a thread and look where the next strand should be fixed). For the front and rear parts, one row of strands is enough; for the side ones, it is better to make double rows (when collecting into the tail, the body part of the head will be less visible). Thus, the crown remains bald, but we will collect the hair in the tail, the crown will close 🙂
We collect hair in a tail, we tie it with a thread of the same color (we fasten it tightly), we fix the “roosters”, we determine the position on the head. Then a blasphemous thing happens, but I simply did not find another way out : (To fix the bundle, we will have to … cut the tail almost to the root (if someone knows a more humane way to create a bundle – be sure to write, I will be very grateful 🙂 After that, sew a bundle to the head, a trimmed tail will hide under it.
If the strands themselves come out a little when sewn, it’s okay, after all, the hairstyle doesn’t have to be immaculately laid out 🙂 Then we collect all the parts of the ballerina together. We get the workpiece, which lacks details.
Making straps for the tutu. We fasten the thread and knit 8 air loops.
We take a bow, pass a thread of pink color through its center and make several turns around the beam (I determined a place for the bow under the beam). We take for the ribbon for pointe. We fasten small segments of pink thread on the sides, make a crosshair in front, then two turns around the leg (fastened with ribbons at the back, I did not make bows, because the ballerinas are taught to hide the ends of the ribbons 🙂
We make our ballerina a little face. For the eyes, you can take blanks from the store, if there are ordinary beads at home, you can paint them black (my version). Embroider neat mouth. You can make a blush (the consequences of physical exertion 🙂
Total, we get a little ballerina. In my opinion, a good gift for both professional dancers and little fairies who are just taking their first steps in the world of dance 🙂
Category Popular Posts
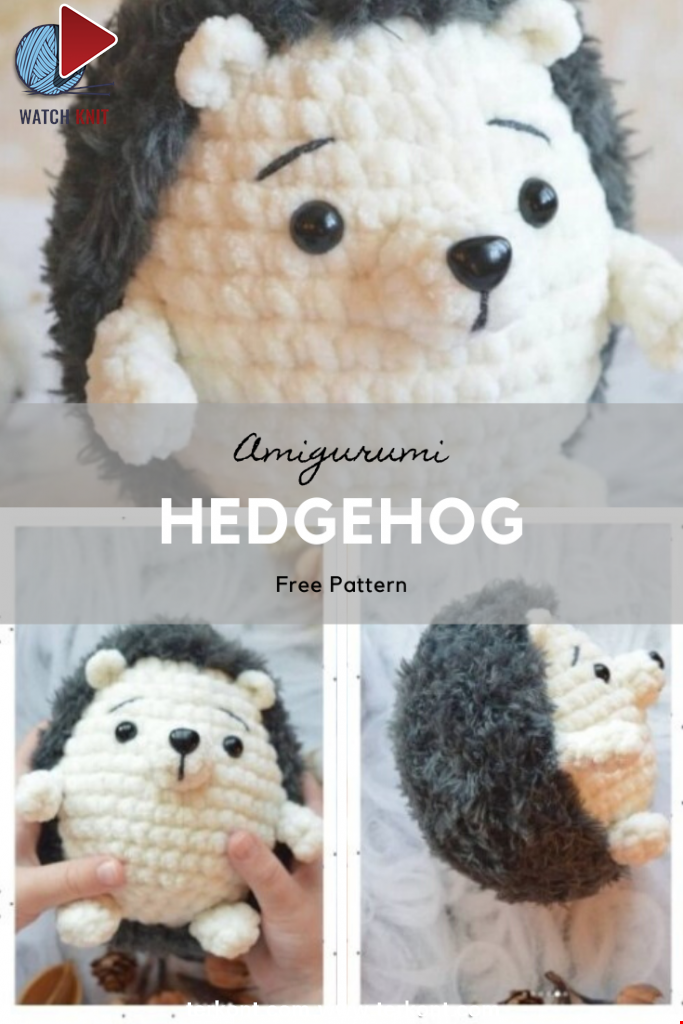
Amigurumi Hedgehog Free Pattern
12 October 2020, 09:52 20971
Making Amigurumi Spiderman
27 January 2022, 20:58 23006
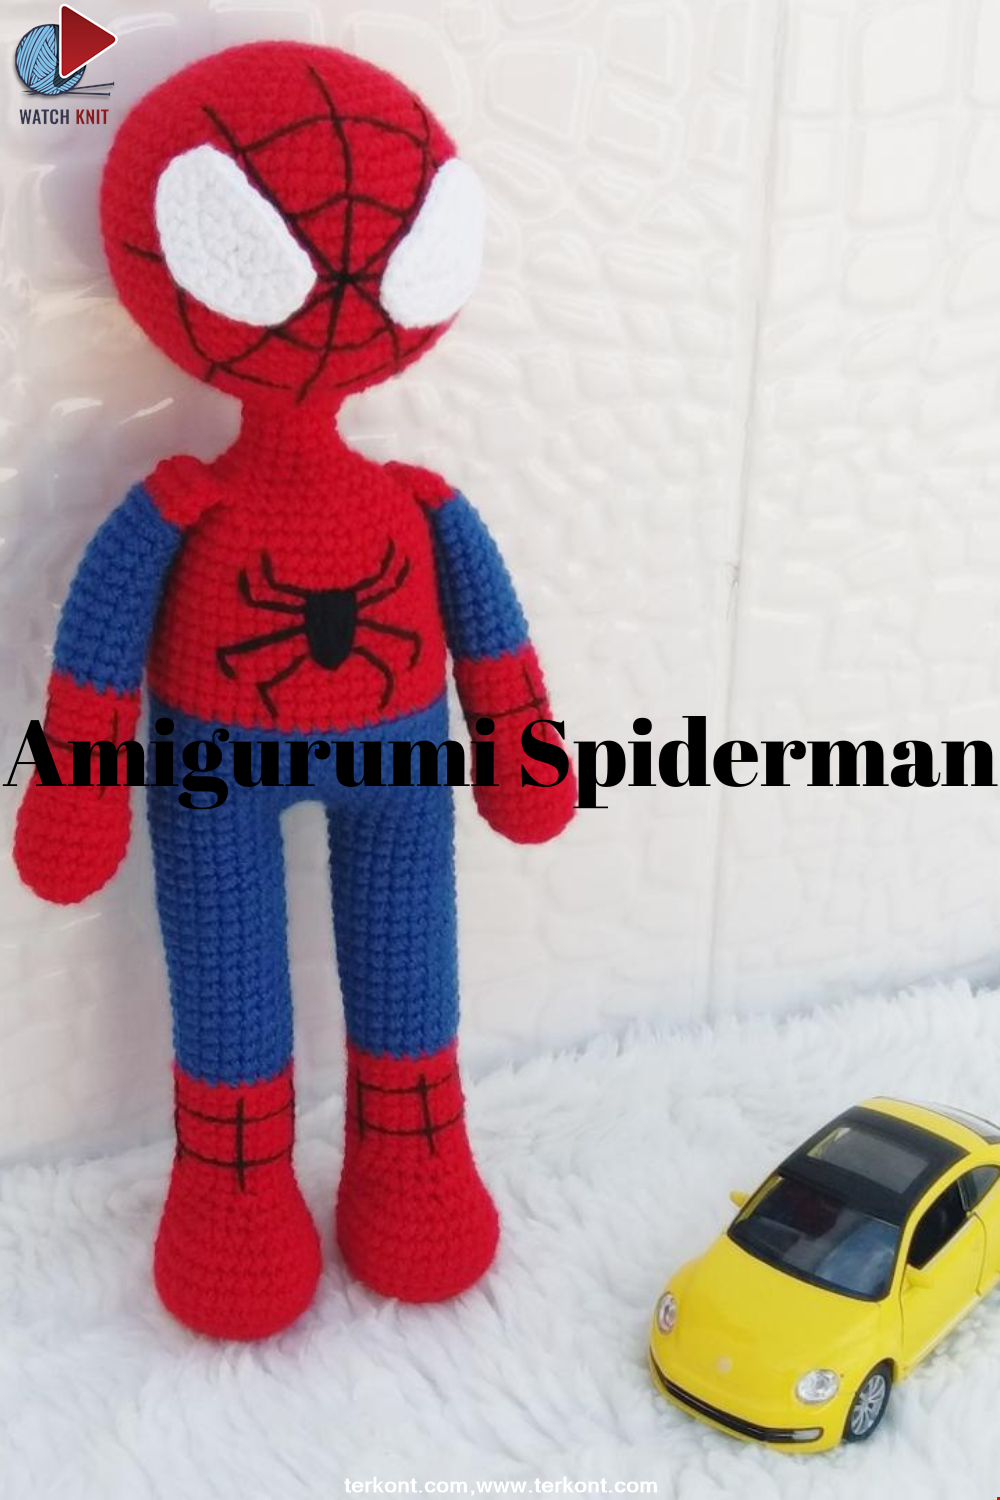
Hello, Are you ready to knit Spiderman, Spider-Man, the children's favorite cartoon character? You will be able to knit easily with detailed explanation. Let's start!
Read More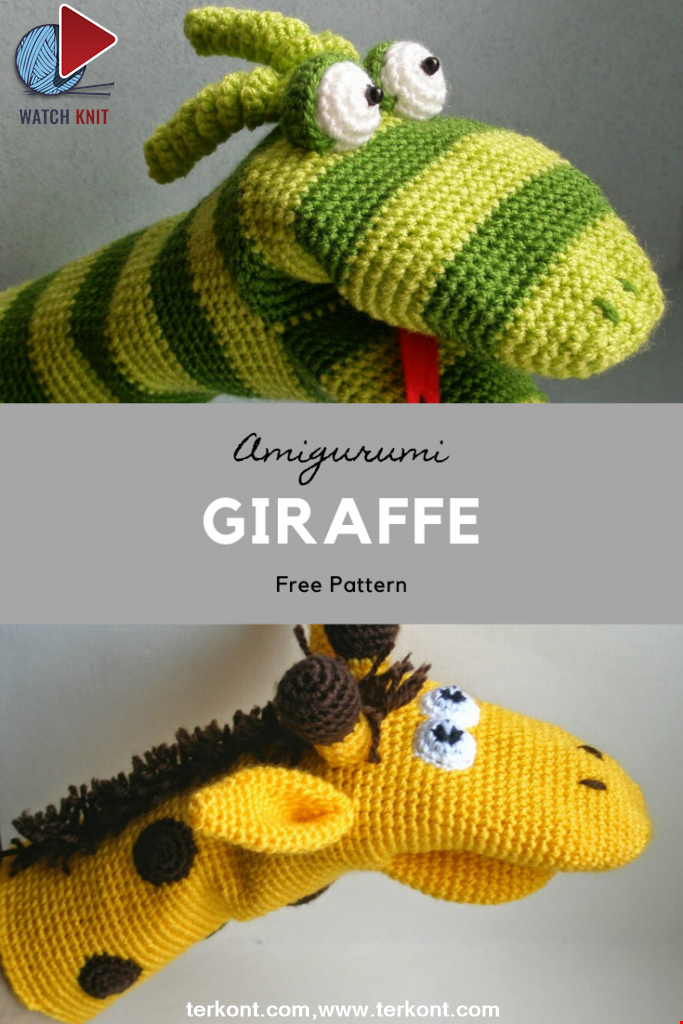
Amigurumi Princess Mononoke Crochet Pattern
12 December 2020, 21:20 12740
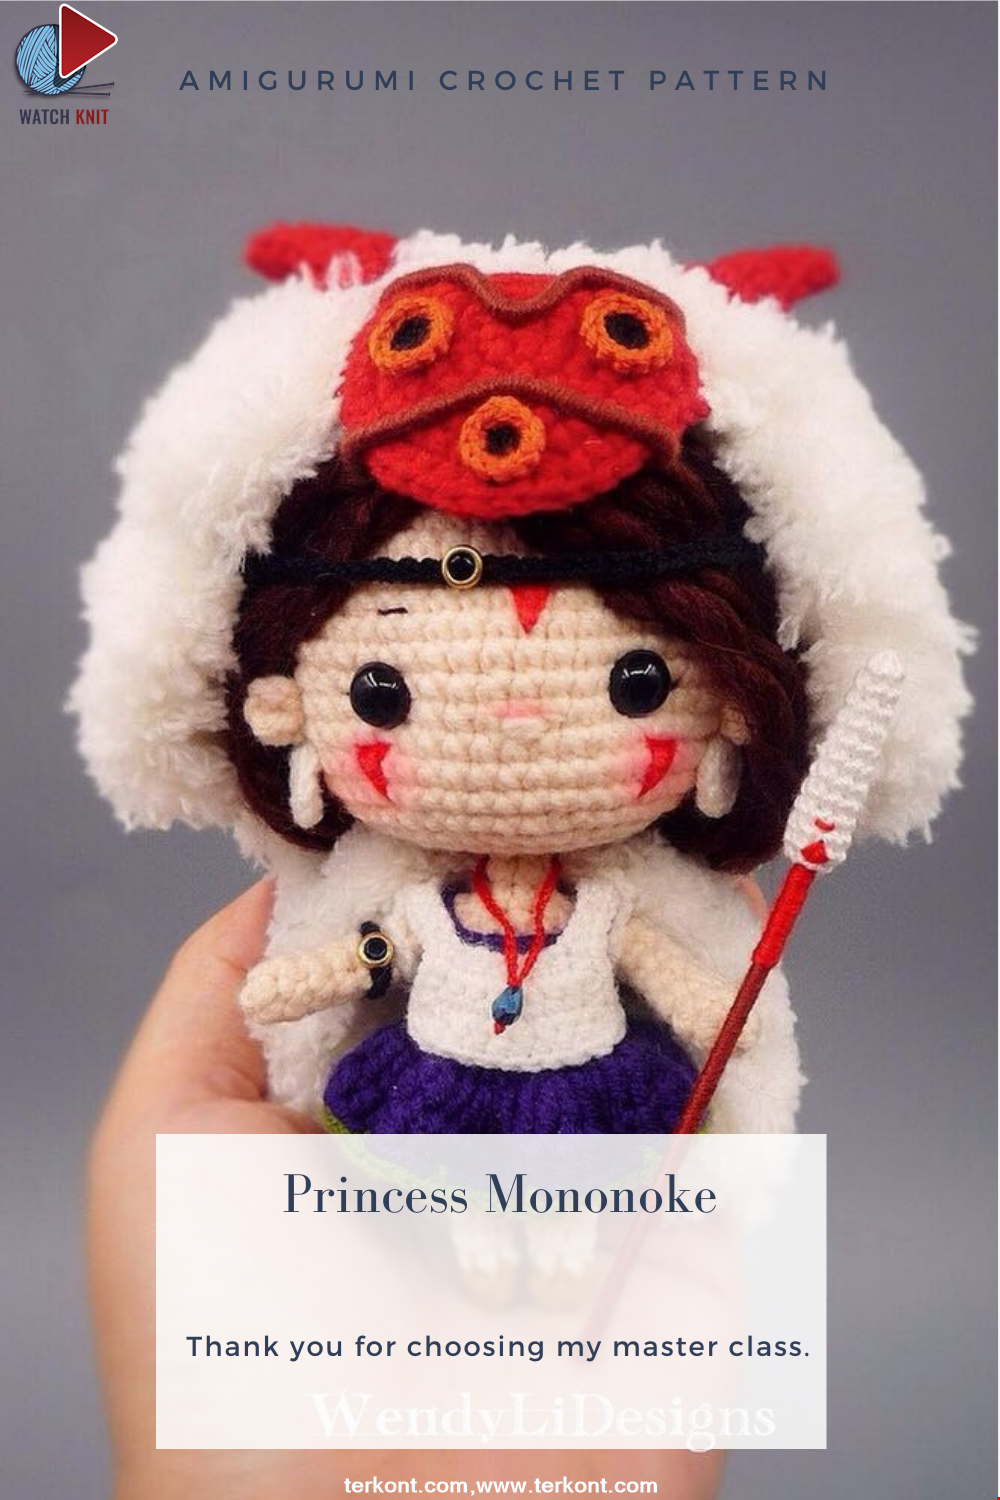
Free Crochet Princess Mononoke workshop by Wendy Li. The knitted girl is the hero of the cartoon by Hayao Miazaki. From the description of the diagram, you will also learn how to knit: a cape, a cloak, a dress and a mask for a doll.
Read More
Princess Disney Amigurumi Pattern
8 October 2020, 14:51 6222

Korean Girl in Traditional Dress (Hanbok)
22 September 2020, 11:11 4356
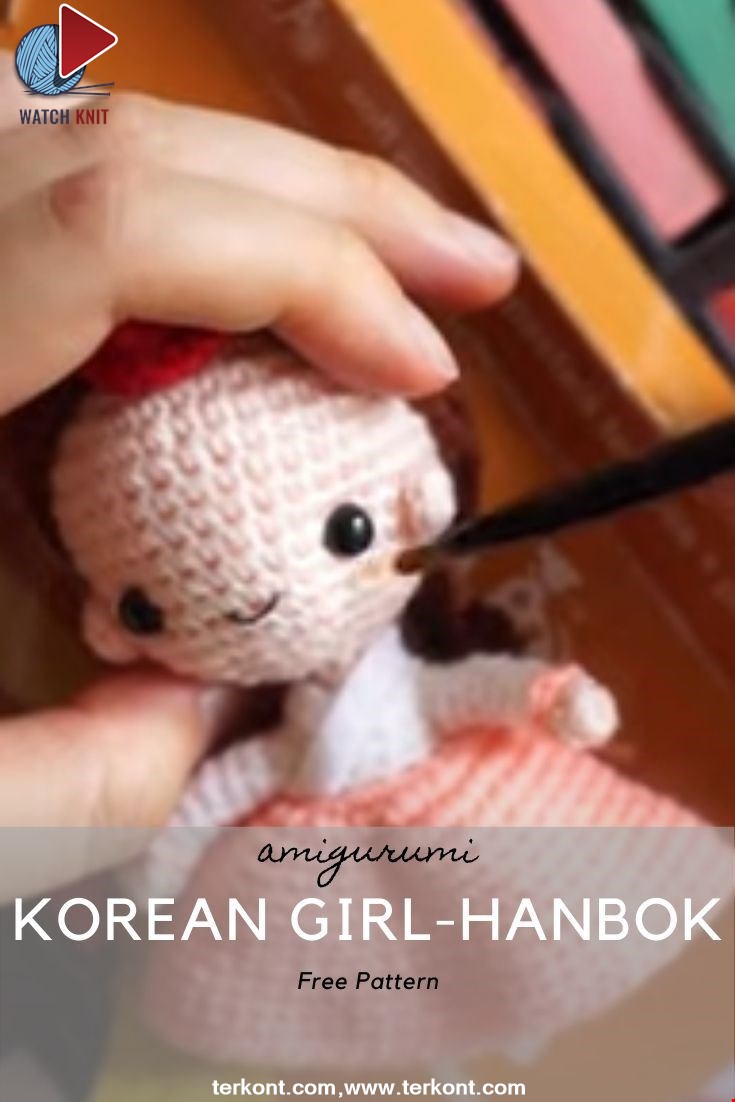
This is the process how I made the amigurumi of Korean Bride in traditional dress Hanbok. Lately I've been watching a lot of Korean dramas and got inspired to make one. I hope you can enjoy the video, and get inspired too!
Read More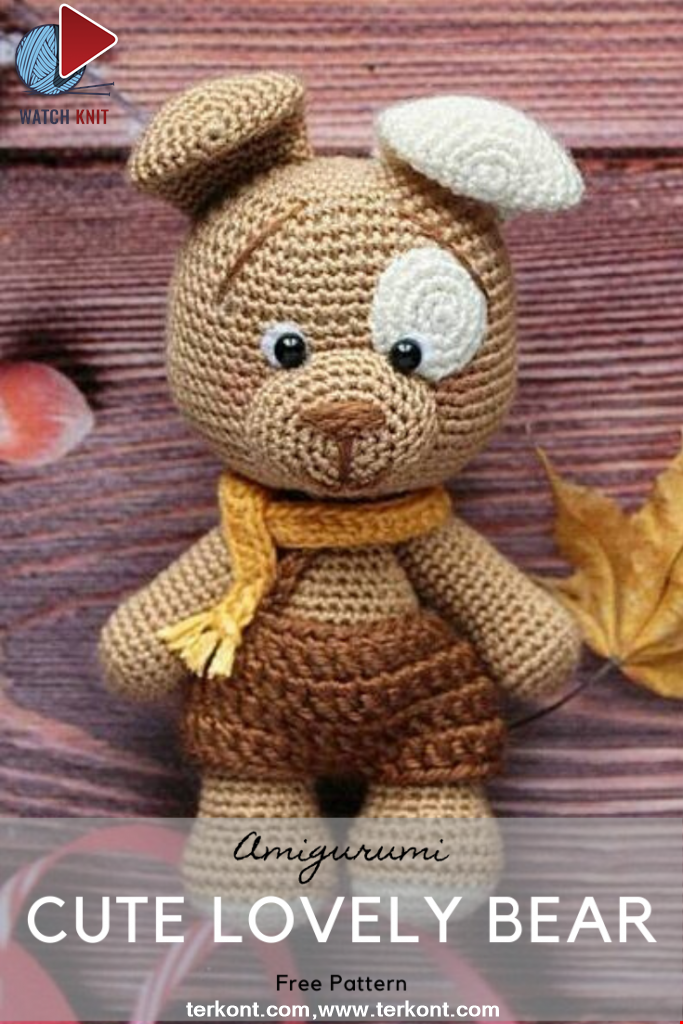
Amigurumi Sweet Giraffe Recipe and Preparation
5 January 2022, 14:55 3851
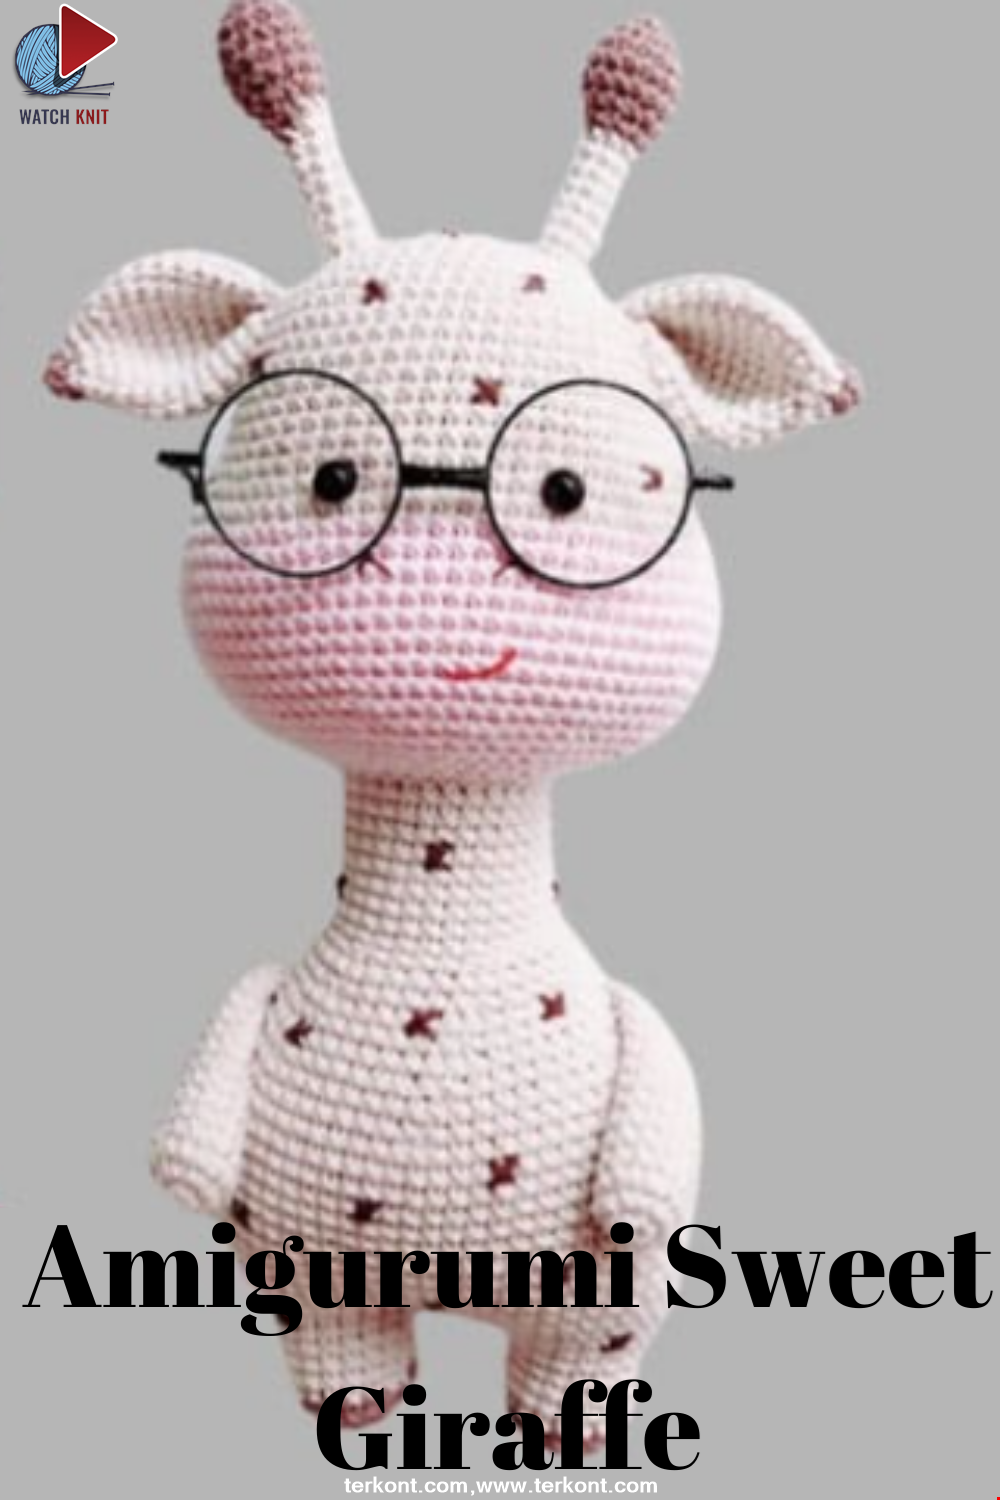
We have come to share with you the most popular model of recent times with the Amigurumi sweet giraffe recipe. I hope it will be an amigurumi animal figure that you like very much and knit with love.
Read MoreLovely Teddy Bear Amigurumi Tutorial
12 October 2020, 10:05 1508