Babysoft Doggie
3 November 2020, 11:24 616
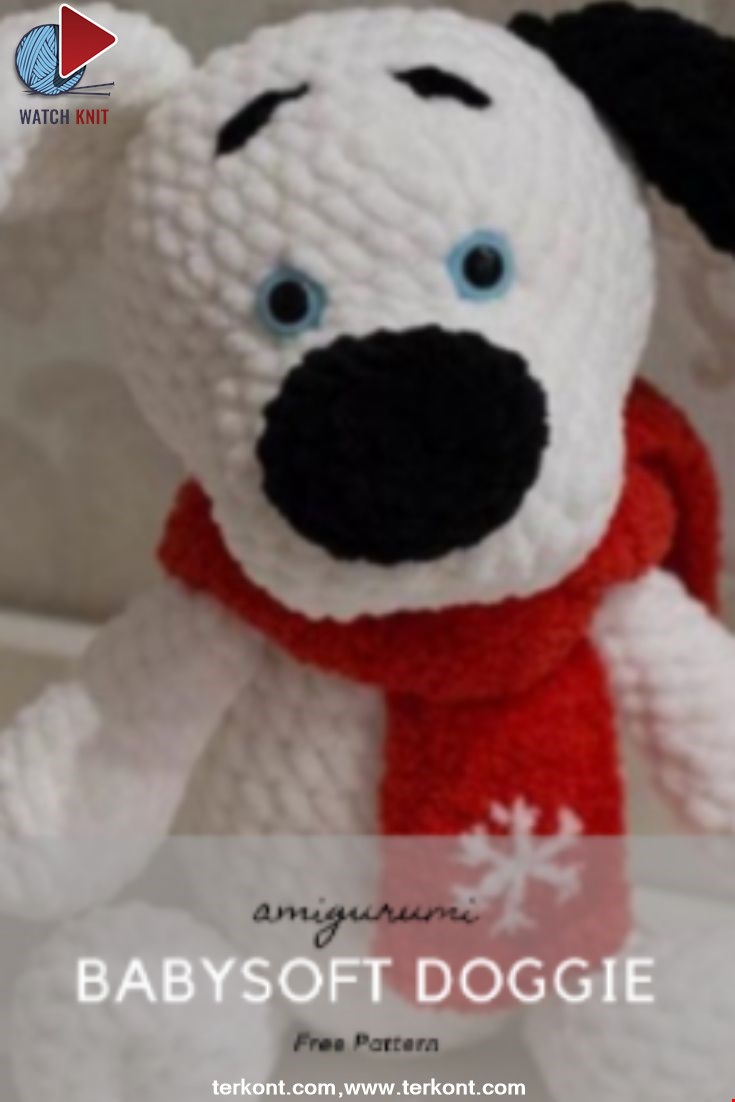
Materials: Plush yarn, Hook № 4, plastic eyes, baby yarn, filler, nylon thread

To create a toy you will need:
1. Yarn Himalaya Dolphin Baby Two colors-white (1 skeok) and a little black.
2. Hook 3, 5-4, 5 (I use 3.5).
3. Eyes on the safe fastening-1 pair.
4.4 buttons with a diameter of 25 mm.
5. Filler (I have a synth).
6. Yarn for scarf or other clothes (I have Alize Softy red-it took half a Hank and quite a bit of white color for embroidery snowflakes).
Head
1) Amigurumi Ring (6)
2) 6 ol (12)
3) (1SBN, OL) x 6 (18)
4) (2SBN, OL) x 6 (24)
5-9) 24 SBN (24)
10) (3SBN, OL) x 6 (30)
11) (4SBN, OL) x 6 (36 in)
12) (5SBN, OL) x 6 (42 in)
13-16) 42 of the RVN (42)
17) (5SBN, UB) x 6 (36 in)
18) (4SBN, UB) x 6 (30)
19) (3SBN, UB) x 6 (24)
20) (2SBB, UB) x 6 (18)
Insert the eyes between the 9th and 10th rows at a distance of 4 SBN from each other.
21) (1 SBN, UB) x 6 (12)
22) 6 UB (6)
Tightly fill the detail and trim the thread, leaving the tail about 10 cm. Close the hole. I do this in the following way. I stretch the thread through all the remaining 6 loops in turn. To do this, enter the hook into the hole and put in the loop, grab the thread and pull it into the center, as shown in the photo. Repeat this with each loop, tightening the thread in the same way. In this way we get a neatly closed hole.
Torso
1) Amigurumi Ring (6)
2) 6 ol (12)
3) (1SBN, OL) x 6 (18)
4) (2SBN, OL) x 6 (24)
5) (3SBN, OL) x 6 (30)
6) (4SBN, OL) x 6 (36 in)
7-11) 36 of the RVN (36)
12) (4SBN, UB) x 6 (30)
13-14) 30 SBN (30)
15) (3SBN, UB) x 6 (24)
16) 24 SBN (24)
17) (2SBB, UB) x 6 (18)
18-19) 18 SBN (18)
20) (1 SBN, UB) x 6 (12)
Cut the thread. The hole in the part can not be closed, because it will be closed head.
Fill tightly, especially in the neck area, so that our doggie confidently kept his head.

Ears
1) Amigurumi Ring (6)
2) 6 ol (12)
3-4) 12 SBN (12)
5) (1SBN, OL) x 6 (18)
6-11) 12 SBN (18)
12) (1 SBN, UB) x 6 (12)
13) 6 UB (6)
Close the hole in the same way as described in the head section.
Nose
1) Amigurumi Ring (6)
2) 6 ol (12)
3) SBN, 3 PR, 3 SBN, 3 PR, 2 SBN (18)
4-5) 18 SBN (18)
6) SBN, 3 UB, 3 SBN, 3 UB, 2 SBN (12)
Tightly fill the spout and sew between the 4th and 7th rows. (pre-make a duck! See assembly and Design).

Upper Paws
1) Amigurumi Ring (6)
2) 6 ol (12)
3) 12 SBN (12)
4) (3 SBN, OL) x 3 (15)
5) 15 SBN (15)
6) (3 SBN, UB) x 3 (12)
7) (2 SBN, UB) x 3 (9)
8-14) 9 SBN (9)
15) (1 SBN, UB) x 3 (6)
Stuffing legs not strongly densely, especially the top part.
Lower Paws
1) 5 VP (5)
2) in the 2nd loop from the hook:
D, 2 SBN, 3SBN in one loop, 3 SBN (10)
3) 2 PR, 2 SBN, 3 PR, 3 SBN (15)
4) 3 ol, 4 SBN, 3 ol, 5 SBN (21)
5-6) 21 SBN
7) 5 UB, 9 SBN, UB (15)
8) 3 UB, 9 SBN (12)
9-11) 12 SBN (12)
12) (UB, 2 SBN) x 3 (9)
13-15) 9 SBN
16) (UB, SBN) x 3 (6)

Stuffing legs not strongly densely, especially the top part. To give the footsteps a more flat shape, I was doing a simple duck in the form of a stitch along the foot. To do this, enter the needle in the outer part of the foot and put on the surface of the foot to the beginning of the chain of the air loops (with which we began to knit paw), and then enter the needle at the end of the chain of the air loops and display on the outside of the foot. Make a knot and hide the thread.
Tail
1) 3 SBN (CA)
2) 3 ol (6) 3) 6 SBN (6)
4-8) (1 SBN, OL) x 3 (9)
The tail is not stuffed.
Assembly and Design:
Before you sew the nose, make a small duck for the part of the muzzle under the nose visually divided into two halves.To do this, we find the axis of symmetry of the eye and insert the needle on the 3 rows below the ring Amiguumi (counting the ring Amiguumi first row). We deduce the needle on 4 rows above the ring Amiguumi. Then we repeat-again insert the needle in the starting point and deduce in a Verney point.
Then retreat one SBN and enter the needle, then output again at the starting point. We get two threads, deduced in one point-we make a taut knot so that there is a groove, i.e. that the muzzle is divided into 2 parts.
Hide the yarn.
It’s not very pretty:) But do not worry, after you sew the nose, will be all beautiful. Legs plant on a button fastening. I used buttons with a diameter of 25 mm. Sew the ears and tail, embroider the Boki. I always make a little eyebrows swollen (inner ends look up). So the look of the toy turns out slightly surprised.
Category Popular Posts
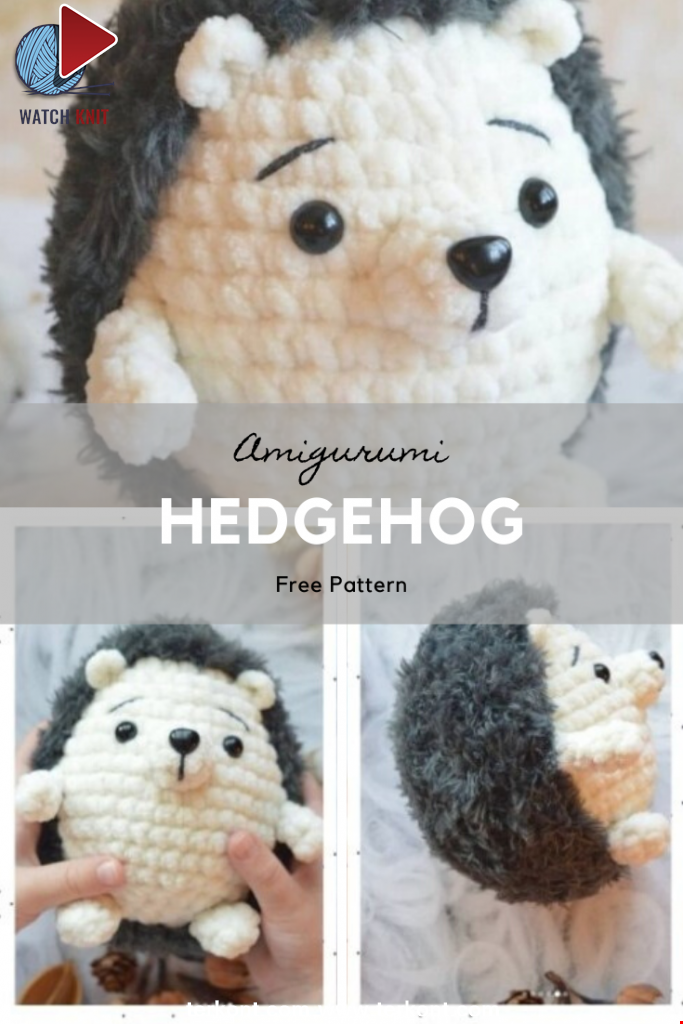
Amigurumi Hedgehog Free Pattern
12 October 2020, 09:52 20971
Making Amigurumi Spiderman
27 January 2022, 20:58 23005

Hello, Are you ready to knit Spiderman, Spider-Man, the children's favorite cartoon character? You will be able to knit easily with detailed explanation. Let's start!
Read More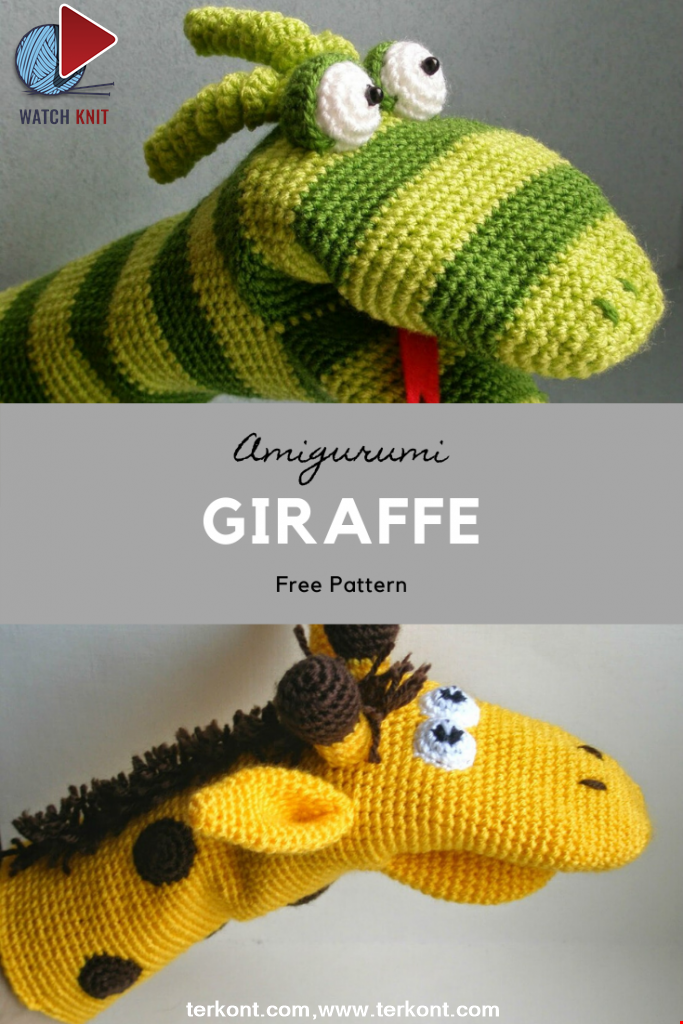
Amigurumi Princess Mononoke Crochet Pattern
12 December 2020, 21:20 12740
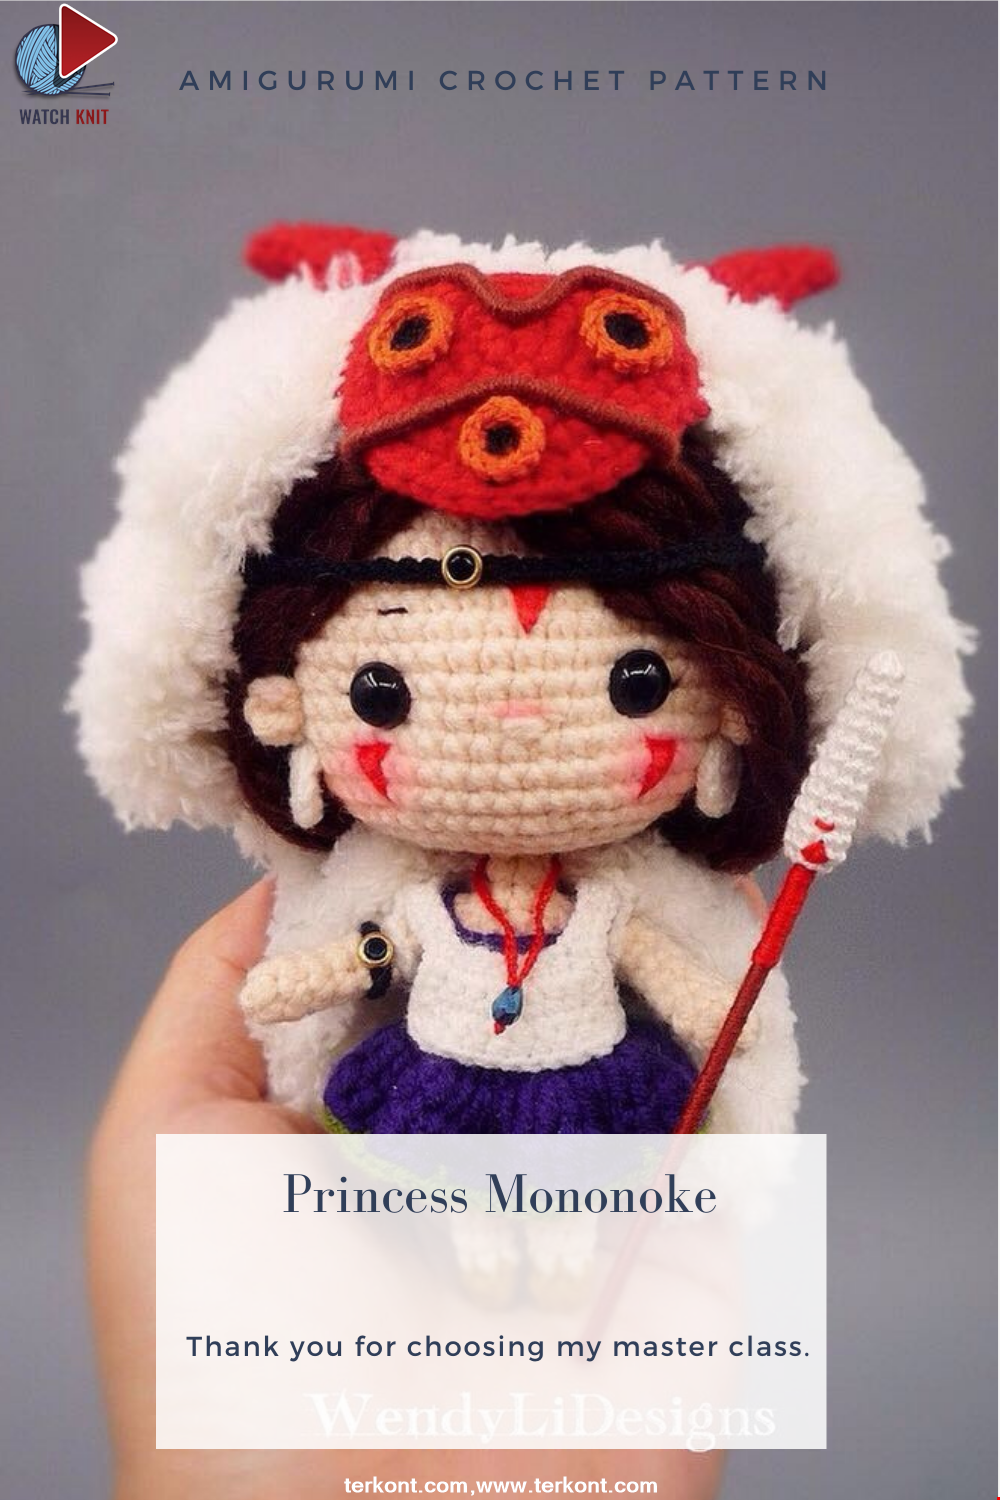
Free Crochet Princess Mononoke workshop by Wendy Li. The knitted girl is the hero of the cartoon by Hayao Miazaki. From the description of the diagram, you will also learn how to knit: a cape, a cloak, a dress and a mask for a doll.
Read More
Princess Disney Amigurumi Pattern
8 October 2020, 14:51 6222
Korean Girl in Traditional Dress (Hanbok)
22 September 2020, 11:11 4356
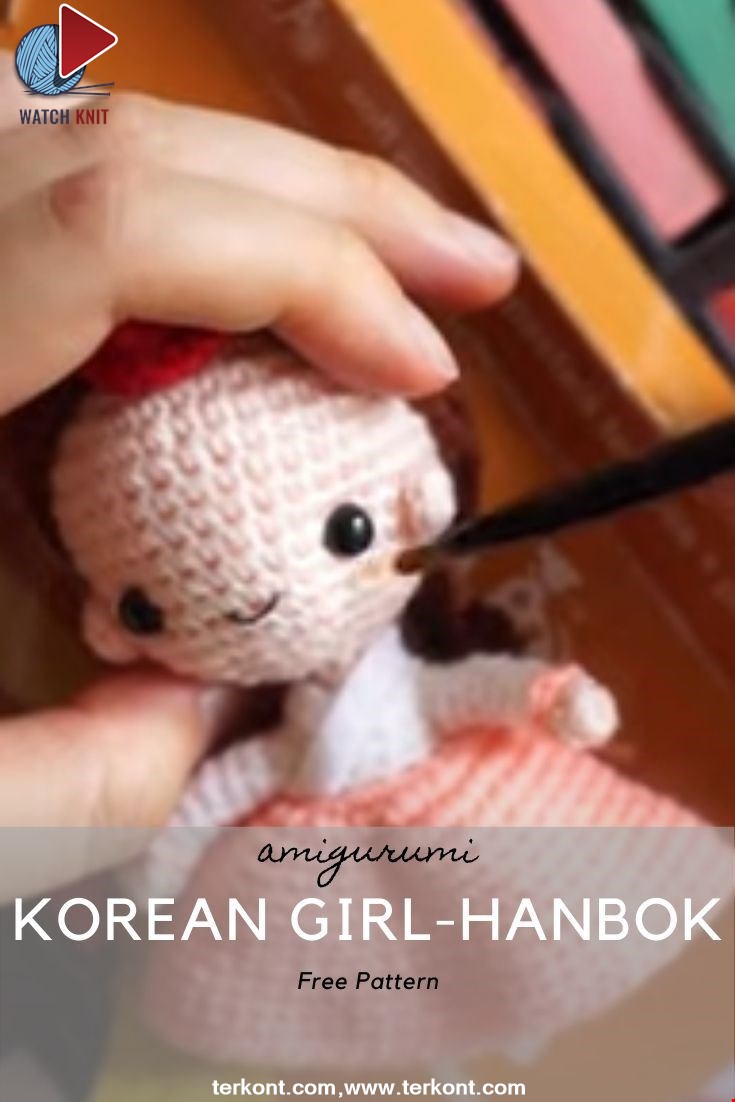
This is the process how I made the amigurumi of Korean Bride in traditional dress Hanbok. Lately I've been watching a lot of Korean dramas and got inspired to make one. I hope you can enjoy the video, and get inspired too!
Read More
Amigurumi Sweet Giraffe Recipe and Preparation
5 January 2022, 14:55 3851
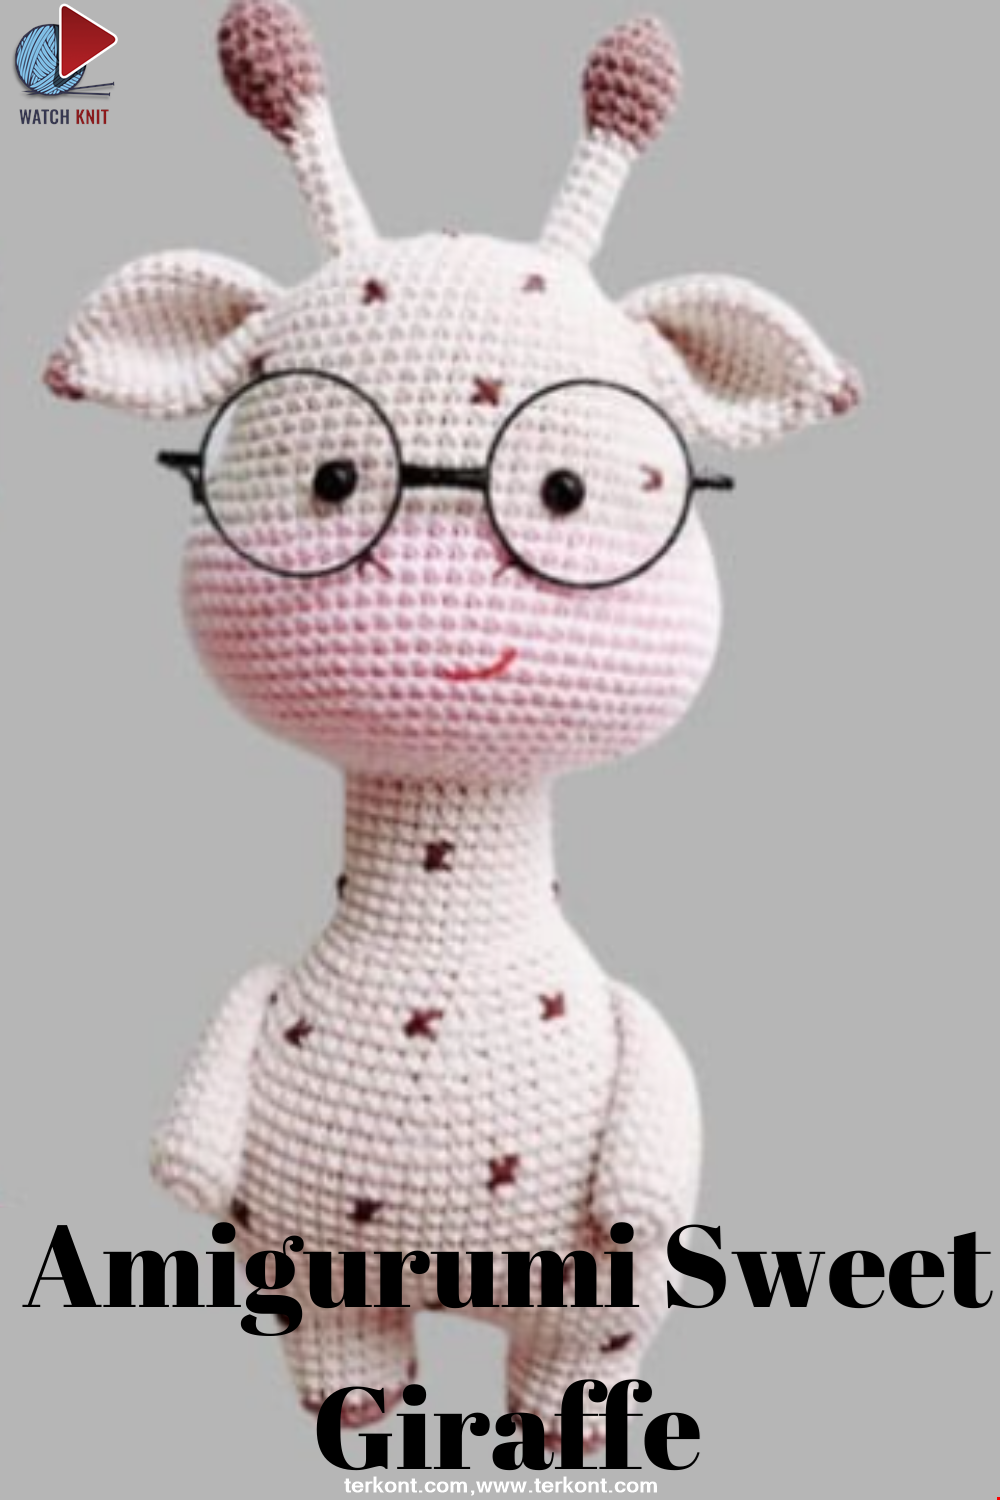
We have come to share with you the most popular model of recent times with the Amigurumi sweet giraffe recipe. I hope it will be an amigurumi animal figure that you like very much and knit with love.
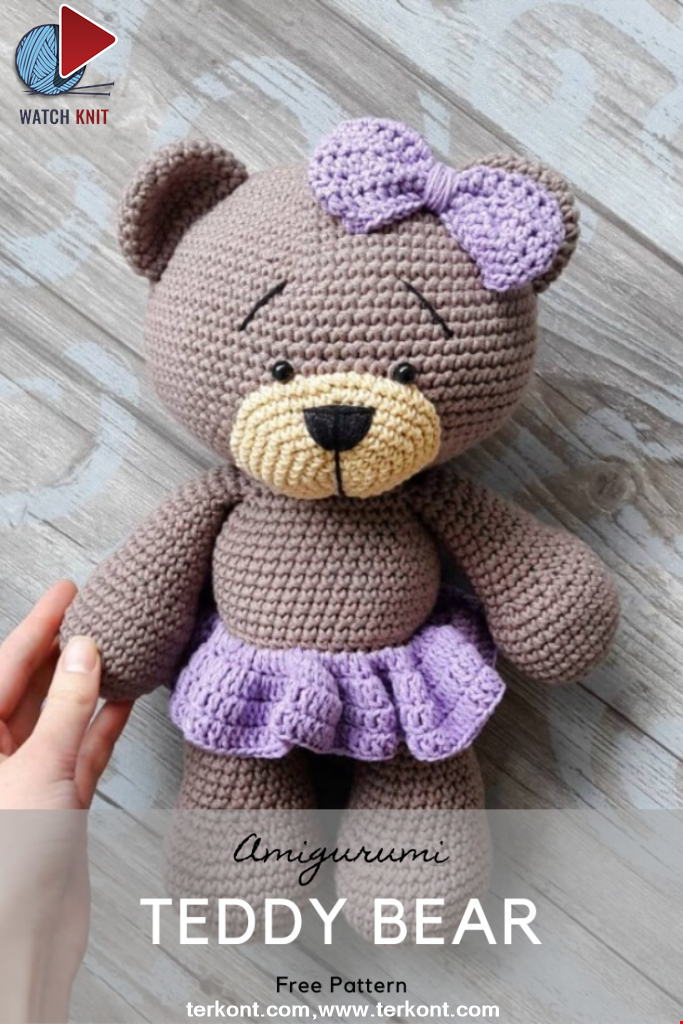
Read MoreLovely Teddy Bear Amigurumi Tutorial
12 October 2020, 10:05 1508