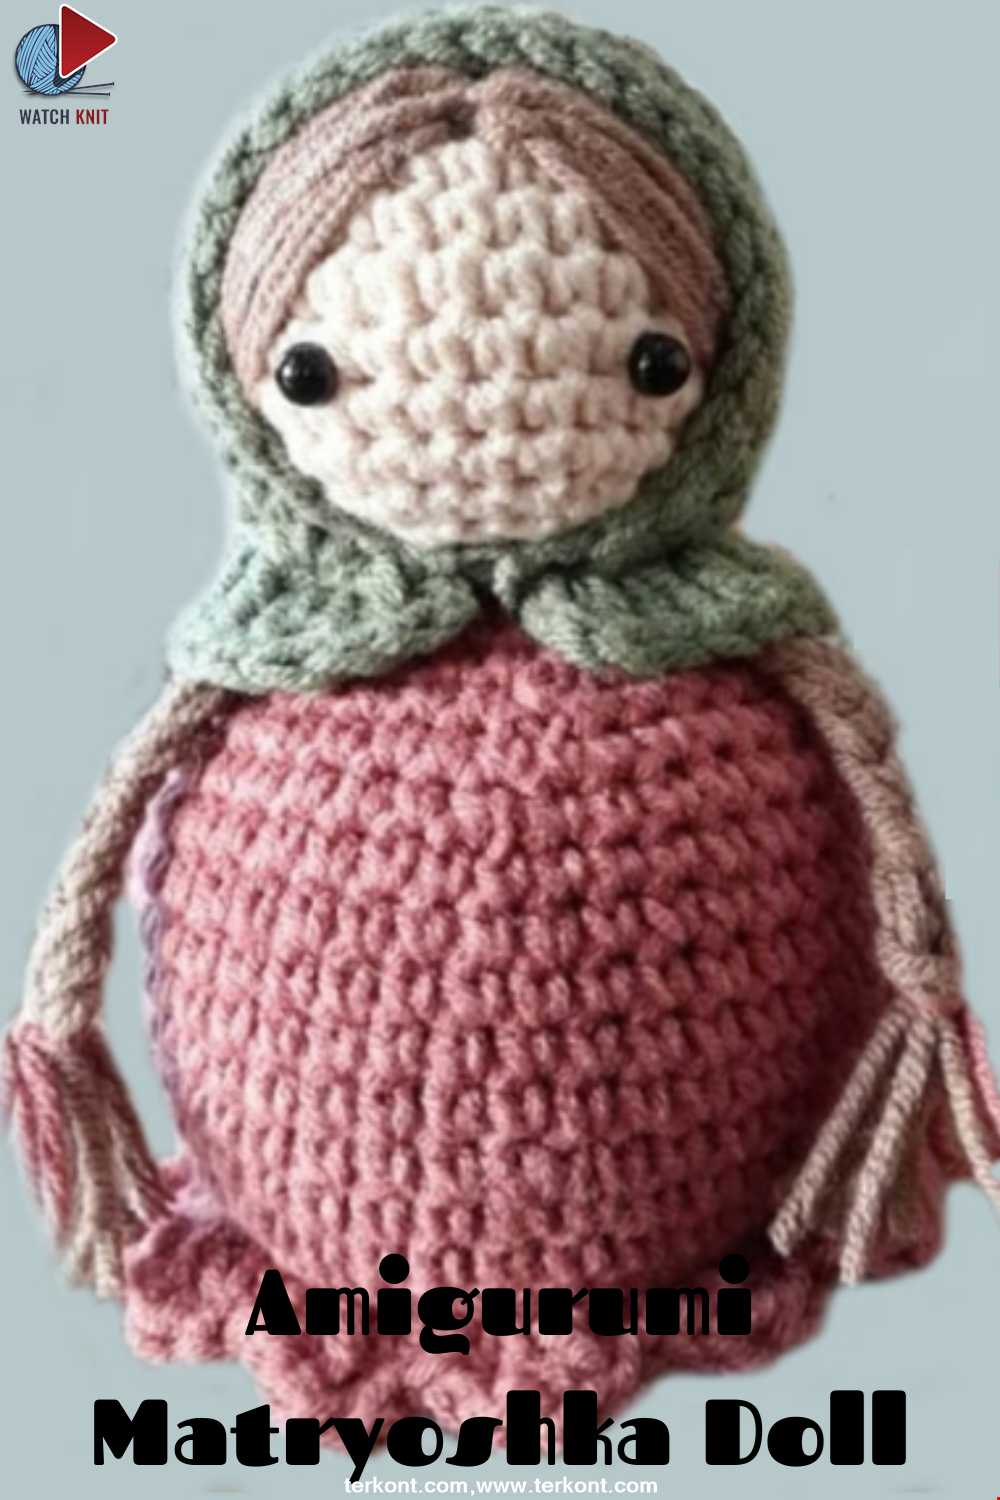
Amigurumi Matryoshka Doll Recipe
5 January 2022, 12:30 556
Materials
4 Colors Amigurumi Yarn (Optional)
2.0mm Crochet
8mm Safety Eye
Bead Fiber
Marker
Scissors
Embroidery Needle
Abbreviations Used
Sh: magic ring
Sc: common needle
inc: increment
dec: decrement
BLO: crocheting the back of the loop
(..)* : repeating the parenthesis as many as the outside number
Making Matryoshka
Body
1. 6sc into sh
2.6in (12)
3.(1sc, 1inc) * 6 (18)
4.(2sc, 1inc) * 6 (24)
5.(3sc, 1inc) * 6 (30)
6.(4sc, 1inc) * 6 (36)
7.Blo 36sc
8-9. 36sc
10.(5sc, 1inc) * 6 (42)
11-15. 42sc
16.(5sc, 1dec) * 6 (36)
17.36sc
Do not neglect to fill the fiber as you do it from time to time.
18.(4sc, 1dec) * 6 (30)
19.(3sc, 1dec) * 6 (24)
20.(2sc, 1dec) * 6 (18)
21.(1sc, 1dec) * 6 (12)
Hemline
We will make the loops that we left in front of the Blo, which we made to coincide with the 7th row of the body.
1 single handrail in the first loop, 1 double handrail in the same loop; A double guardrail in the second loop 1 single railing in the same cycle; 1 sc in the third loop.
(We do these operations in all loops until the end of the line.)
Top
1. 6sc into sh
2.6in (12)
3.(1sc, 1inc) * 6 (18)
4.(2sc, 1inc) * 6 (24)
5.(3sc, 1inc) * 6 (30)
6-10. 30sc
We do not forget to fill the bead fiber.
Note: Attach safety eyes 5sc apart in 9 rows.
11.(3sc, 1dec) * 6 (24)
12.(2sc, 1dec) * 6 (18)
13.(1sc, 1dec) * 6 (12)
14.6dec (6)
The head knitting part is finished, now we collect and fill our fiber and close it. We sew the head and body together.
Hood
1. 6sc into sh
2.6in (12)
3.(1sc, 1inc) * 6 (18)
4.(2sc, 1inc) * 6 (24)
5.(3sc, 1inc) * 6 (30)
6.30sc
7. We pull 1 chain and go back.
8.25sc
9-14. 25sc
15. Three (3) chains(We continue towards the neck of the cap.)
16.Double guardrail per loop (converts to the side of the cover), 5 pairs of guardrails, 1pc per loop (it is the back of the cover); double handrails for each loop (becomes the other side of the header)
Our matryoshka looks ready! We process the hair, centering the head with brown thread. We also make two braids and sew them on the shoulders, and sew the head on it.
We have come to the end of this recipe, I hope you like the amigurumi matryoshka doll recipe we have prepared for you. Hope to see you in another amigurumi recipe.
Category Popular Posts
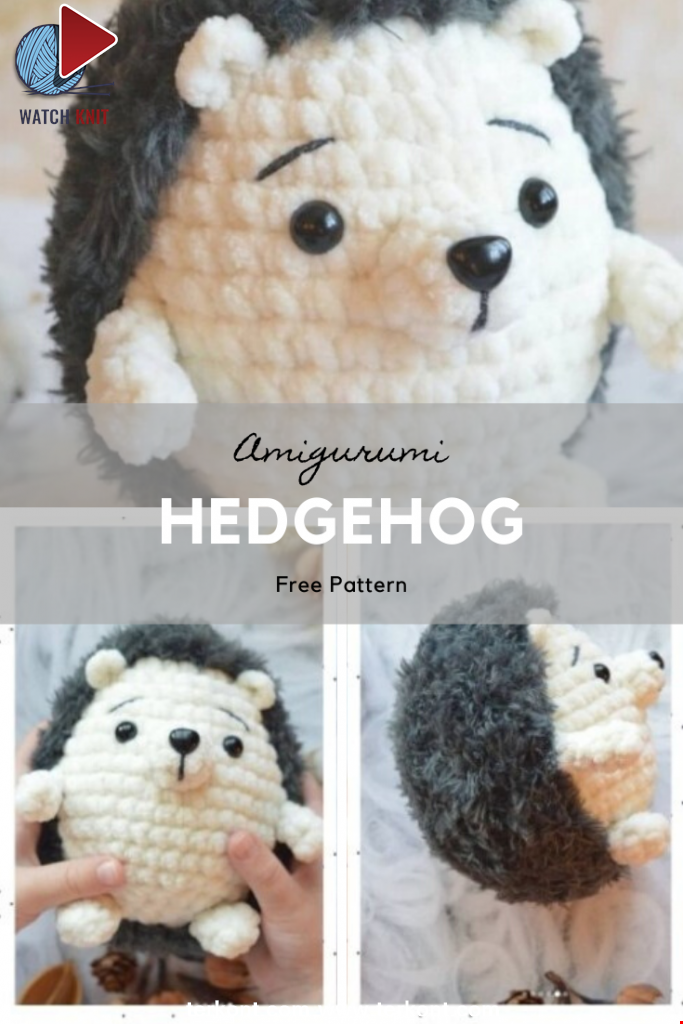
Amigurumi Hedgehog Free Pattern
12 October 2020, 09:52 20982
Making Amigurumi Spiderman
27 January 2022, 20:58 23085

Hello, Are you ready to knit Spiderman, Spider-Man, the children's favorite cartoon character? You will be able to knit easily with detailed explanation. Let's start!
Read More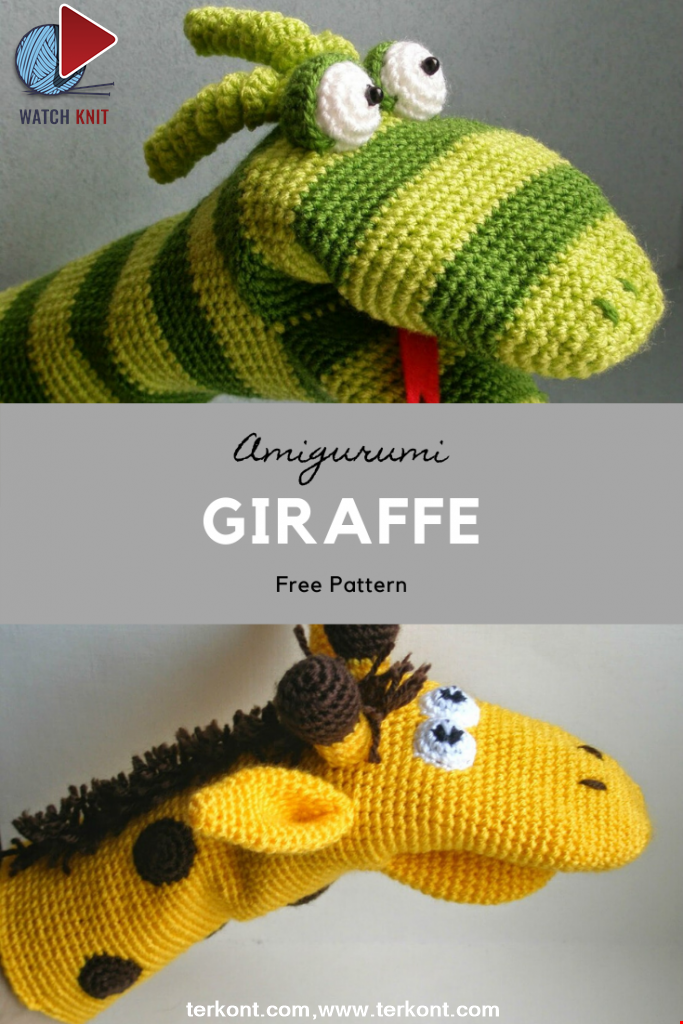
Amigurumi Princess Mononoke Crochet Pattern
12 December 2020, 21:20 12779
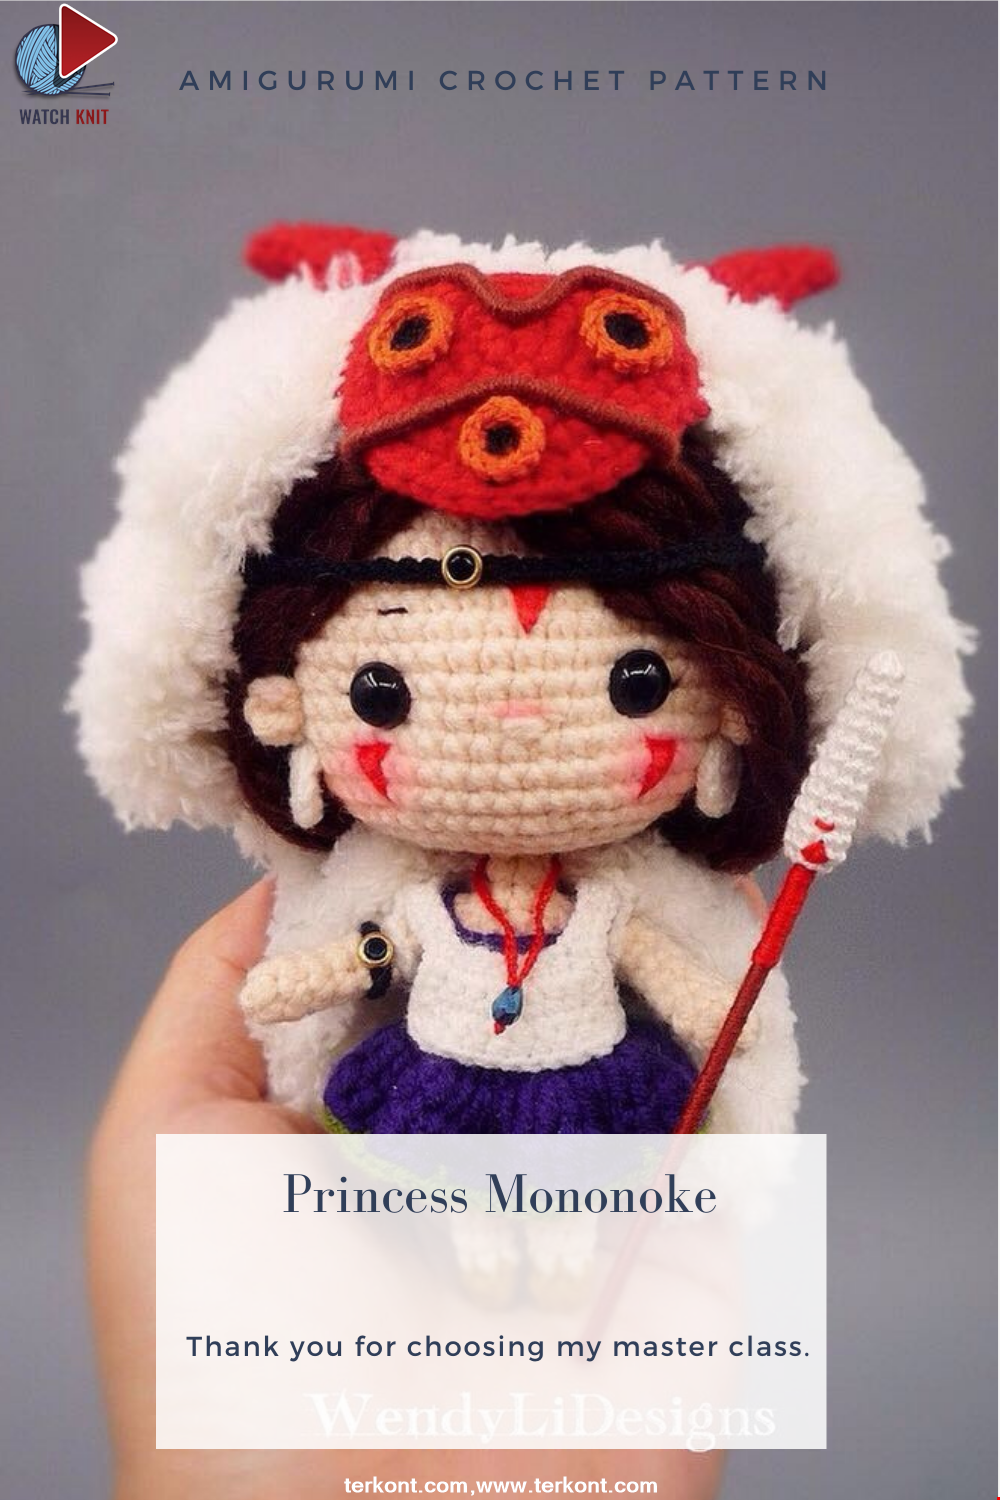
Free Crochet Princess Mononoke workshop by Wendy Li. The knitted girl is the hero of the cartoon by Hayao Miazaki. From the description of the diagram, you will also learn how to knit: a cape, a cloak, a dress and a mask for a doll.
Read More
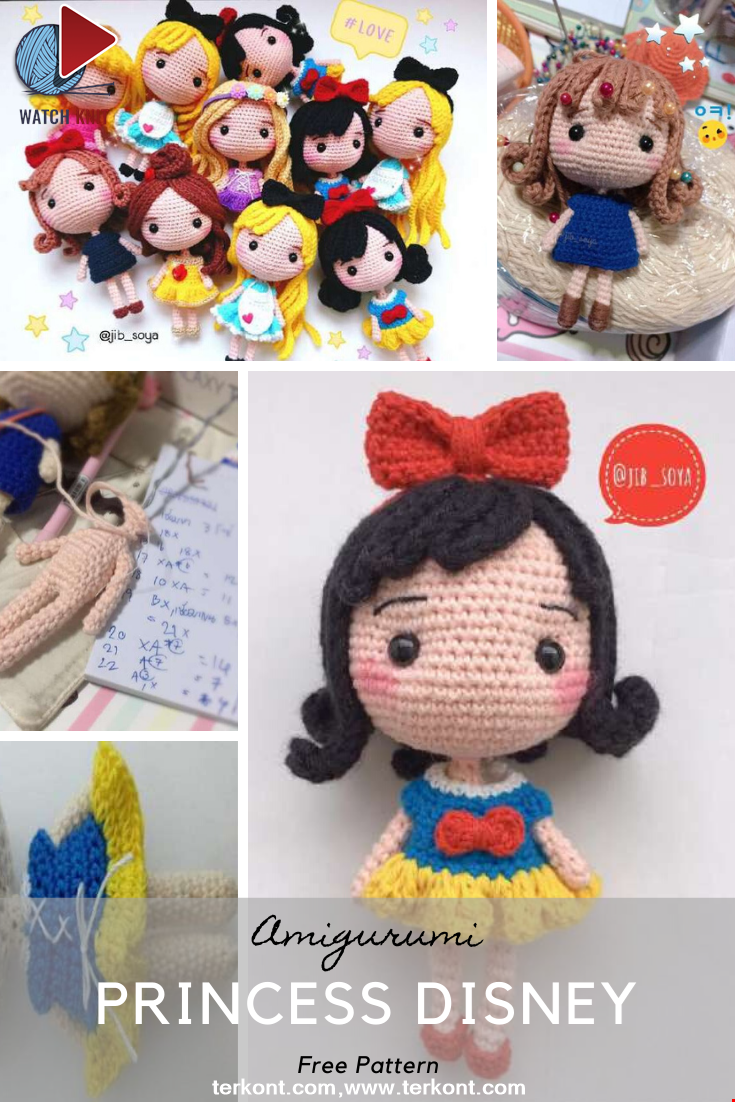
Princess Disney Amigurumi Pattern
8 October 2020, 14:51 6225
Korean Girl in Traditional Dress (Hanbok)
22 September 2020, 11:11 4358
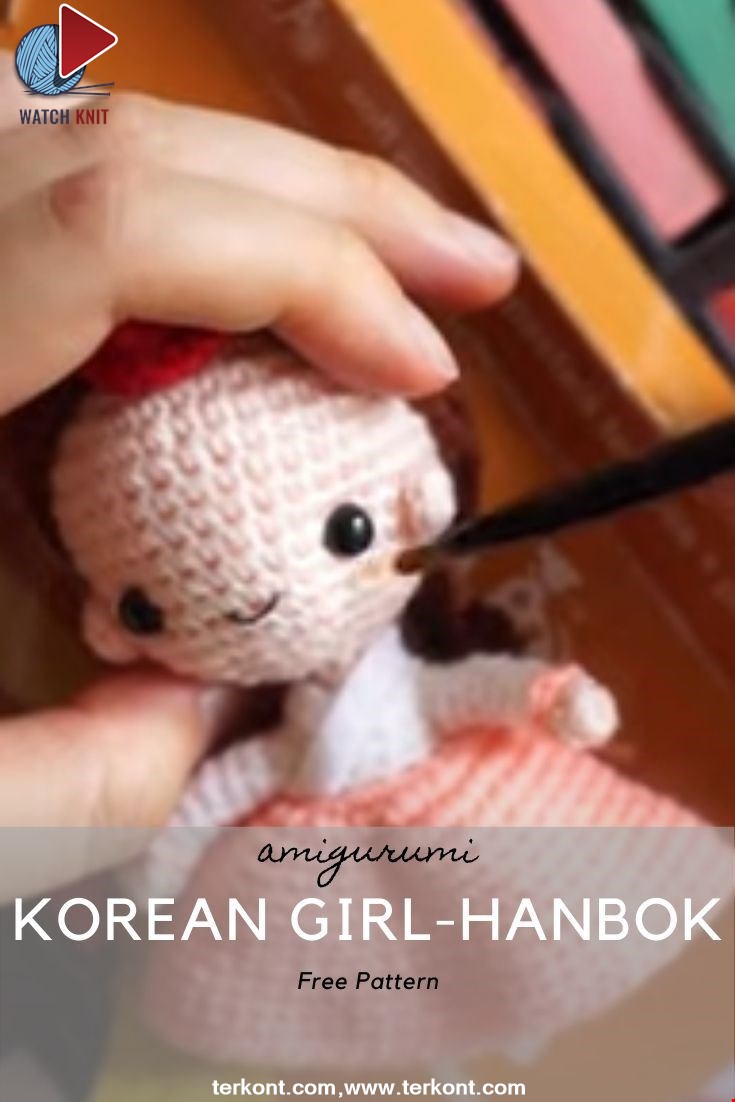
This is the process how I made the amigurumi of Korean Bride in traditional dress Hanbok. Lately I've been watching a lot of Korean dramas and got inspired to make one. I hope you can enjoy the video, and get inspired too!
Read More
Amigurumi Sweet Giraffe Recipe and Preparation
5 January 2022, 14:55 3858
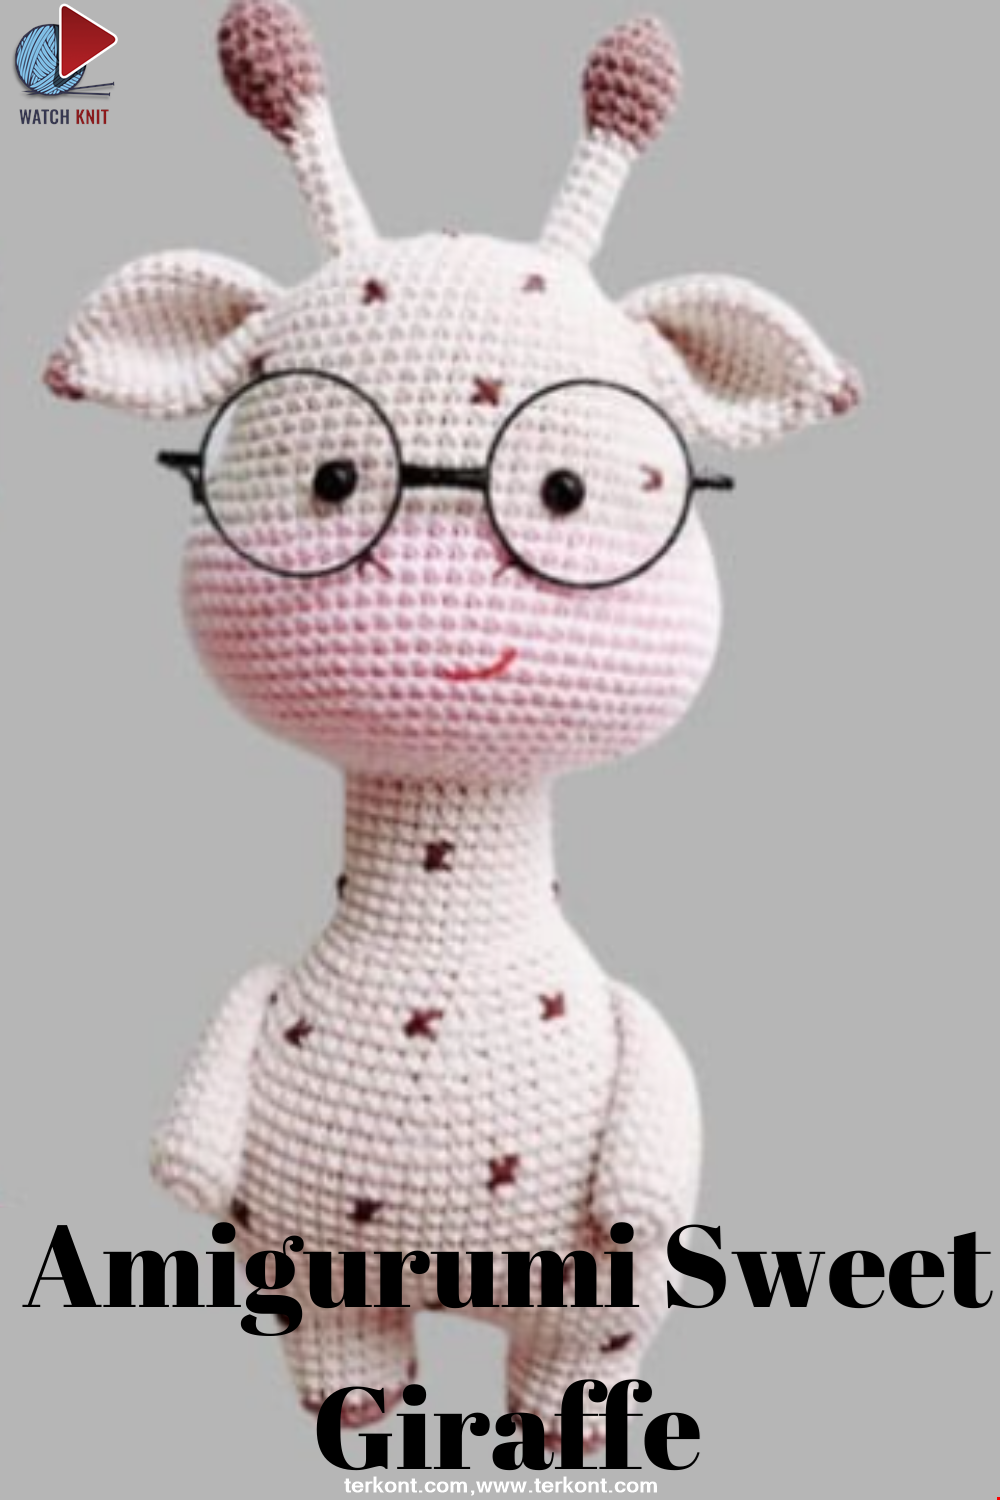
We have come to share with you the most popular model of recent times with the Amigurumi sweet giraffe recipe. I hope it will be an amigurumi animal figure that you like very much and knit with love.
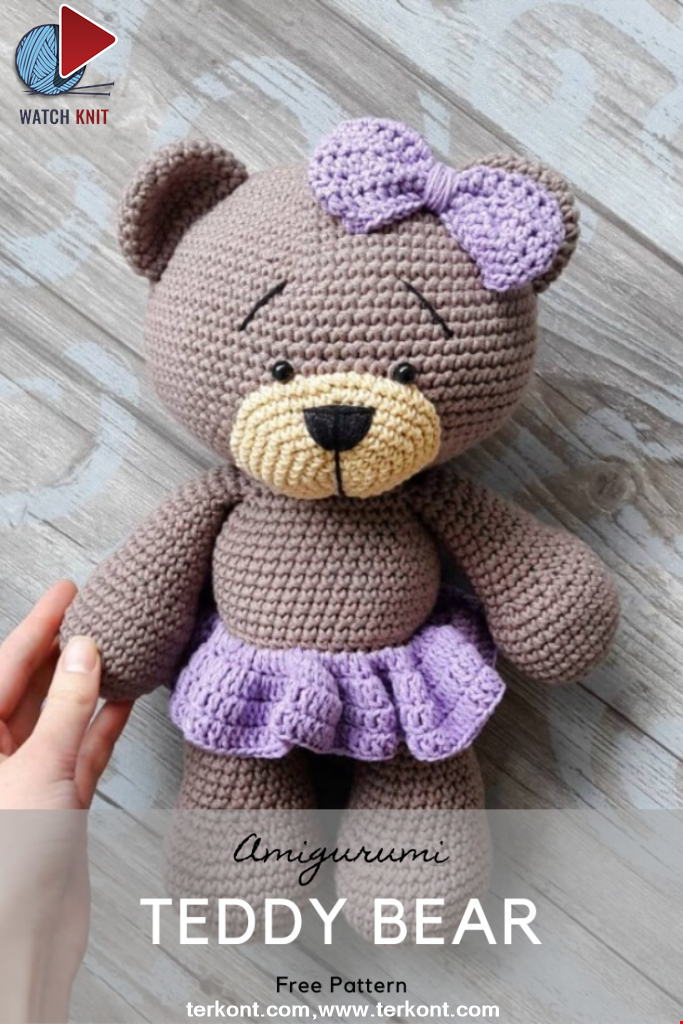
Read MoreLovely Teddy Bear Amigurumi Tutorial
12 October 2020, 10:05 1511